Rebirth of a Yellow 1997 Supra
Last week for our fan car friday, Keylan Smith emailed us photos of before and after of his MK4 Supra rebuild. The photos were so brutal to look at, no one really believed that it was the same car. We emailed Keylan and got a link to the complete build on the Supra Forums (click here to see only if you are registered can you view it). After we posted Keylan’s Supra on our Facebook page, everyone started to send us their rebuild photos. Regardless of what it is, we are happy to see that people put time and dedication into rebuilding a vehicle and giving it a second life. I managed to get a quick summary of Keylan’s build photos in this post, but there is plenty more to be seen in the thread on the Supra Forums.
Check out a quick rundown of the rebuild, by Keylan himself:
Ok well, the story starts in June of 2007 (I was 19 at the time). The day prior to the “big day”, me and my girlfriend went out to eat with my parents at a local bbq place. Well me and my Dad always talk cars when we get the chance, so it wasn’t surprising that they got brought up during this lunch. Well my mom asks me a rather odd question at the time, but I didn’t pay attention since I just figured she was curious. But she asked, “If you could have ANY car in the world right now, what would it be?” Well me being the realistic type person that I am, I said,”a Supra”. She grinned and asked me why. So I told her how amazing they look, how much power they make, the limitless possibilities with them, how long I had wanted one, etc. and the conversation just kinda died off after that.
Well the next day, my Dad asked me if I wanted to go up to Hamilton with him to pick up a car that he had bought. Hamilton is a car auction that we went to many a times to pick up wrecked cars that my dad always bought at auctions to fix. He used to be a dealer, but recently got out of it. So of course I say yes, cause I am always excited to see what “new” car he got. So I asked him what we would be picking up this time, and he just says a toyota camry. I was like, oh ok, and we hopped in the truck and were off.
We get to this place and we head into the building to pay for the car and get the title as always. As we are walking out of the building my Dad hands me the title and asks me what it says. Confused, I look down at the title and the first thing I see was Toyota. Kept scrolling my eyes over and I seen the beautiful word Supra, and my mouth dropped. I couldn’t believe it. I was expecting to see a MKIII year model, so I quickly glanced around to see what model it was, and to my amazement it said 1997. I looked back at my Dad and he had the biggest grin on his face. He’s like, its pretty hurt, but we’ll be able to fix it (talking about the car). And I know if he says something like that, he means it. After seeing some stuff my Dad has done, I knew to trust him when he said that.
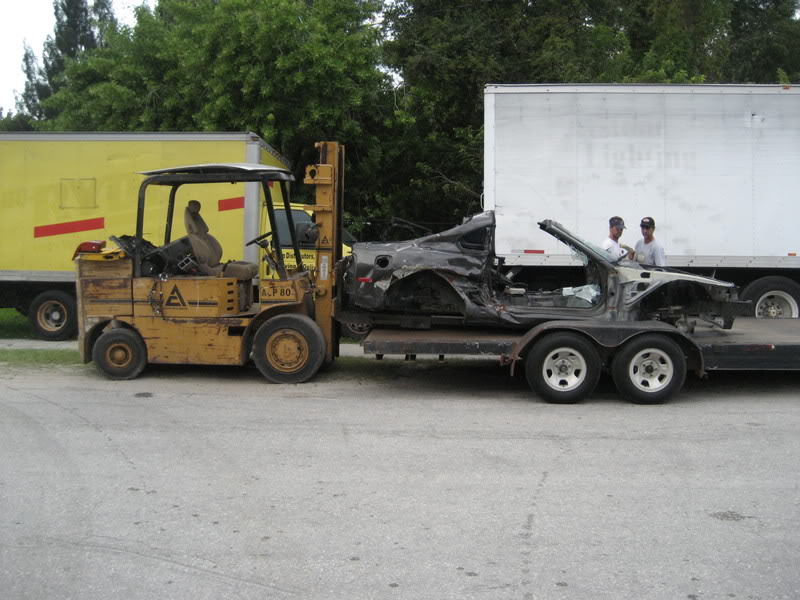
We walk over to where the car sat, and it was like love at first site. Not only was it a Supra sitting there, but it was YELLOW! If there was any color I could want my dream supra to be, it was Yellow! From that moment on I knew it was meant to be. We pulled the truck and trailer around and loaded her up. The whole ride home, I was just thanking my Dad and telling him how much it meant to me. We got home and this is what our new project looked like.
I was now the proud owner of my dream car, and I couldn’t wait to dive right into her. She is a 1997 15th Anniversary, NA auto. Being NA auto, it wasn’t my first choice, but you got to make the best of what you got, and I wasn’t about to complain one bit! I HAD A SUPRA and that was all that mattered!!! Plus, all that can be changed out anyways. We snagged the car for $1700. Not bad at all I would say
Now I have this busted up supra, with no money to start putting towards it to fix it My only option at this point was to get rid of my beloved DSM that I was building. I had dropped around $7000 in the talon, and the only way to get something back, was to let her go. So I posted it up for sale, and shortly after she left my hands. I was able to come out of the deal with $6000 though, so it wasn’t a bad trade.
Got the supra, got some money, now it’s time to start the fun stuff! But first, more pics of when she first got to her new home.


Well, after spending a bunch of time online, and getting in contact with as many people as I could, I was finally able to track down the most vital part of the rebuild. The front clip! Jim @ Turbo Toys in Tampa, FL stepped up big time and had just what I needed. Saved me a crap load of money since I didn’t have to go through toyota and buy all the parts one by one and cost me a fortune. Plus he got to make even more money, on what was probably completely finished off car for him anyways after completely stripping it of everything good. It was only a bare shell to some, but for me it was just what I needed! So October 12th (after having the car for nearly 4 months) me and Dad loaded up the truck and trailer again, and made the 13hr. trek down to Tampa to pick it up.
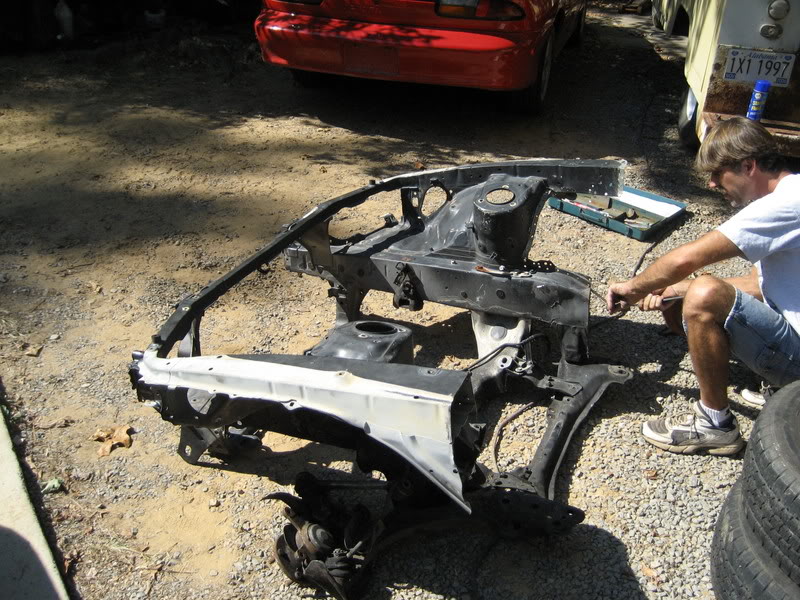
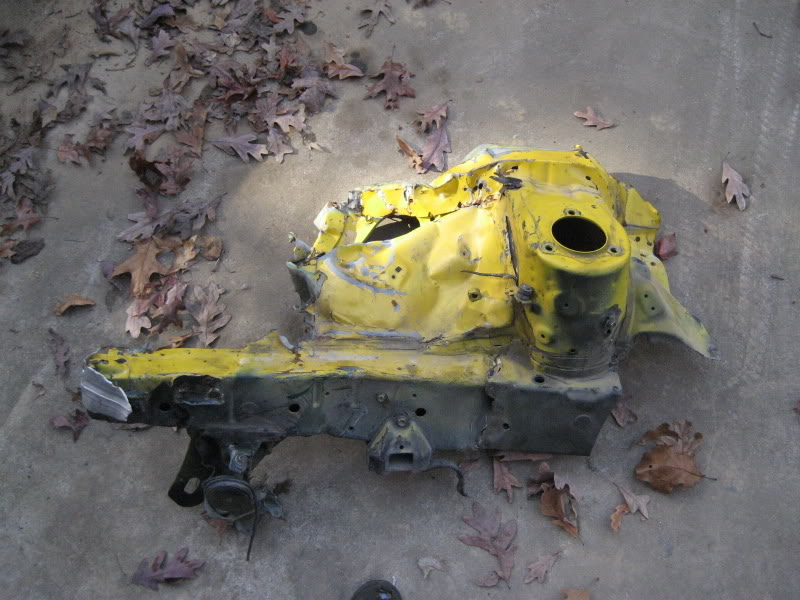
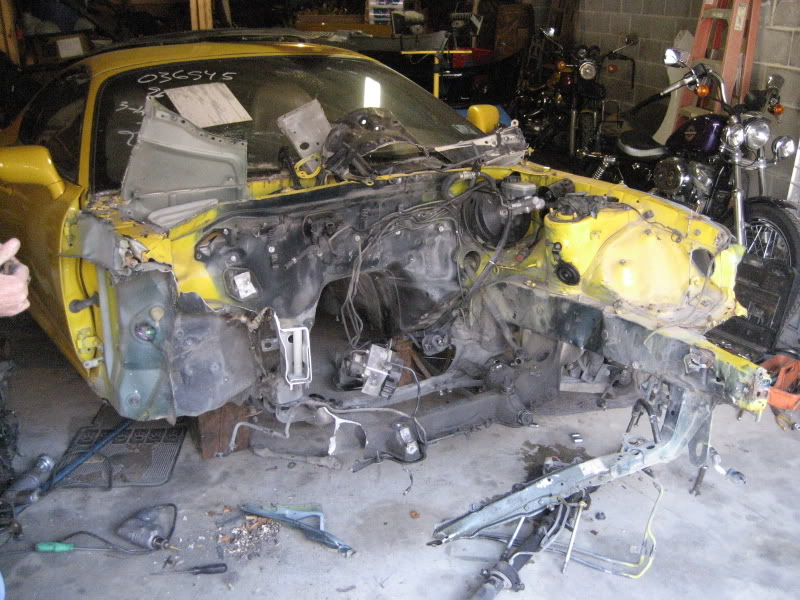
It was time to take a real assement of the damage done, and see what all was broken and needing replacing. This thing took a pretty hard lick to do the damage that it done. Here are some pics of the carnage
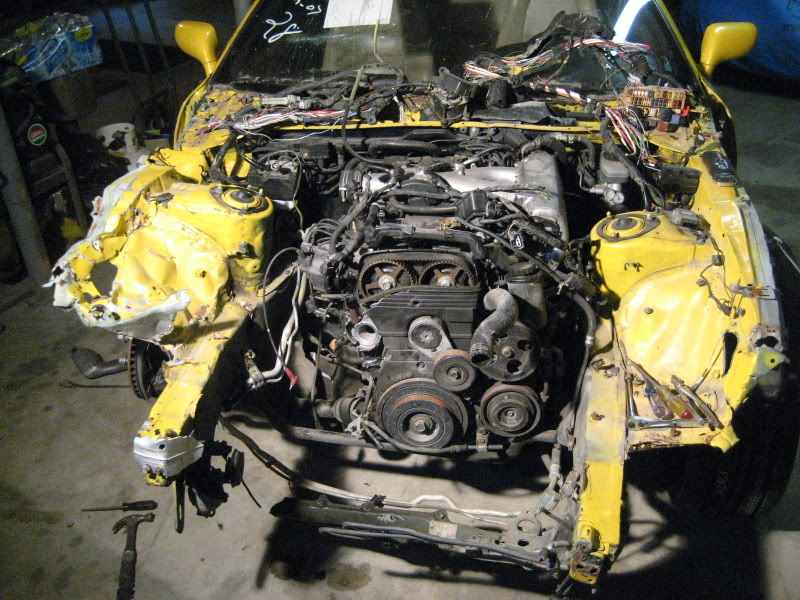
From this point, it was necessary to remove the engine to see the rest of the damage. You would be absolutely amazed at how quick and easy it is to remove a supra engine with no core support on the car
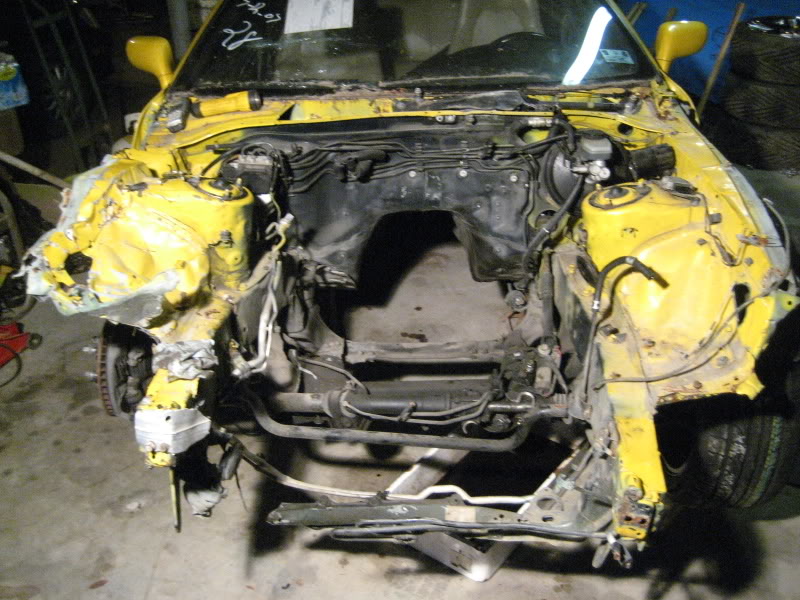
Now that all the damage had been assessed, it was time to dive head first into the major work. We start getting into the “no turning back stage” even though, most would say that started the moment we got the car. First thing was to get the suspension stuff out of the way so we could start some cutting. Once that was done, we picked a spot and hacked it right off. Nothing accurate or anything at this point, mainly just to get the trashed junk out of the way so we didn’t ahve to fight around it anymore. With that crappy piece off the car and out of the way, we were able to focus our attention on the frame rail. Notice how we “peeled” the outer piece back, exposing the inside of the frame rail. Another thing a lot of people with supras probably have never seen. Reason we did this, is so we can slide the new frame rail into this one, and the double reinforce it with another piece of metal welded to the overlapping pieces. And of course, me being the cleaning type, I had to start doing something with the motor
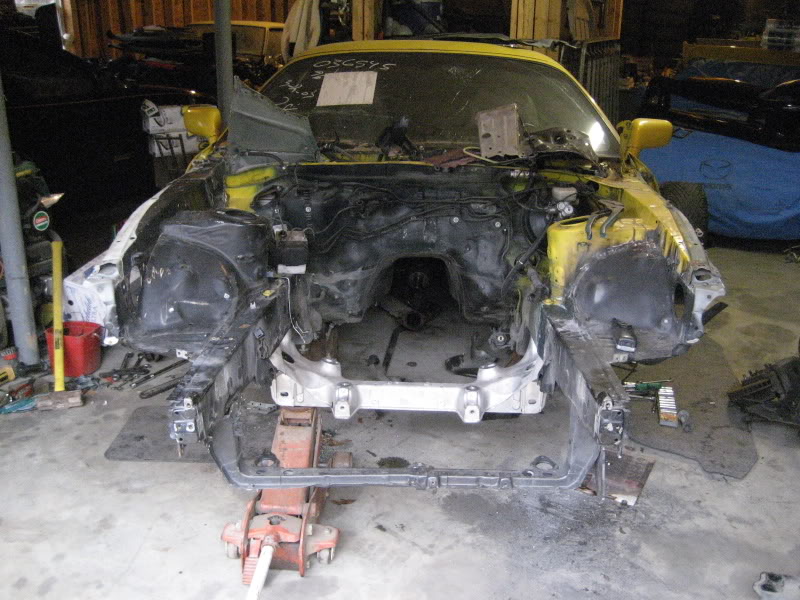
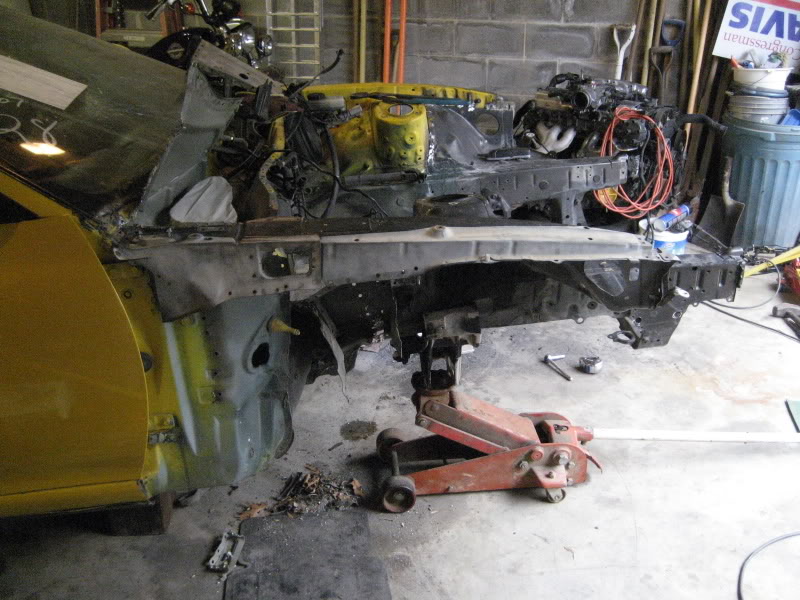
After getting the driver’s side what we thought was correct we move onto the passenger side. The side that took ALL of the impact. Well since we couldn’t use the firewall, or anything really on that side to judge where the new parts needed to go since we weren’t sure if they were still in the correct location or not, we had to go by the driver’s side. Which wasn’t damaged really in the wreck. So in order to do that we used the new engine crossmember that I bought and the bottom radiator support as guides. So I bolt on the new crossmember on the drivers side, and we go to test fit the new parts on the passenger side and low and behold it lines up like pure poo poo!!! Me and my Dad’s hearts sink. There is at least a 2 in. gap between where the fender mounts and the firewall. No matter how we try to fit it or make it work, something else wouldn’t line up. We were beginning to think that it was a lot worse than what we had orginally thought or even that the driver’s side wasn’t correct like we had thought. That was until I got to looking and noticed that we had bolted the new crossmember up backwards!!! DOH!!! hahahahaha. Meaning that I had the part where the steering rack bolts on, facing towards the firewall! lol. Turned that around and lo-and-behold everything lined up MUCH MUCH MUCH better and me and my dad could both breathe a sign of relief. Really had us scared for a second there. But at the end of the day, this is what she looked like. Really starting to shape up now! Even thought it safe enough to throw a fender on there and she how she looked!
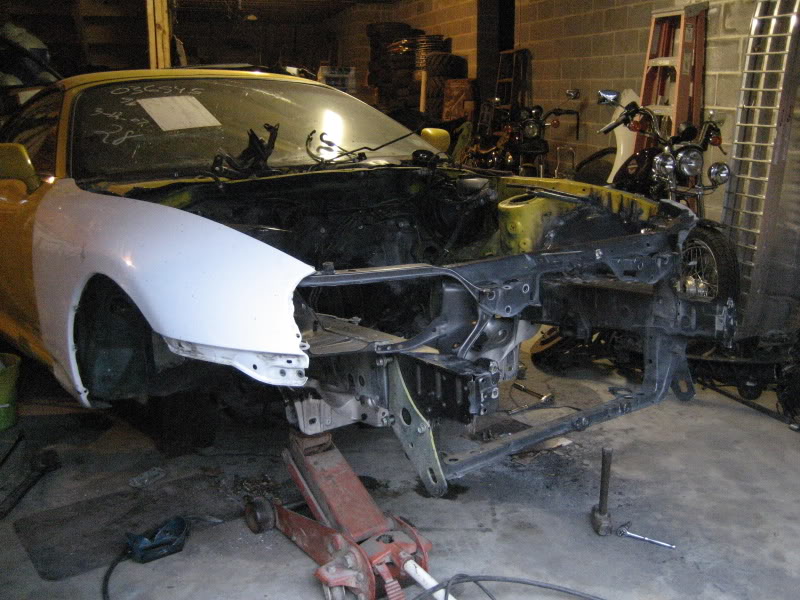
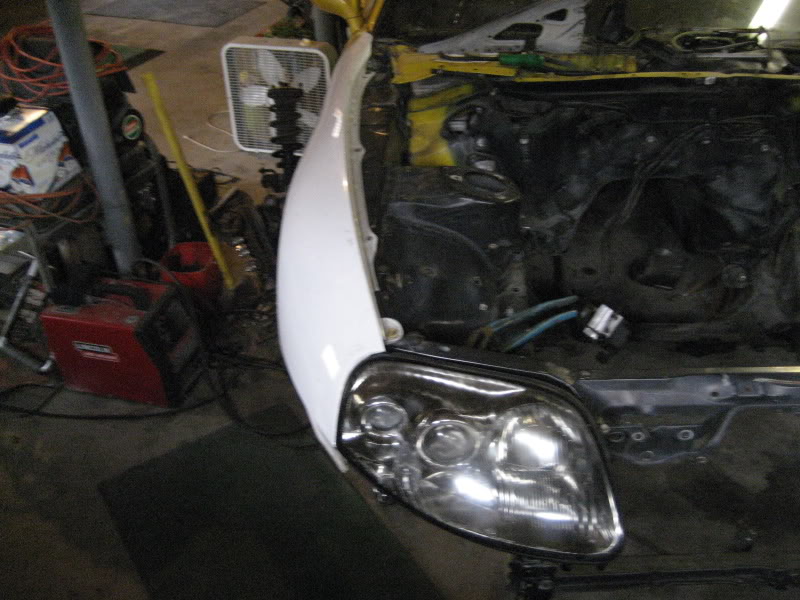
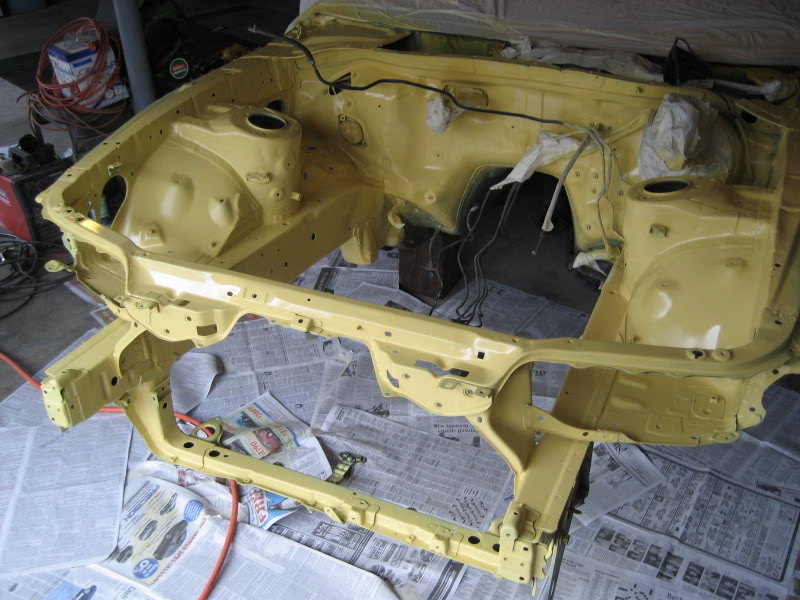
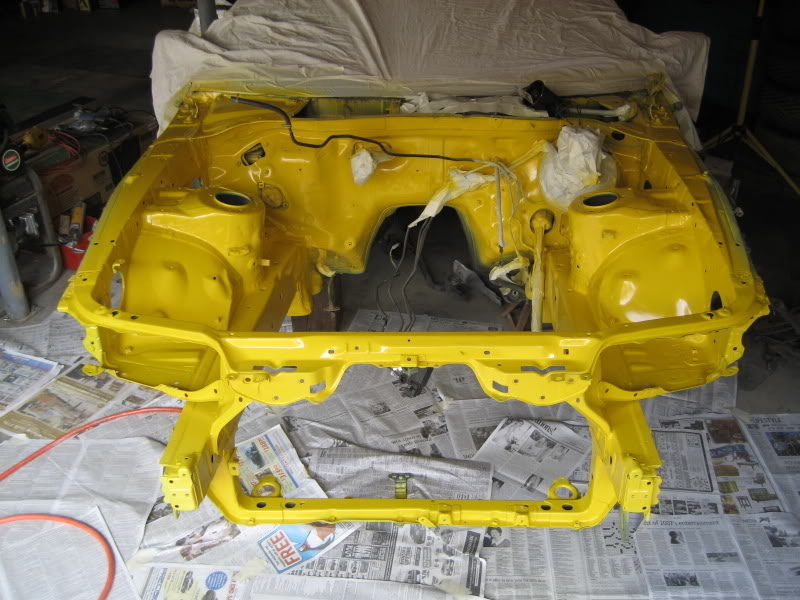
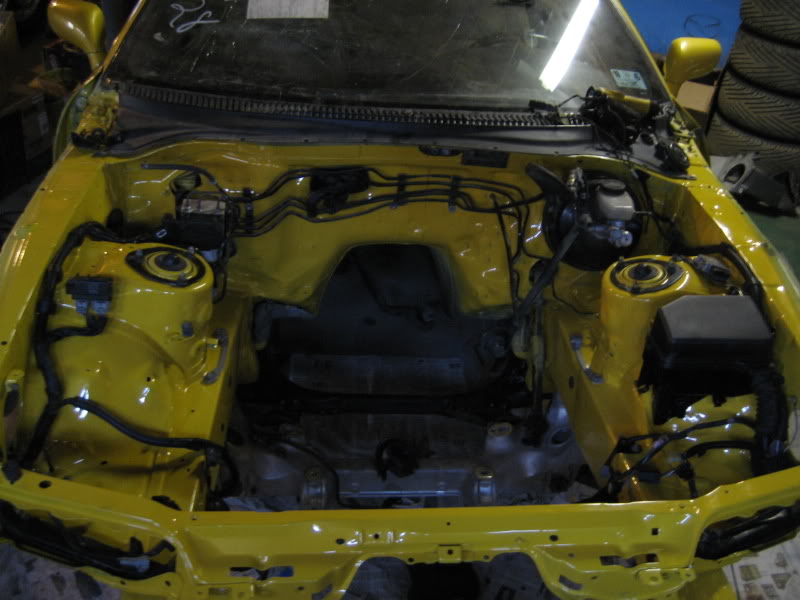
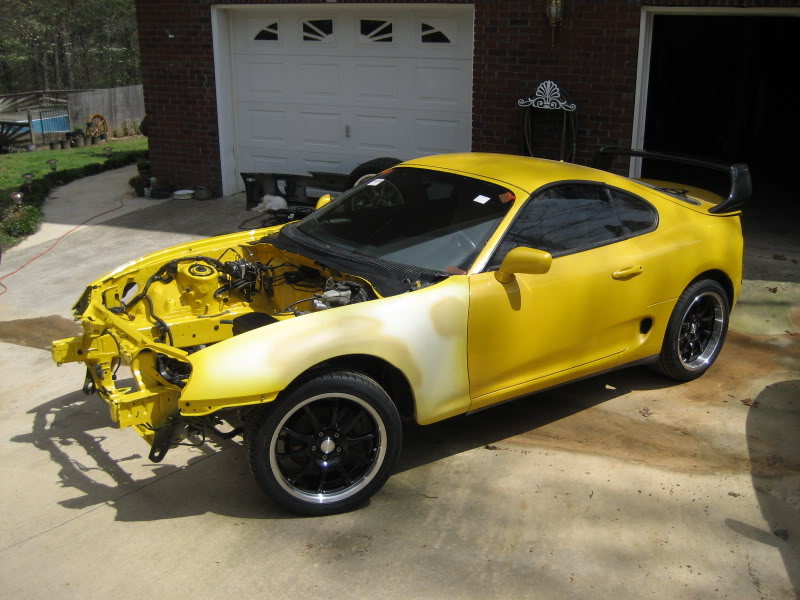
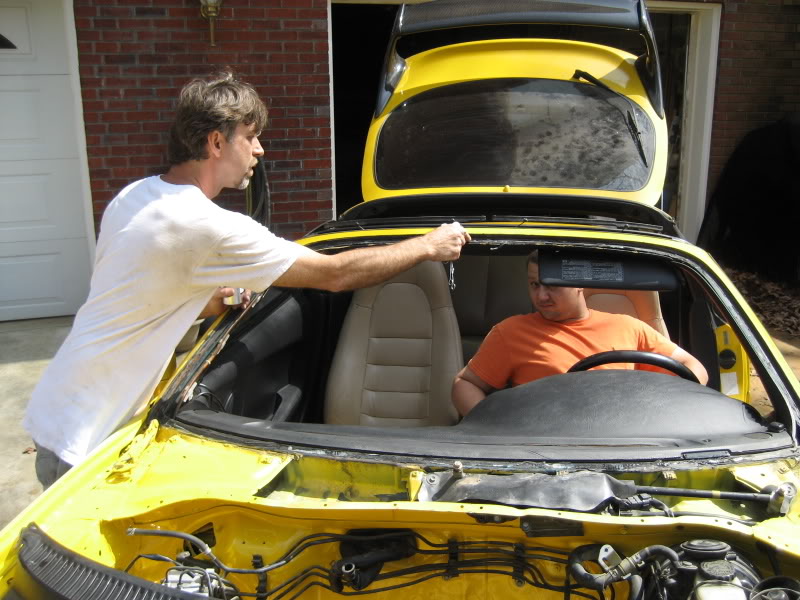
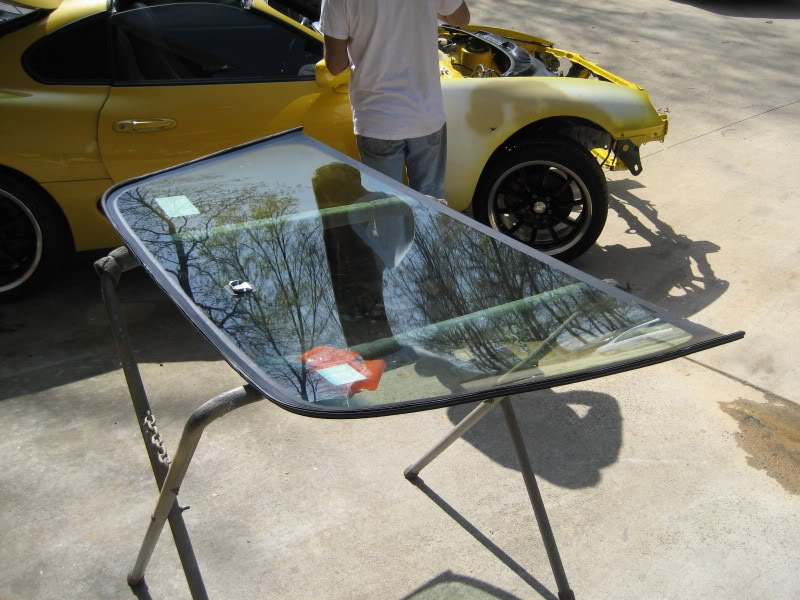
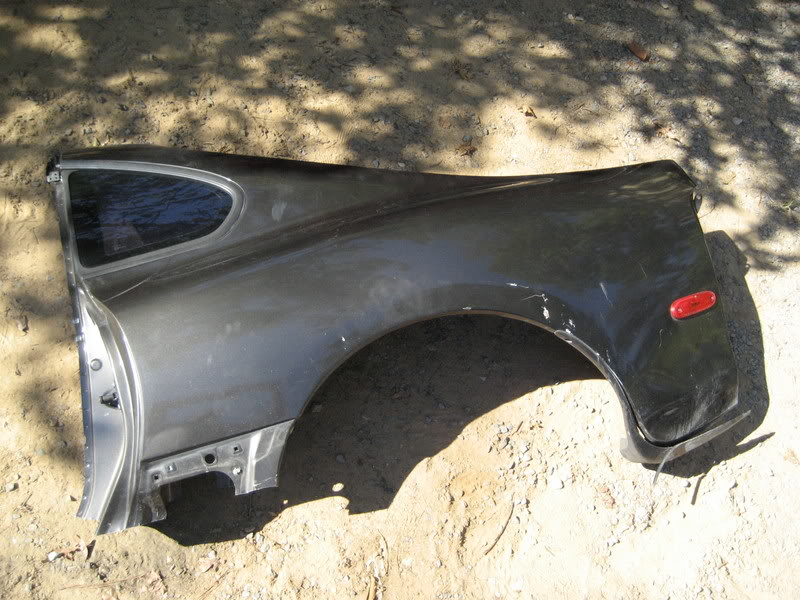
The next time I got to work on her, I reached a goal I had been waiting on for a VERY long time, and that was setting the car back down on the ground and rolling her out of the garage. I had been having trouble locating a used steering rack (and I wasn’t about to pay the price for a new one) until finally a great member on here stepped up and donated one to me. (lowboost, I still haven’t forgotten you man) Once we got that in, we through it on, put the front wheels back on, and out the garage she went, seeing sunlight for the first time in a long time. We took advantage of the beautiful weather and put the new windshield in. It was cheaper than I thought (my dad got it for like $106 brand new). It has since survived 2 different hoods flying up, but we’ll get to that later. Anyways, I also took this opportunity to do something that I just hadn’t thought about since I had the car, and that was taking the targa top out. When I thought about it, I started to get worried cause I got scared it may have gotten pinched during the wreck and might not come out. But to my great relief she came out with ease. Also you can see again, the drivers side quarter panel. Sheesh, I had forgotten how bad it was. Til this day it still isn’t PERFECT (in my eyes) but it’ll get there when I repaint the entire car.
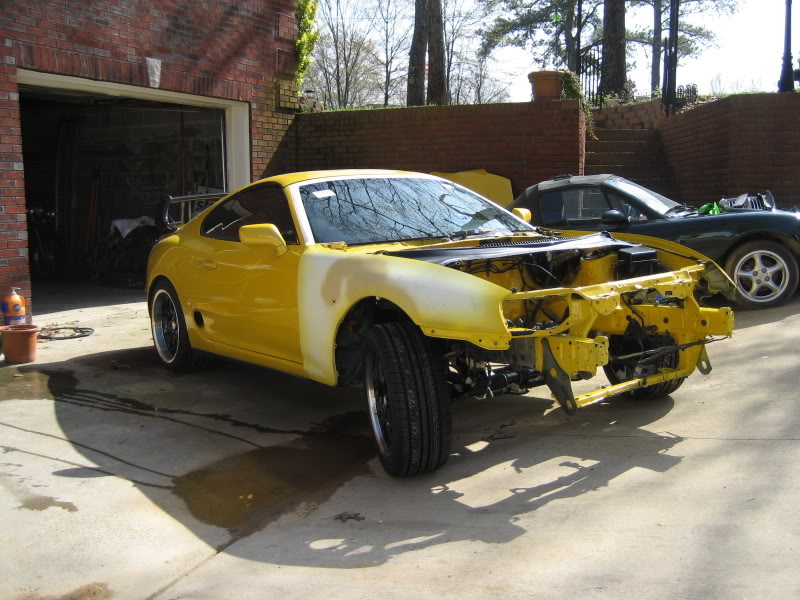
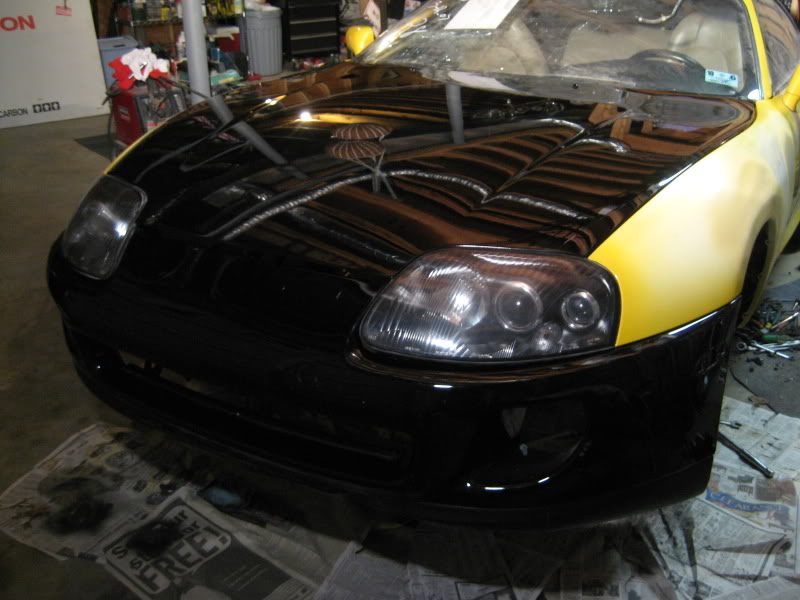
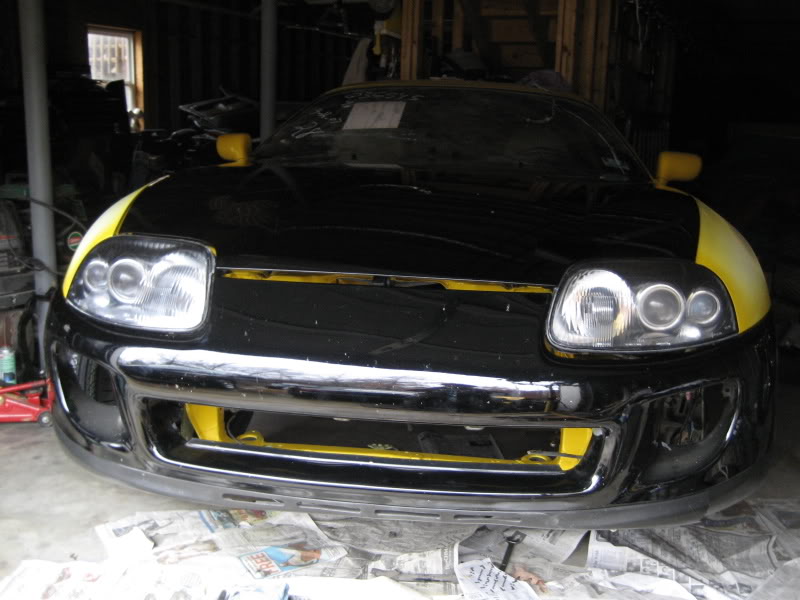
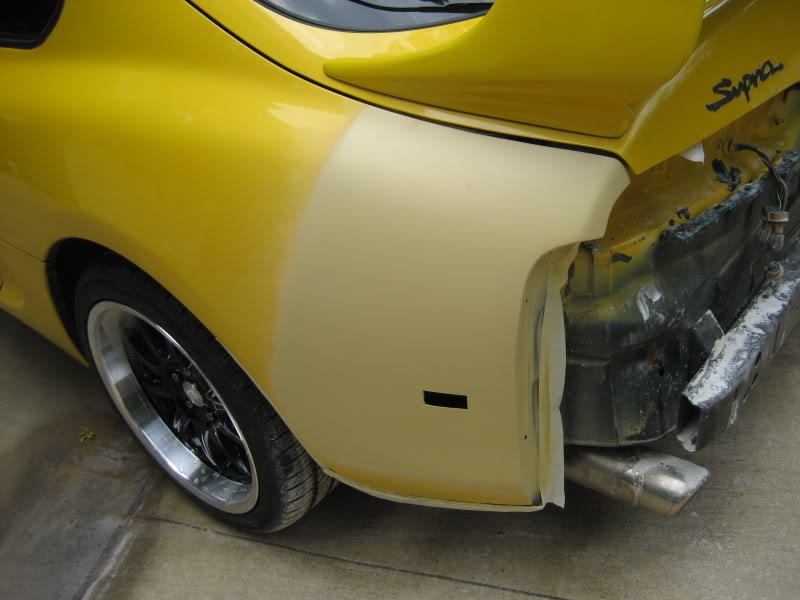
Well, it was finally time to tackle that ugly quarter panel. Unfortunately I was too busy helping Dad with it or I just completely forgot, but I didn’t get any pictures during the process. So that sucks, but the finished product turned out awesome! Like I said, it’s still a little off where the bumper bolts up (the curvature isn’t perfect), but I’ll address that sometime in the future when it comes time to respray the whole car and once I do some more body mods I have in mind (which will require the car to be repainted anyways). The first time we sprayed the quarter panel, the paint did something weird in a couple of spots so we had to sand it back down, throw on some more primer and respray it. But it worked out fine the second time. Also went ahead and painted the front fender. We noticed that the paint we had matched up at the paint place wasn’t the right paint and wasn’t too close of a match. So we did some paint adjusting of our own at the house and got it pretty close. A lot better than what we started with, but still not perfect. The original yellow that was on the car had a TON of metallic to it (most likely a lambo yellow) and the paint we had isn’t as metallic as you’ll see in one of the pics where I take an up close of the bumper and quarter panel.
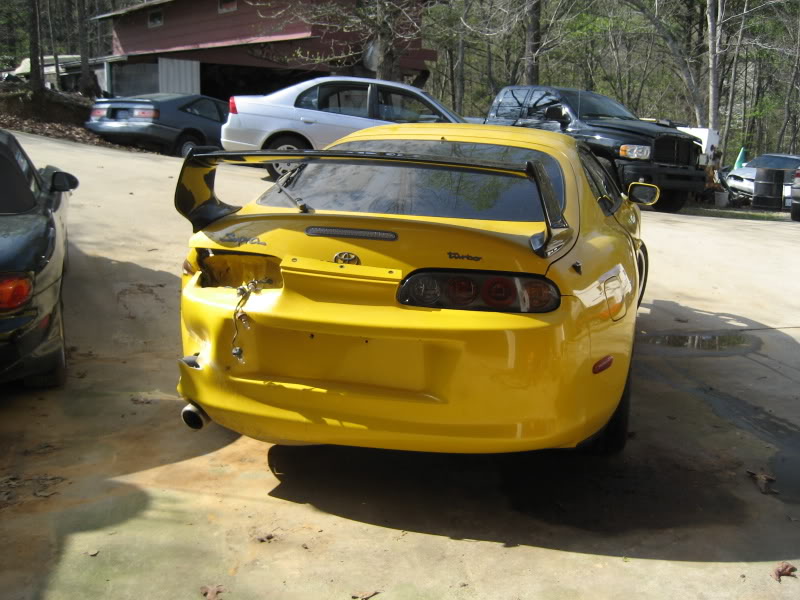
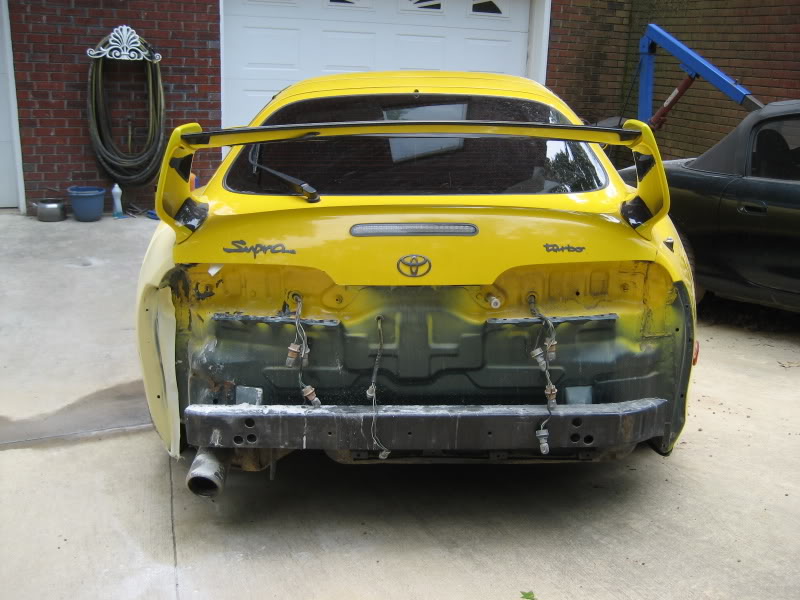
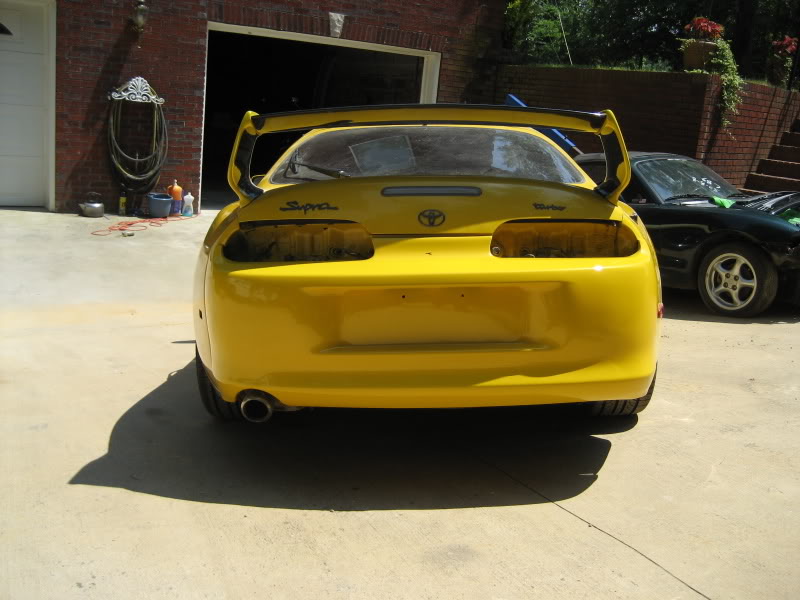
After getting the engine put back in the car and everything hooked up, we couldn’t get the car to start. It was turning over and over and over, but would never crank. Pulled a fuel line and it was getting fuel for sure. Took a couple of spark plugs out and a couple were getting spark and others weren’t. I was really confused. I thought I may have had the coil wired up wrong since that connector was broke in the wreck so I changed that, still nothing. The igniter checked out as well too. I did a search on here, and people with similar issues said it was the ecu. So I was like GREAT, where the heck am I gonna find an ecu for an obd2 na auto supra! The first parts store I called said that had one in stock for $120! Hahahaha What are the odds of that! It was really like $210, but it had a $90 core charge. Anyways, got home and changed that and STILL the same issue. Anyways, to make a long story short, we just had the distributor 180 degrees out! Lol DOH! After we figured that out, the car fired right up. So after checking all of the fluids and everything, I got to take the car out on it’s maiden voyage. Noticed some vibration in the steering wheel right when I got on the road, so turned around to check it out. Turns out one of the front wheels didn’t get tightened! Dodged a bullet right there! Tightened that up and she drove wonderfully! Only problem was it was running PIG rich! I mean, bad odor of gas driving, fumes burning your eyes, bumper black after driving type pig rich. I knew it was obviously the MAF because I just used the one that I had from buying the wiring harness and the guy had thrown 1 or 2 in of them in there with it. I just assumed it was a TT maf and just dumping way too much fuel. So I buy an NA maf with a K&N from a local guy, but it was for an obd-1 karman vortex car, and I need a hotwire one (so I knew it still probably wouldn’t fix it, but hopefully it would at least be tolerable) Problem was still bad, just not AS bad. Well, one day I got curious and looked up the part number online for the two TT (or at least I thought) MAF sensors. Well it turns out the one I was using first that was running so pig rich was actually from like a v6 camry or something! Hahahaha. NO freaking wonder! Looked up the second MAF and what would you know, it was for an obd-2 NA supra! Hahaha. I had had this MAF this whole time and never used it cause I thought it was the same as the other one that was causing the car to run so rich. Anyways, as soon as I got to go home again, I switched that baby one, and she has ran like she has supposed to ever since!
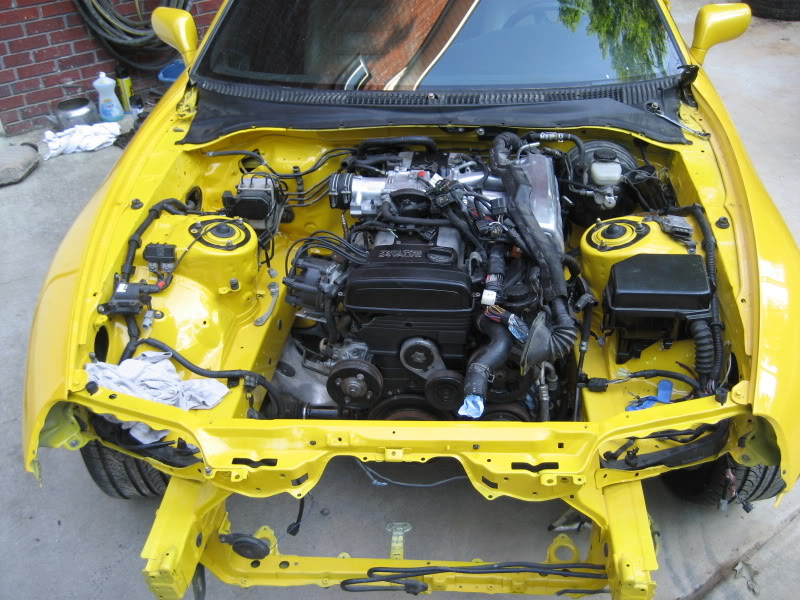
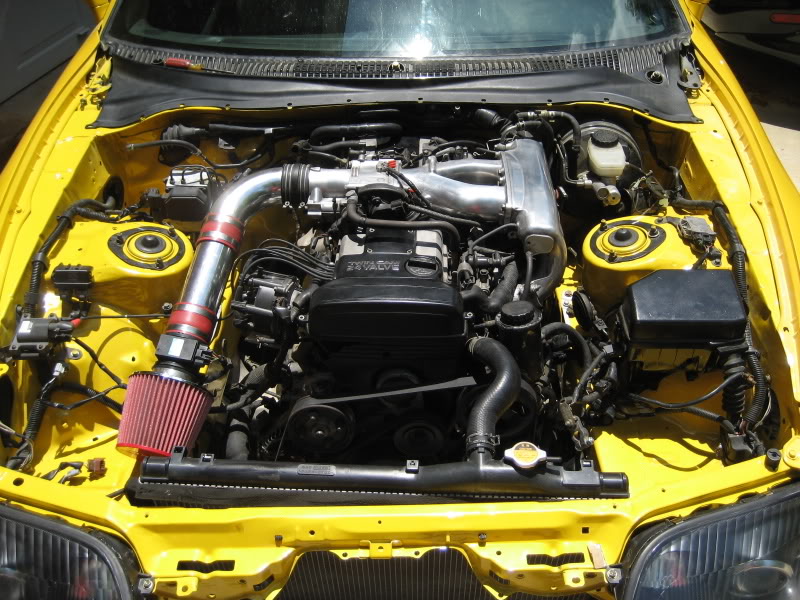
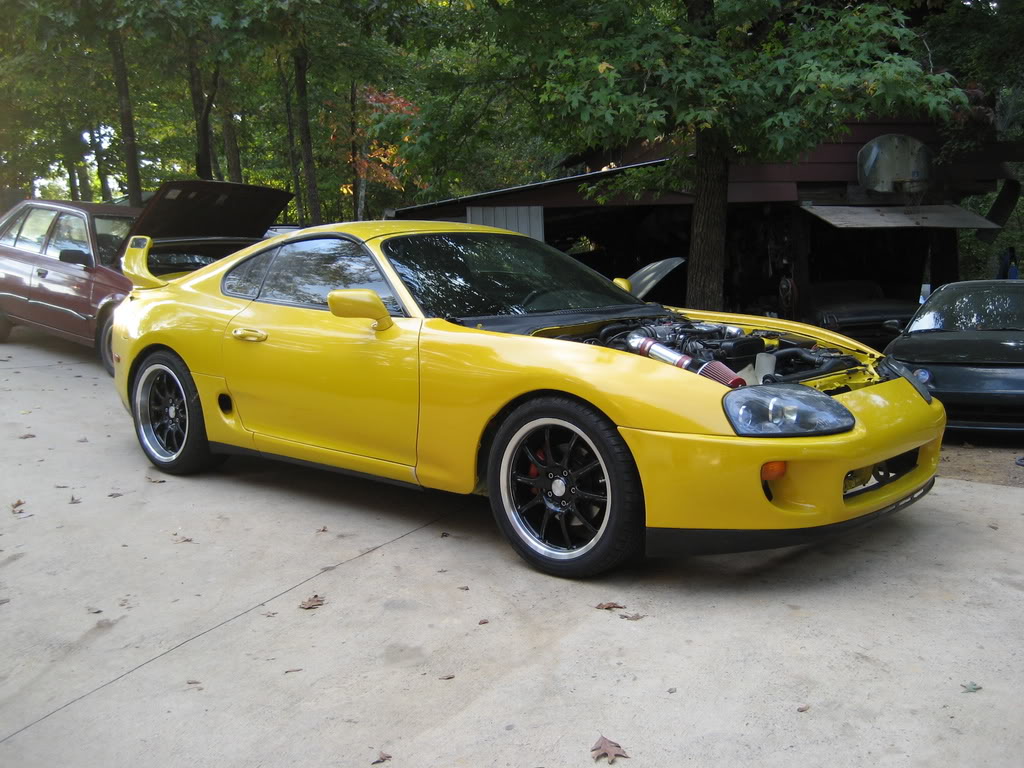
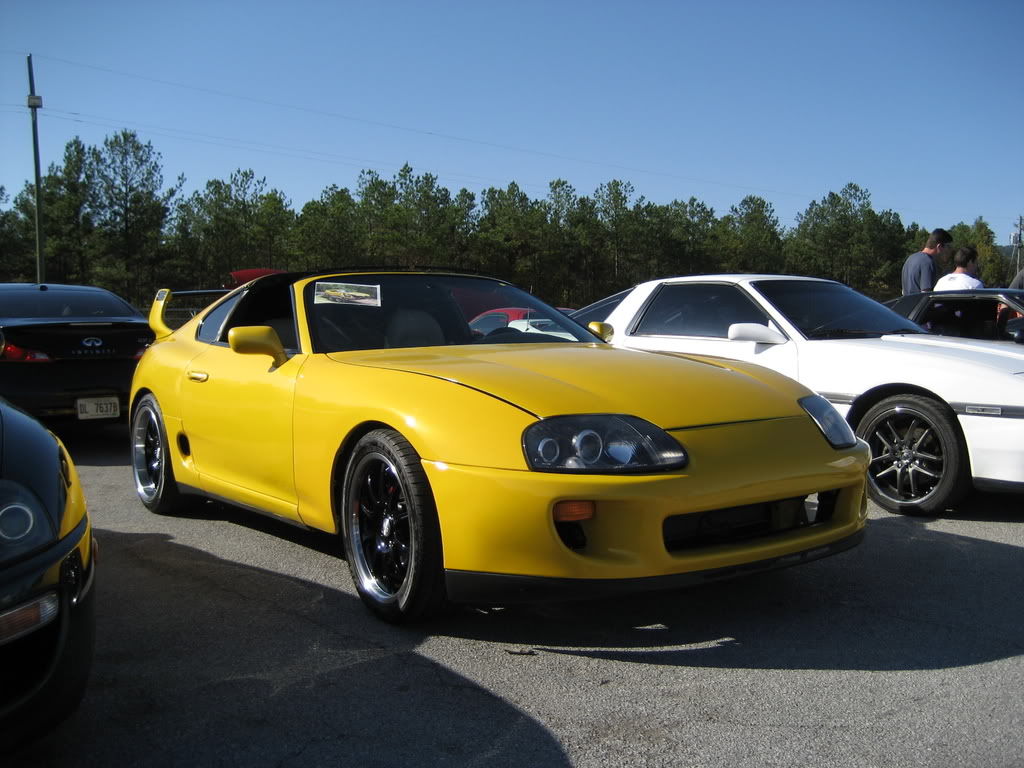
(Getrag V160 6-speed, blitz twin disk clutch, 3.26 rear, ect.)
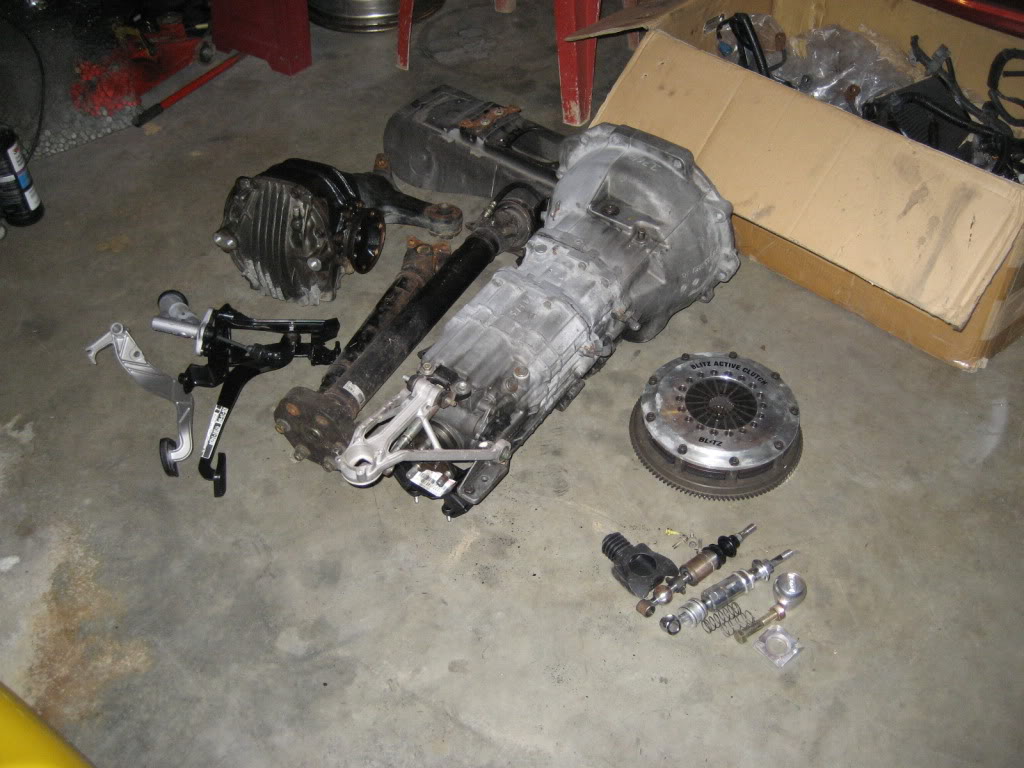
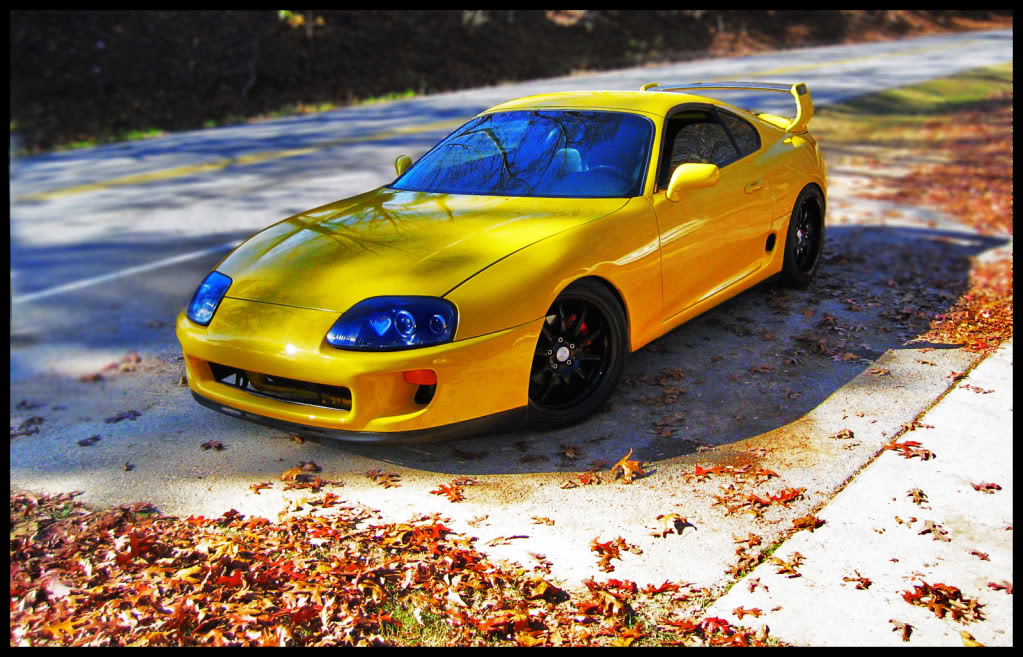
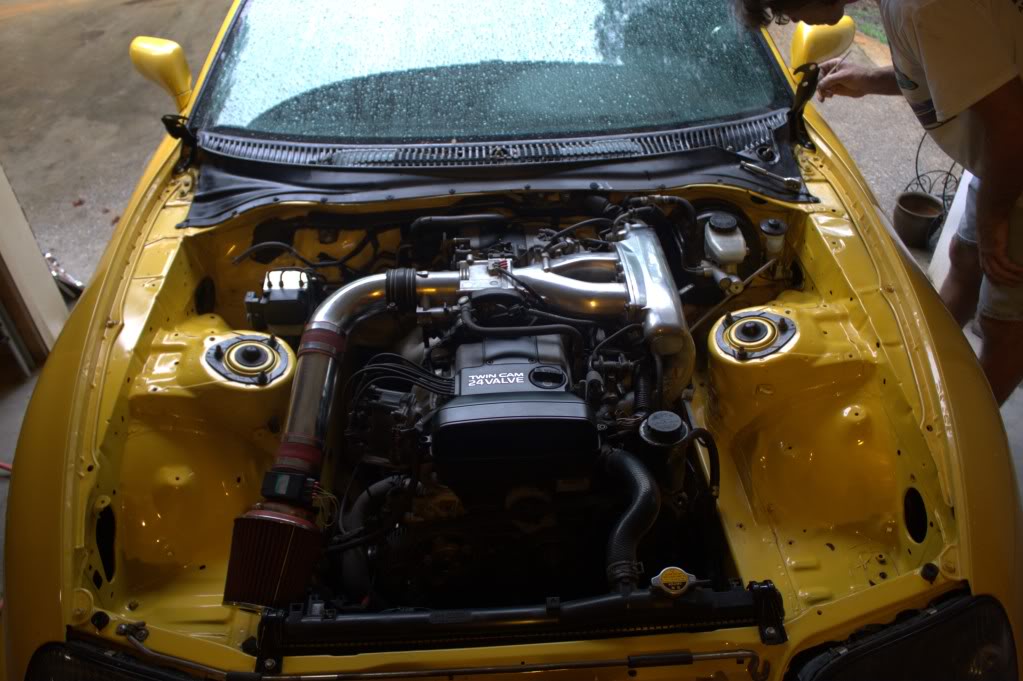
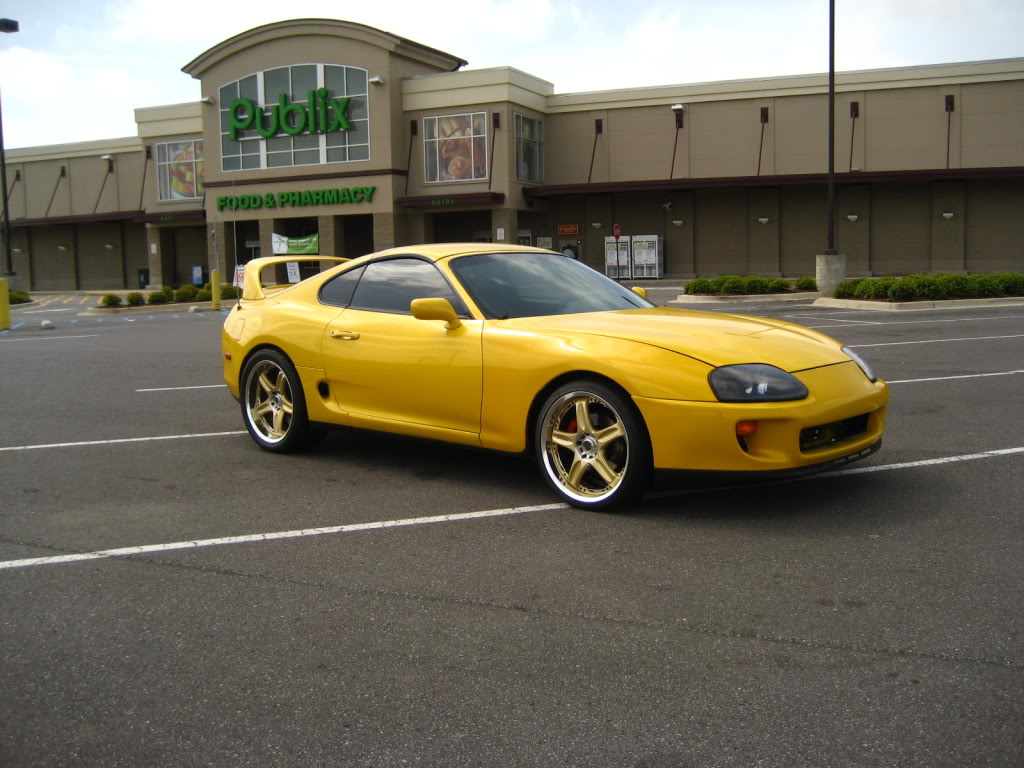

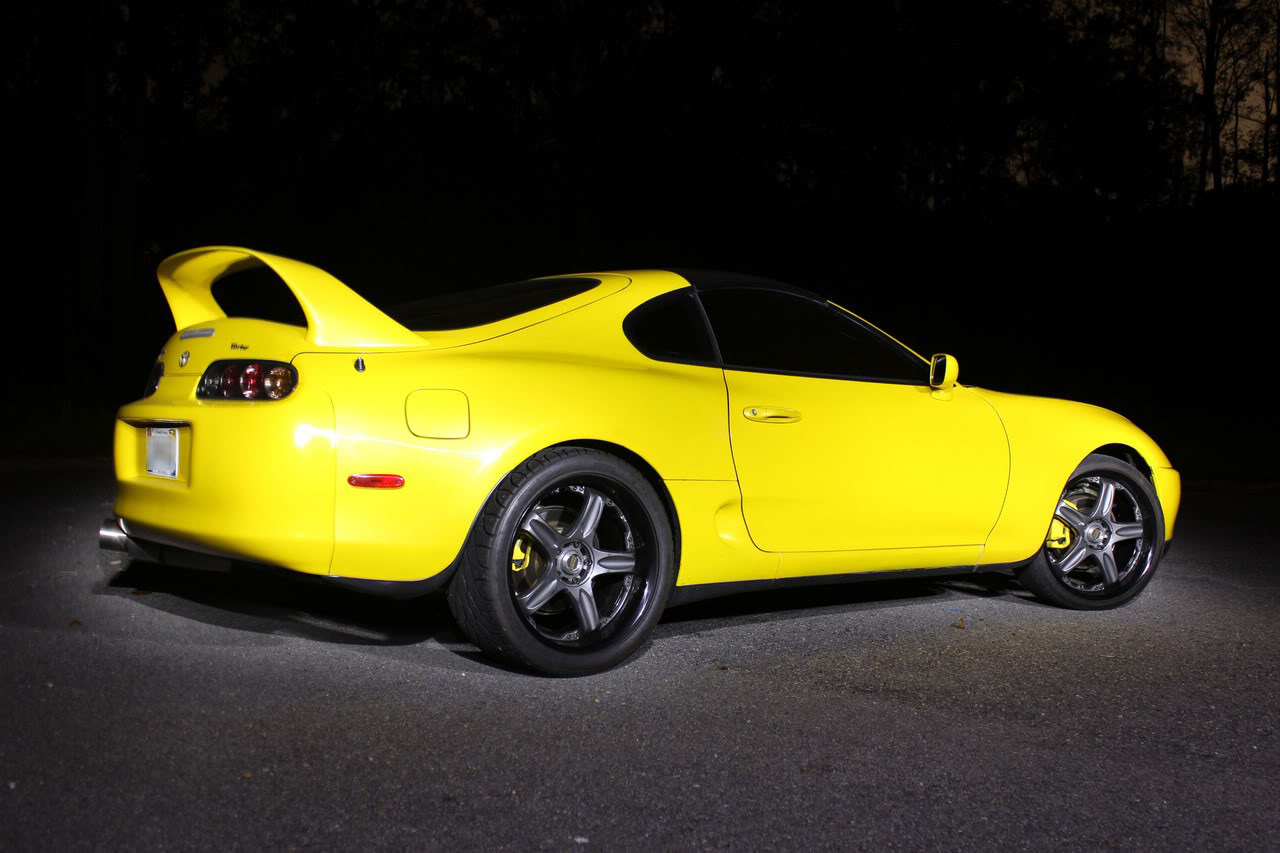
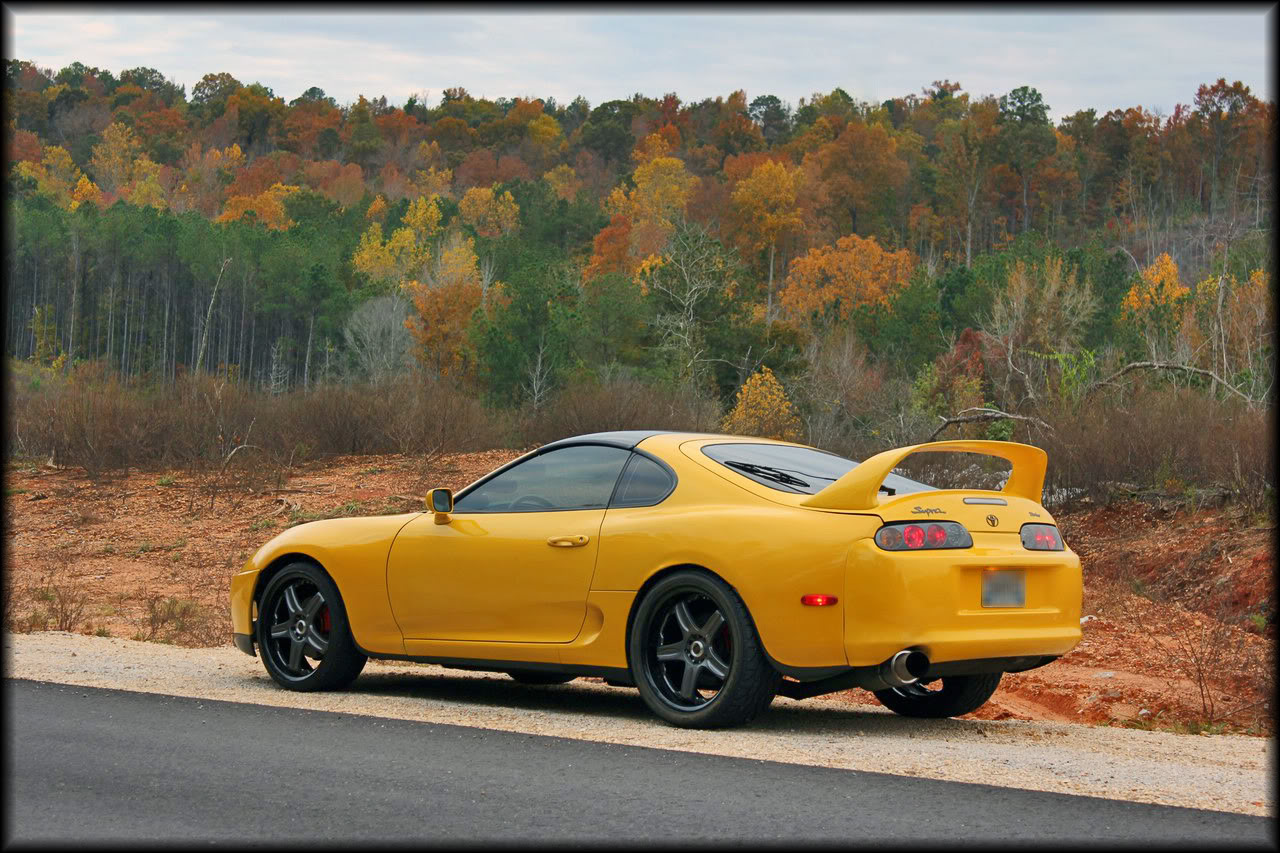
That is about all that Keylan has posted so far. Keylan said that the wheels have since been changed to a set of HREs, and we will be keeping up with the progress on Keylan’s Supra in the future. Again if you want to check out the whole thread click here, but you need to be registered to view it.

I can’t see the photos anymore
getrag in NA engine? what for?