Southrnfresh Mazda Protege 5 Track car project: The final stretch, brakes and suspension
Sorry for the lack of updates, we have been busy getting ready for our show in July. But we have been working on the Mazda as time allows, and we have plenty of progress to show.
The last few things we did to the car ended up being the most important, and most crucial. The car has 290k miles on it, so in the long term I want to have every bushing replaced. But with the time frame and cost, we had to knock the most important parts out.
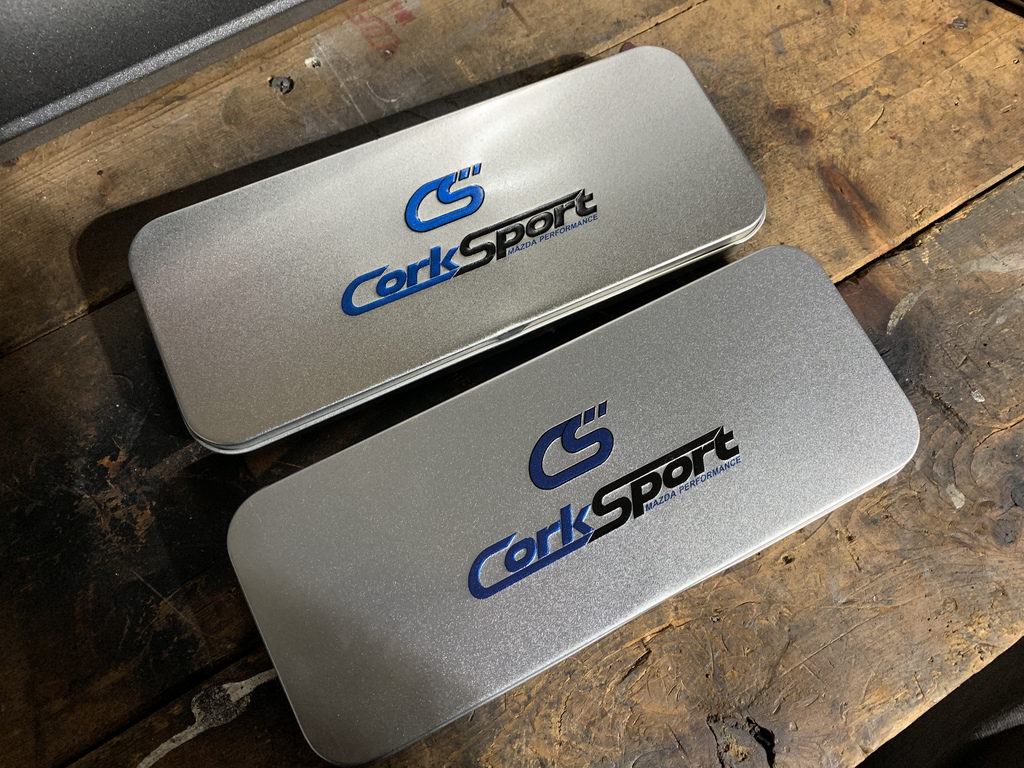
Corksport is one of the few vendors still making parts for the P5 Chassis. Most FWD Mazdas have long throw shifters, and one of the weak spots is the rubber bushings in the shift linkage, so its a must to replace them.
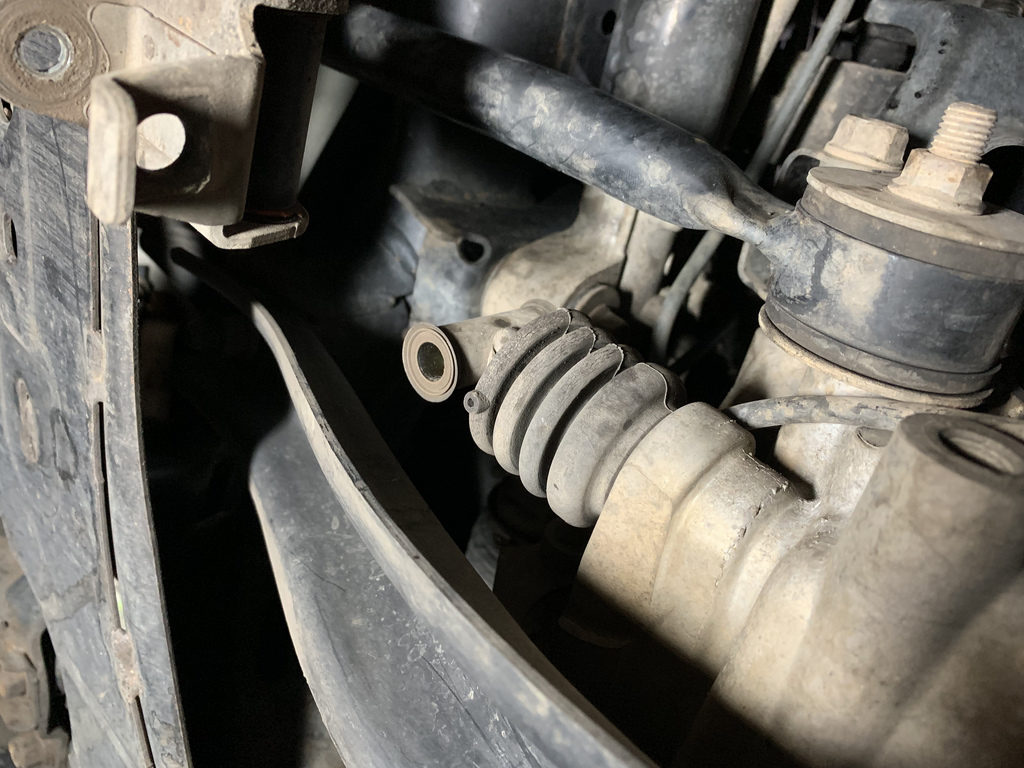
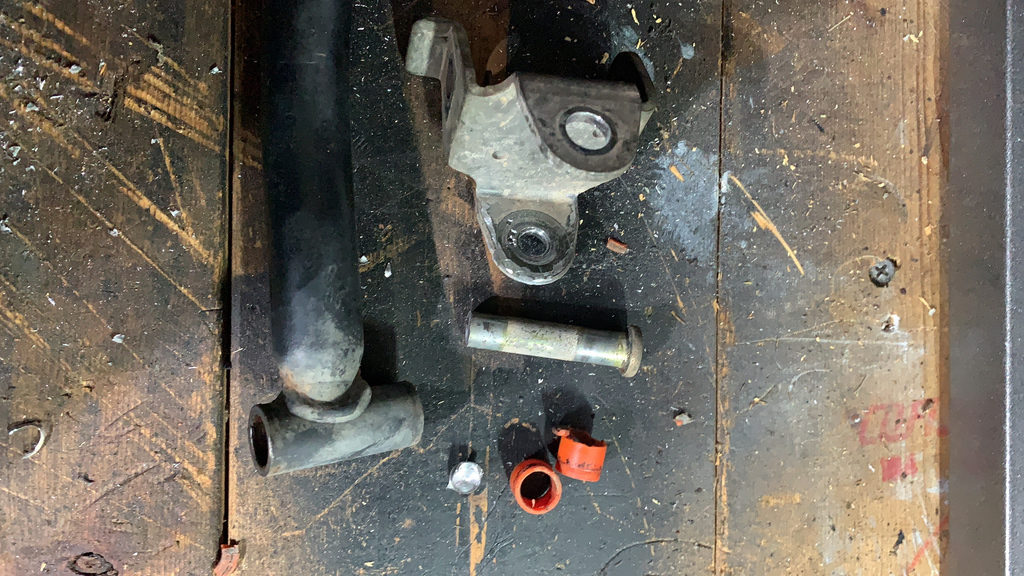
Old bushings in transmission side of the linkage.
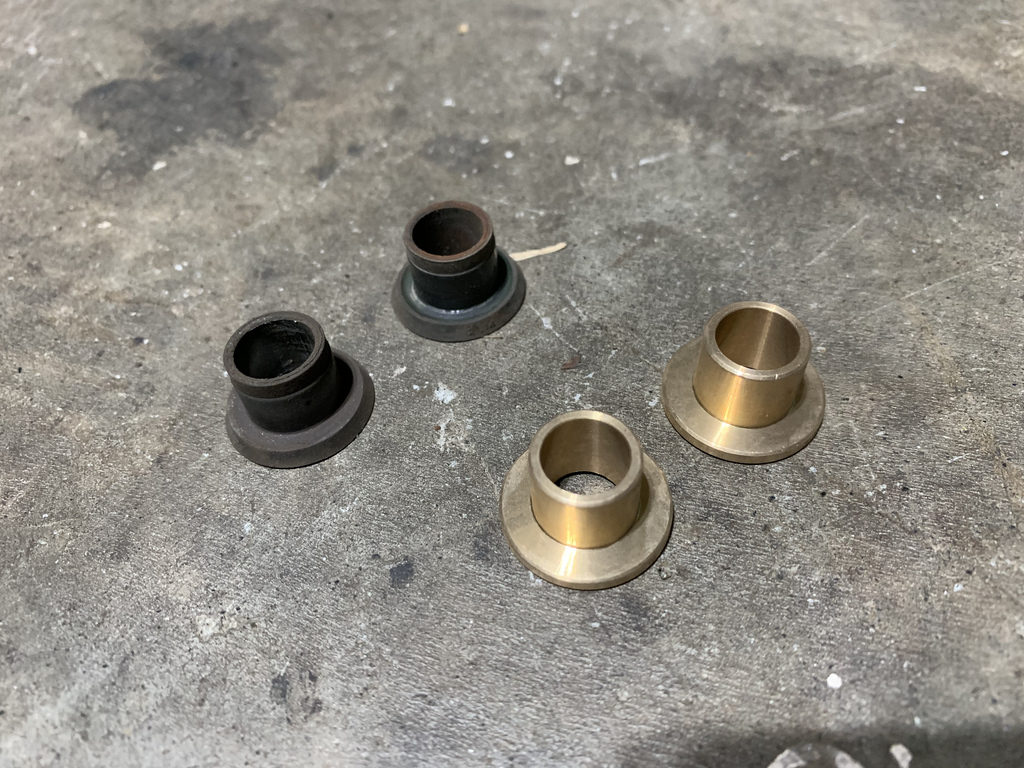
Rubber and Corksport bronze oil bushings .
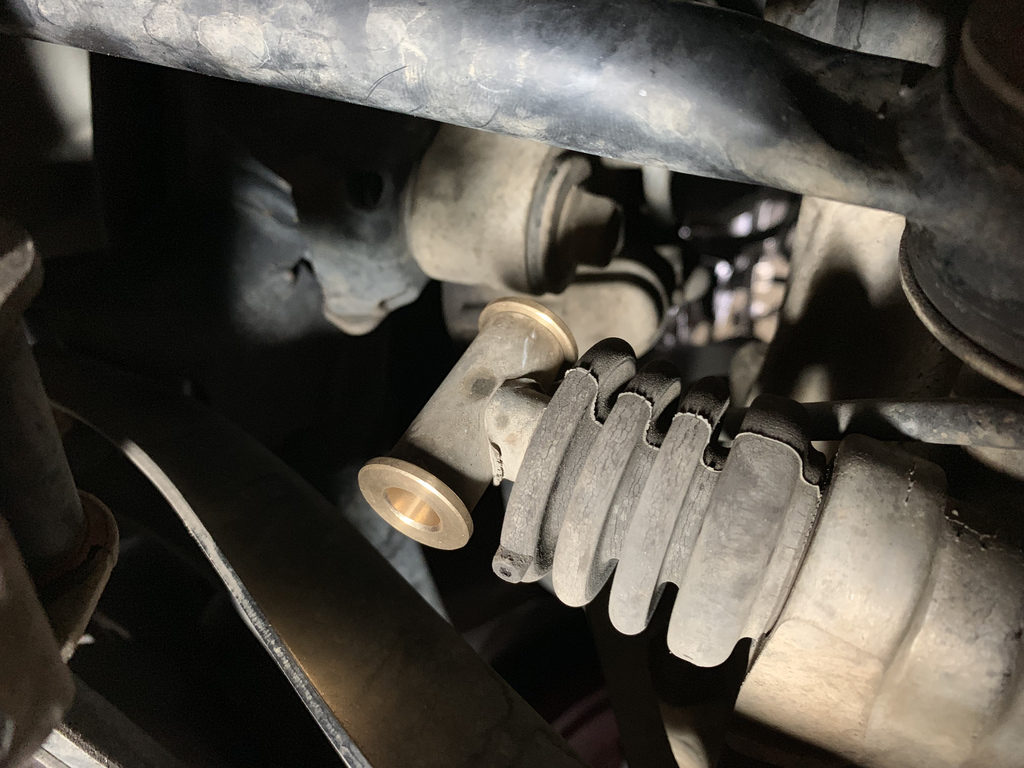
Bushings installed on trans side.
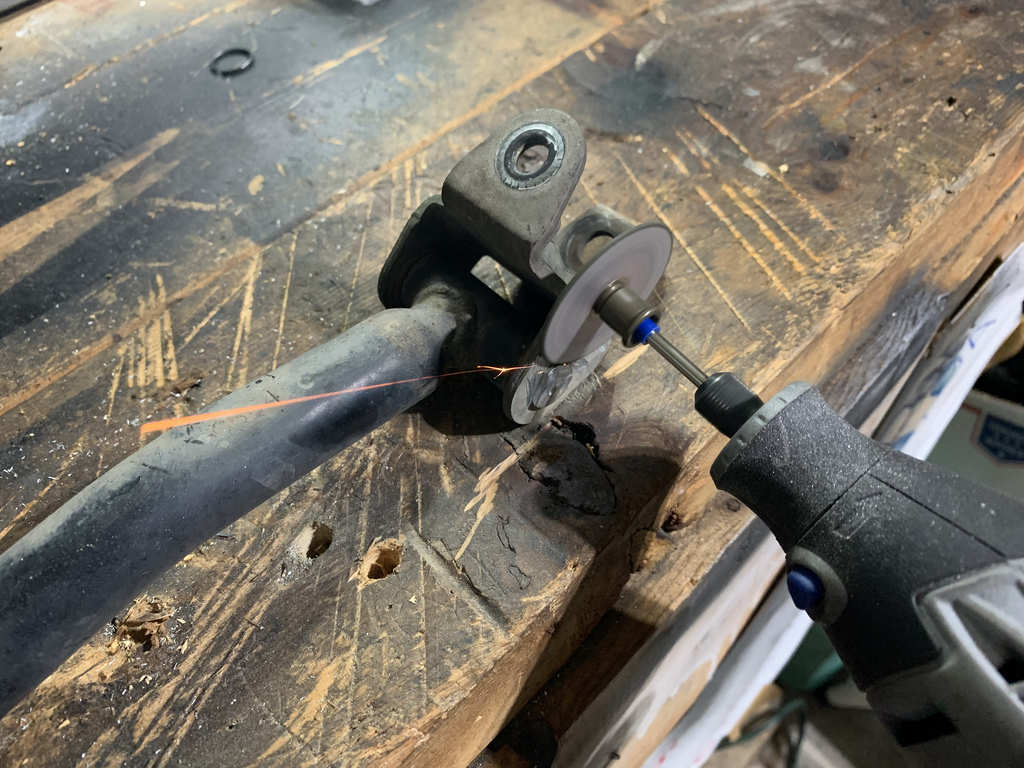
The second part of the kit has comes with the bushings and bolt for the shifter linkage side. But they are riveted into the shifter. You are supposed to drill it out from the inside. But I did it the wrong way, and tried to shave the top and knock it out. It did not work, and I ended up cutting off the head of the bolt from the inside and knocking it out that way.
Shifter linkage bolt and bushing out of the linkage.
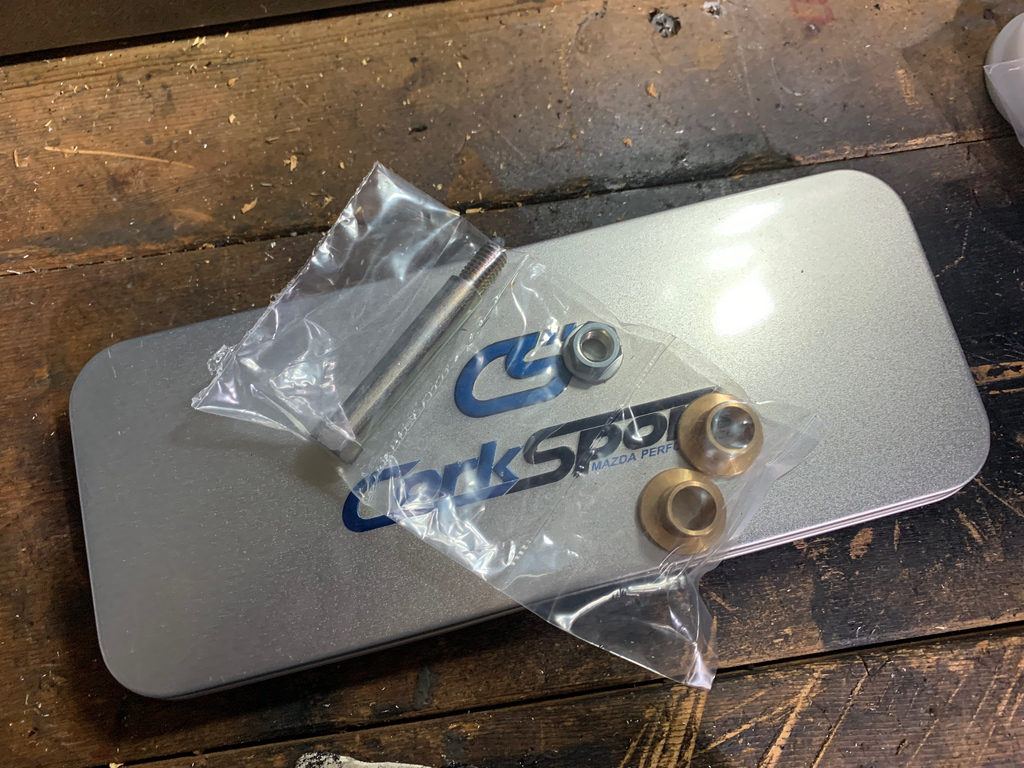
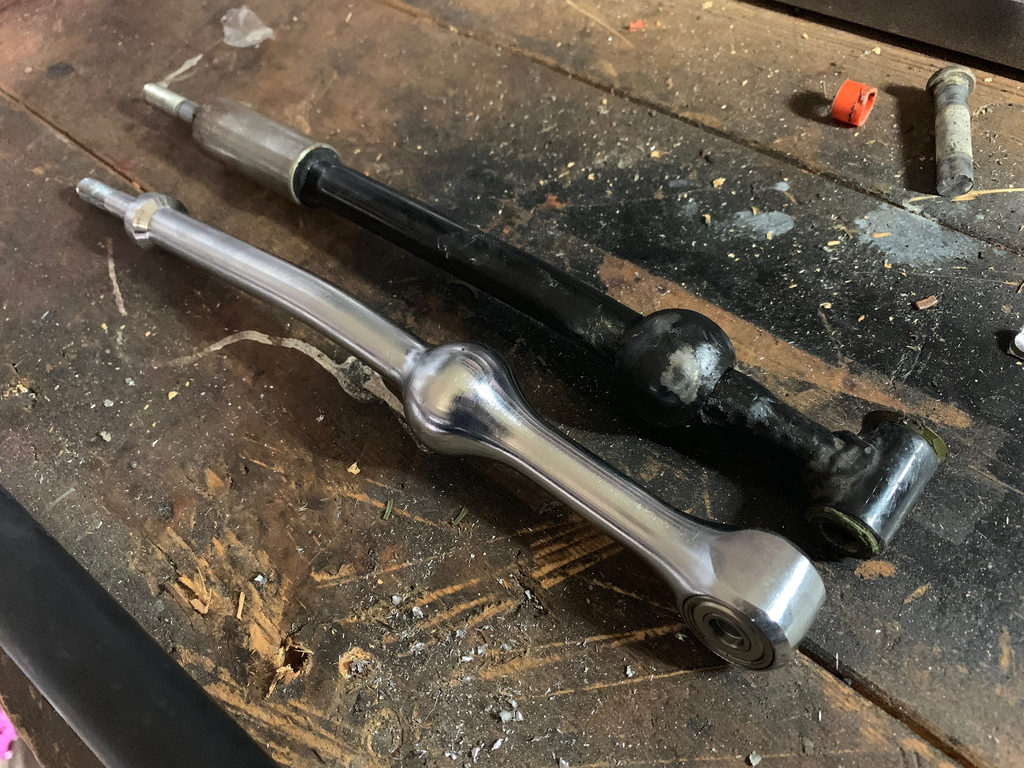
New Corksport bronze oil shifter bushing kit
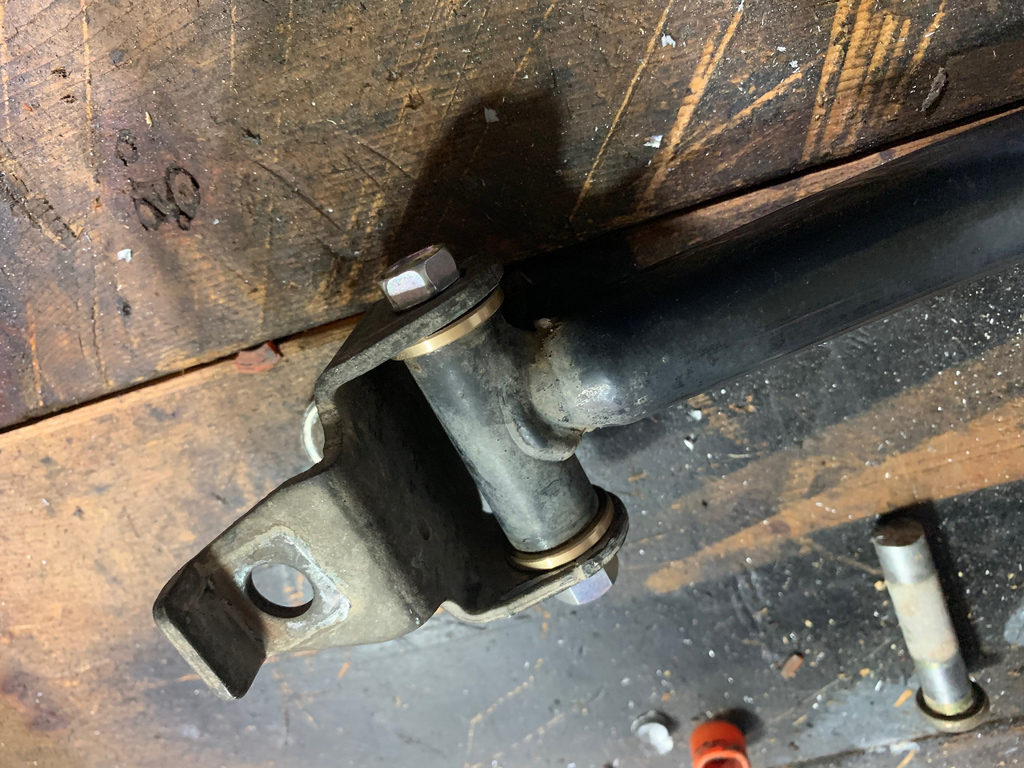
New bushings and bolt installed.
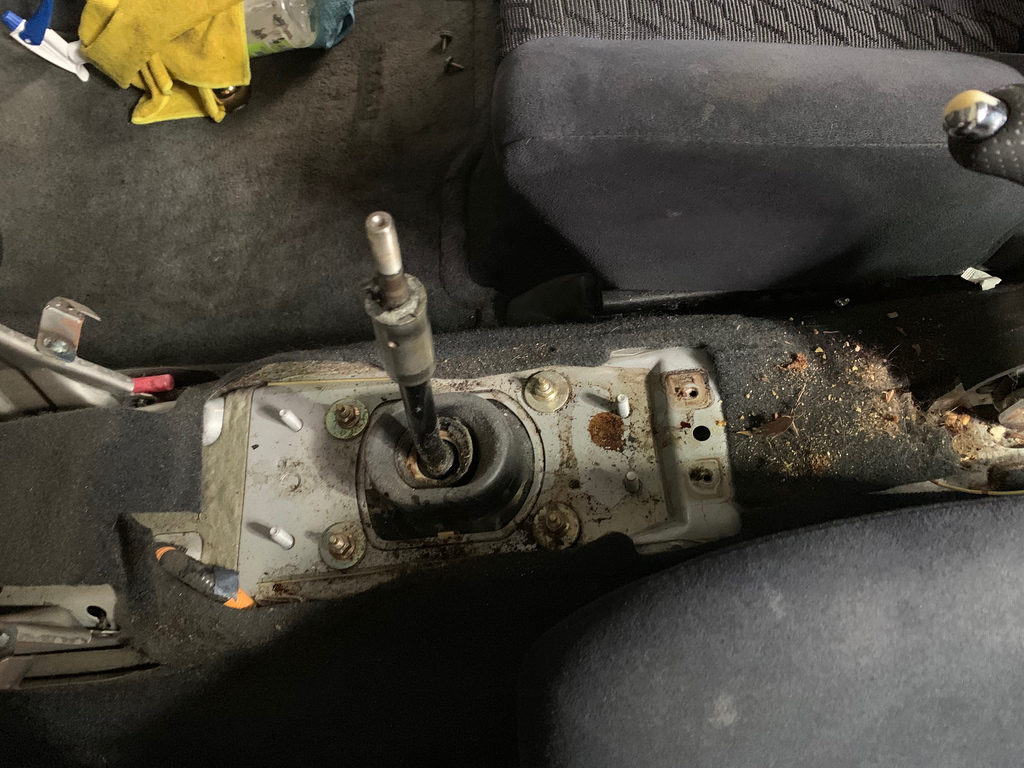
Next was the short shifter .
I searched for weeks to find a old TWM short shifter. But no luck, so I found a Razo short shift kit on eBay for a decent price.
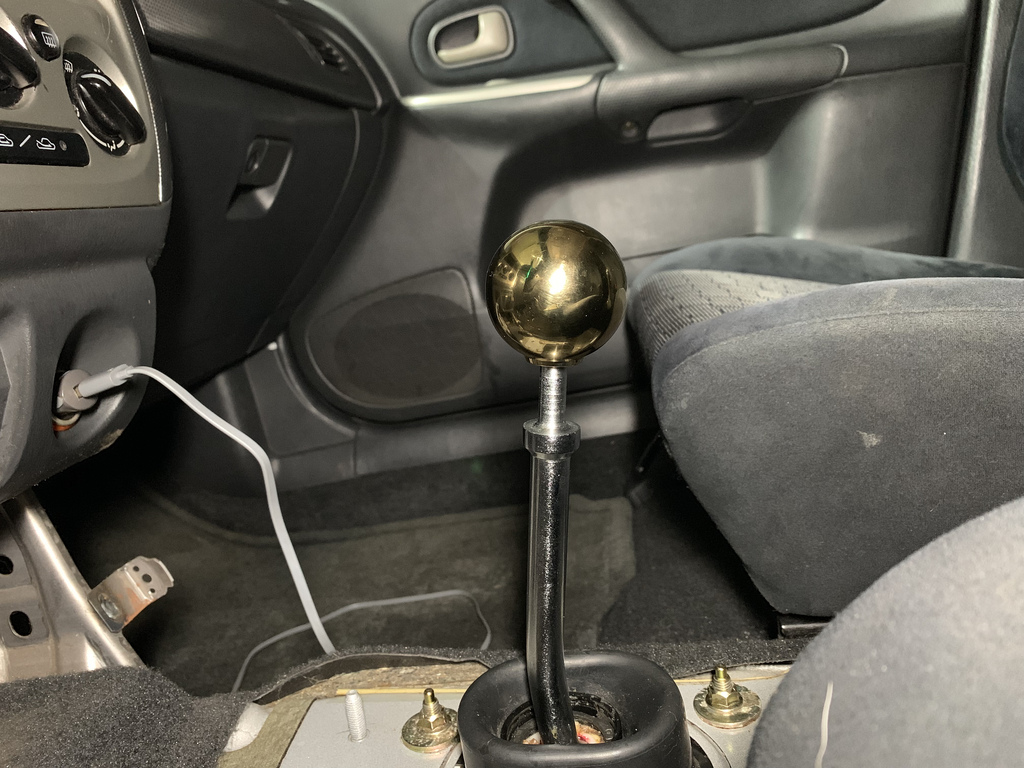
The kit fit good, and made a huge difference in shift throw.
Kit even came with a spacer for the exhaust heat shield.
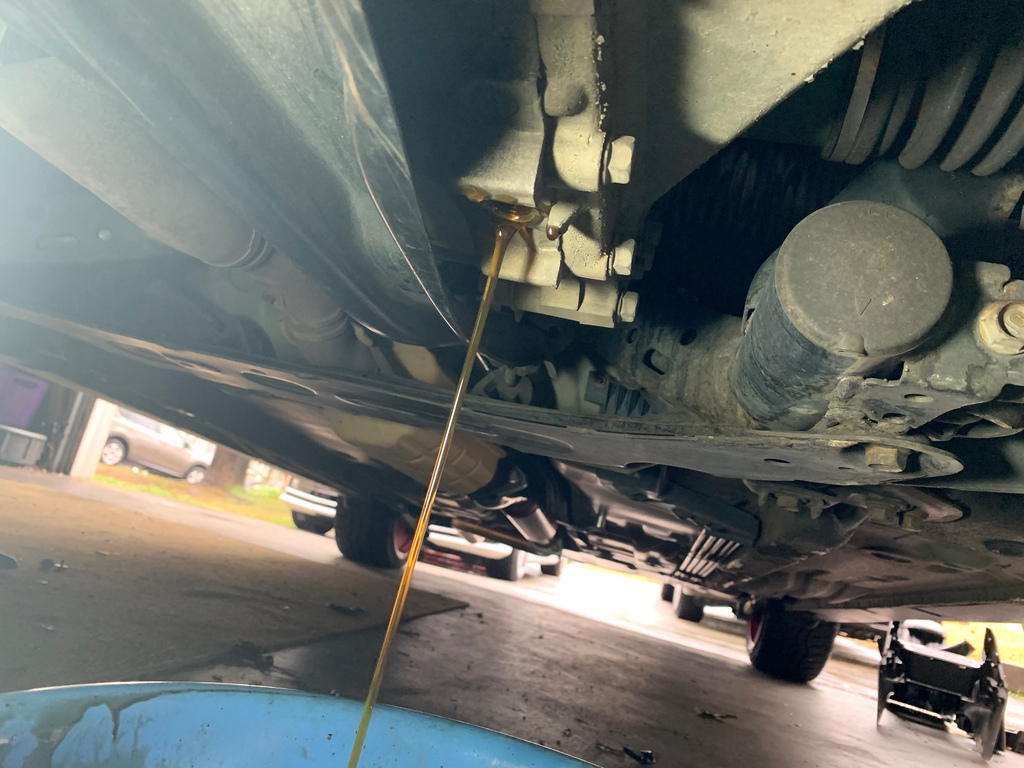
Next was the gear oil, It did not look or smell as bad as I thought it would. But I had no idea when the last time it had been serviced.
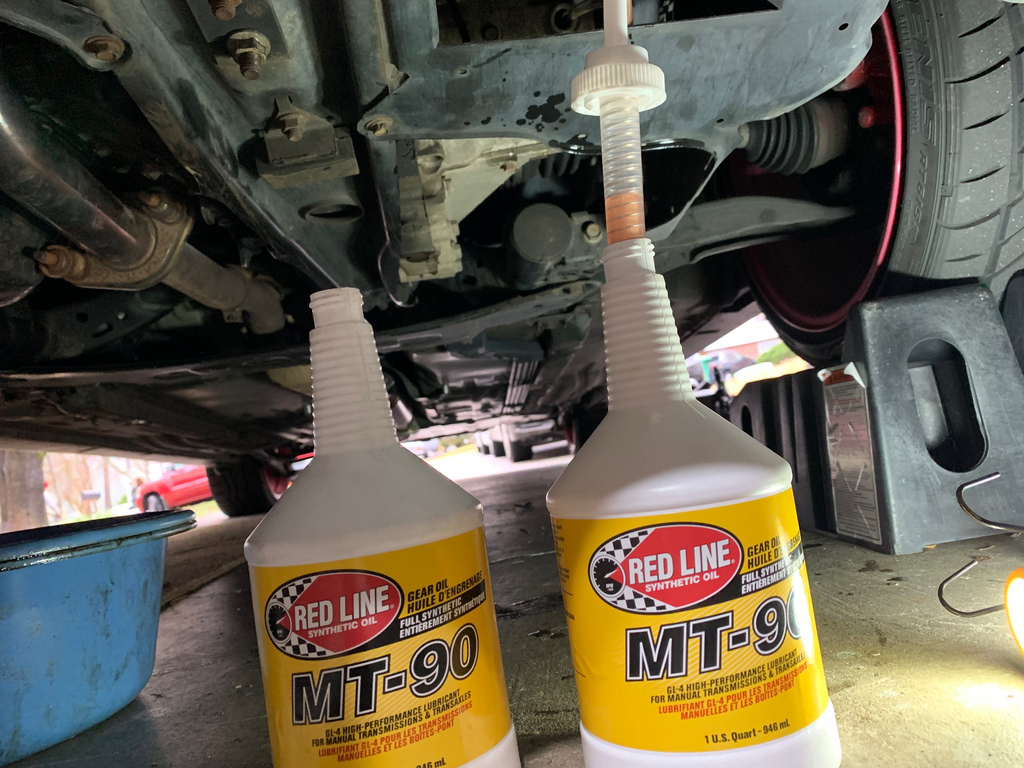
Most people swear by the Redline MT-90 Gear oil, so I gave it a shot. And it seems to have made my slight 3rd gear grind a little smoother, but doing the shift linkage bushings, short shifter may have had something to do with it as well.
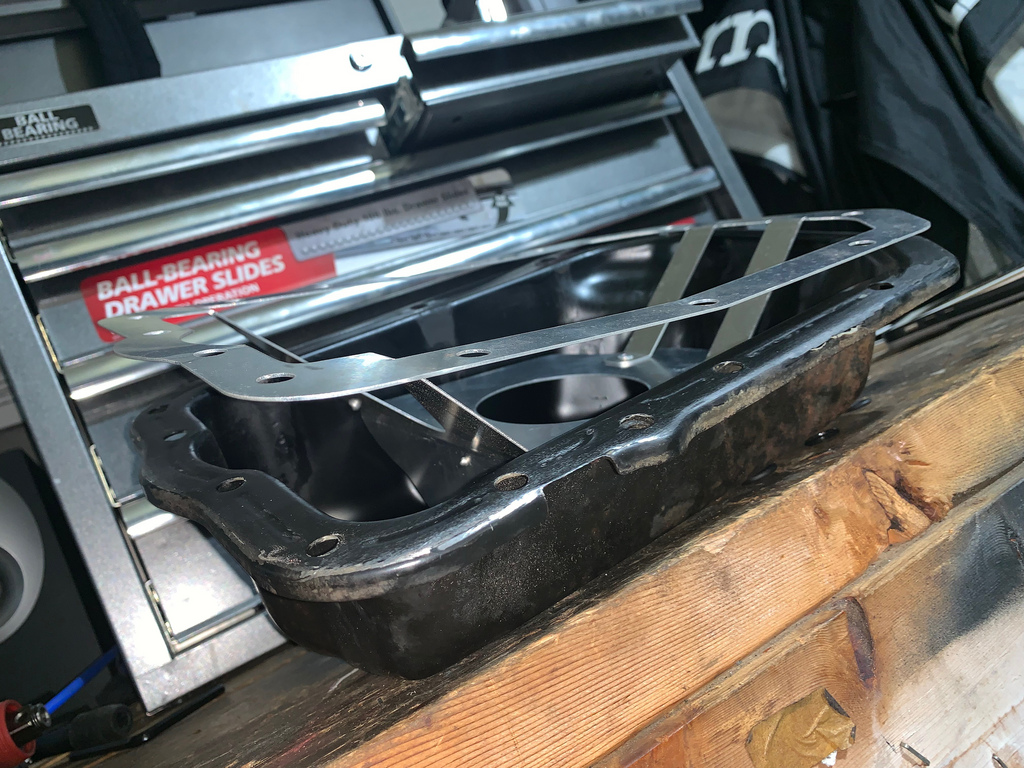
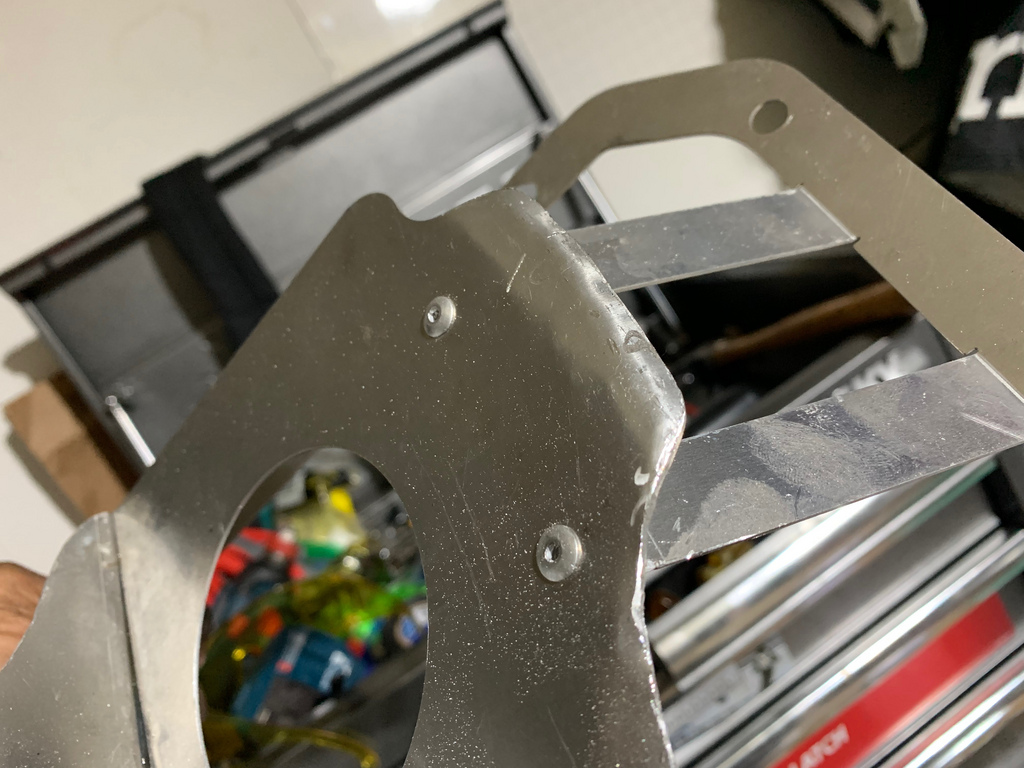
The next thing was correcting the oil starvation issue these motors are plagued with. The oil baffle system on the Mazda FS , is not built for any sort of spirited driving. The best way to resolve the problem is to either replace the pan with one of the few aftermarket oil pans that comes with an improved baffle setup to help.
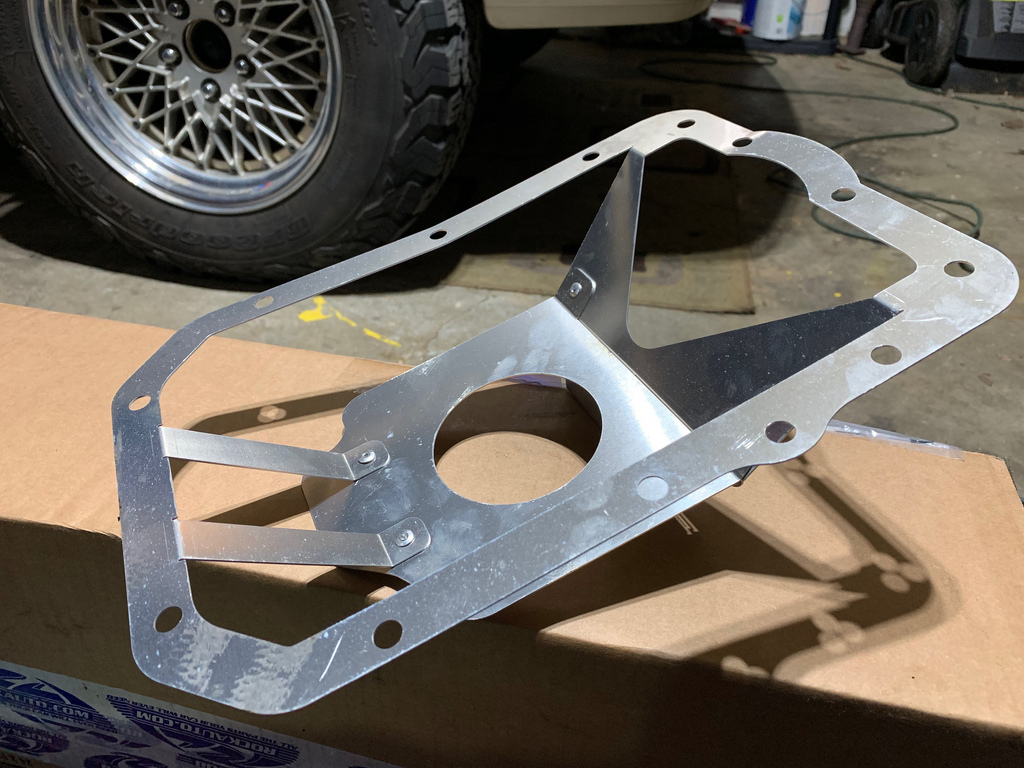
I wanted to keep a budget so I opted to go with a oil baffle insert that just lays inside of the oil pan. You can see the trap door that keeps oil from going back away from the oil pickup.
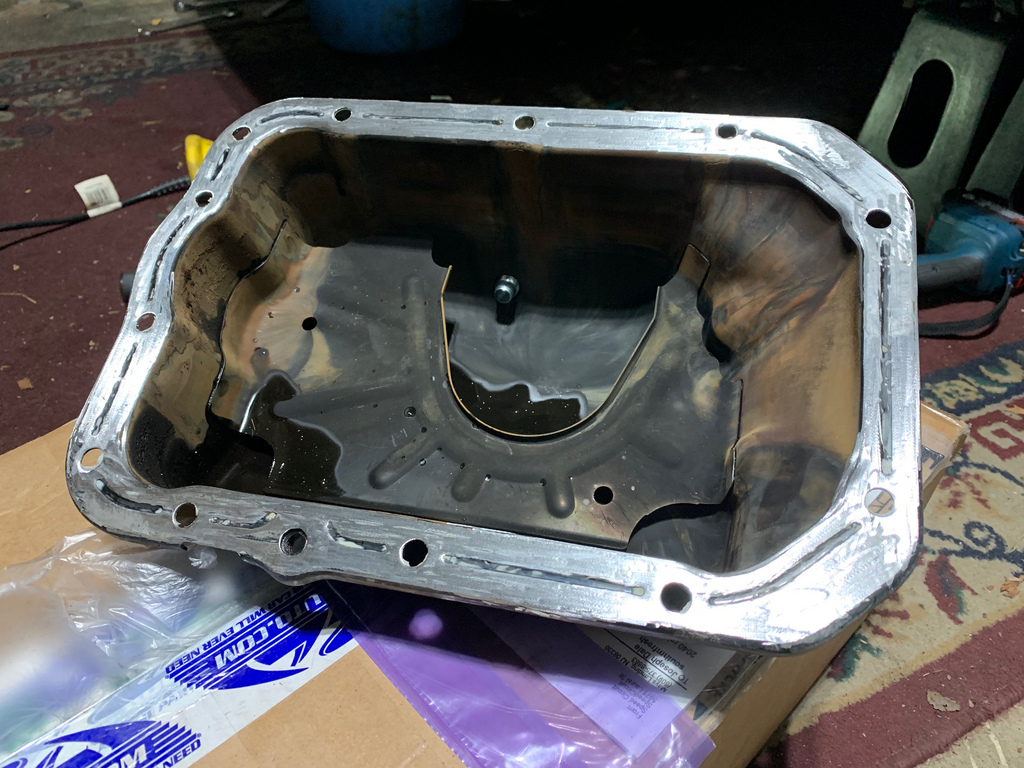
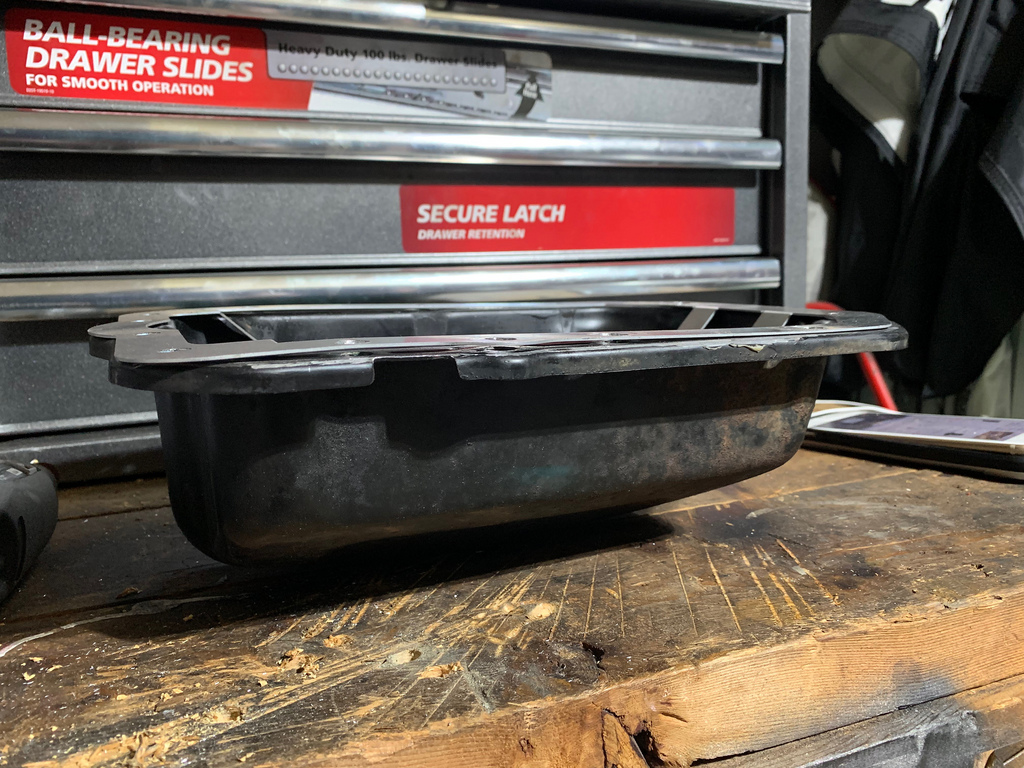
You can see in the oil pan that there is not any sort of baffle in the lower pan to keep the oil centered by the oil pickup. In order to install the oil [an baffle , the factory baffle has to be removed.
Again my friends at Atlanta Speed Company took care of me and I got the oe oil pan baffle removed.
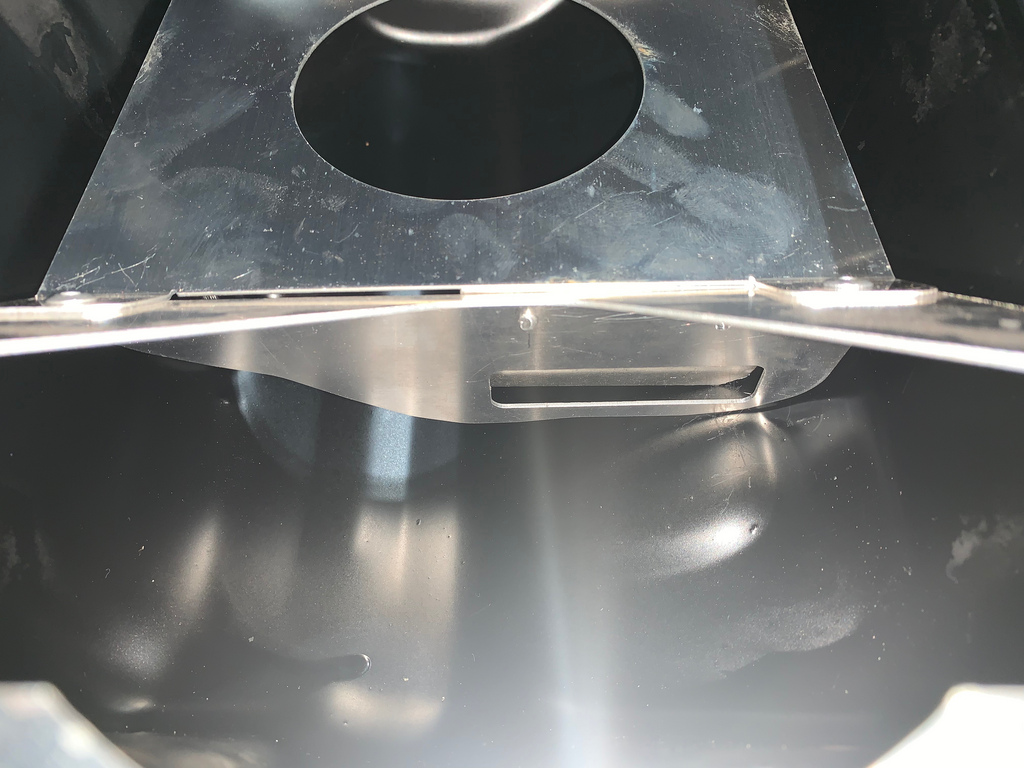
As you can see in the photo , the baffle appeared to be made incorrectly. Its almost like it was made backwards. I should of known that this would happen, because no one had ever installed one, and there were no instructions or information about them online. Years ago people would just replace it with the upgraded oil pan, which also had fitment problems. So I did not wanna take the chance and spend the extra cash for something that may not fit right. I spoke with the vendor and they took it back, and said they would get it redone and built right.
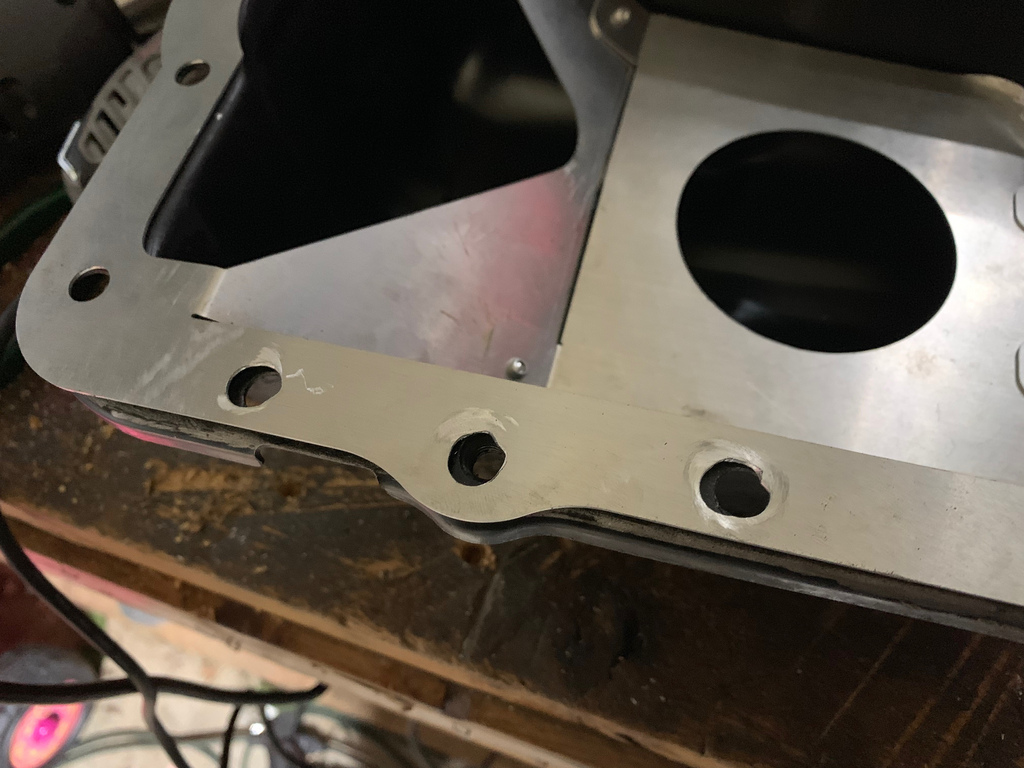
After a week, I got it back. And it still had some weird fitment issues. In this photos you can see that the holes were off.
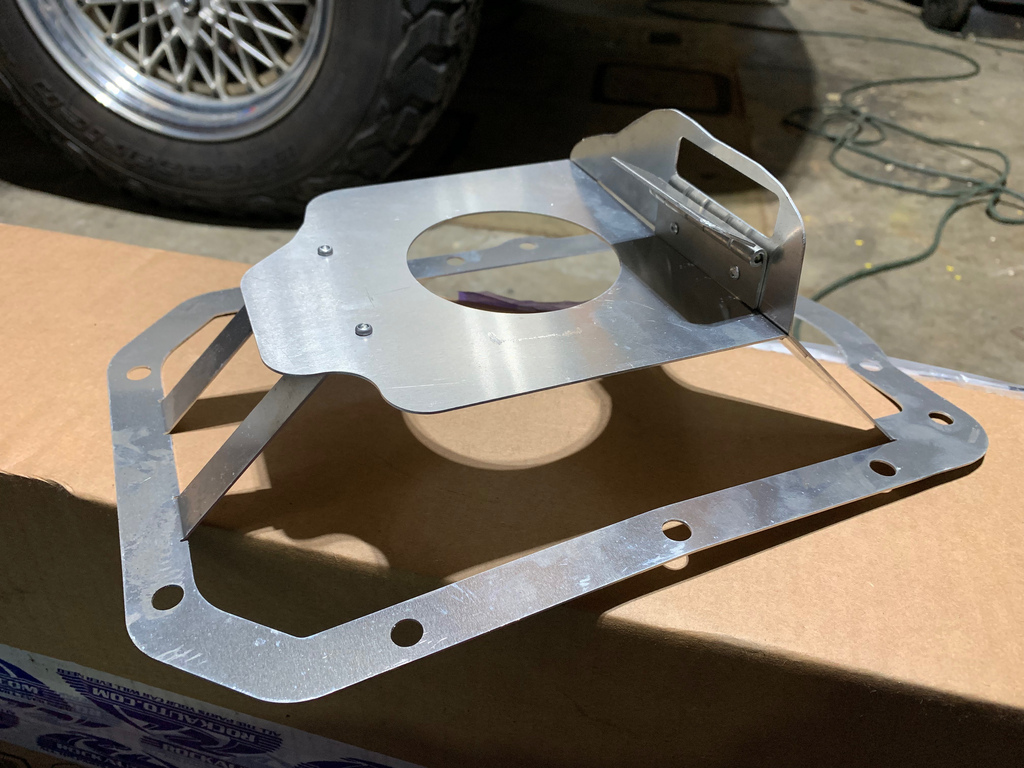
The edges that laid in the pan were much better, but still off as you can see. So the insert could not sit flush on the edges.
The shelf portion of the baffle was also shaped wrong.
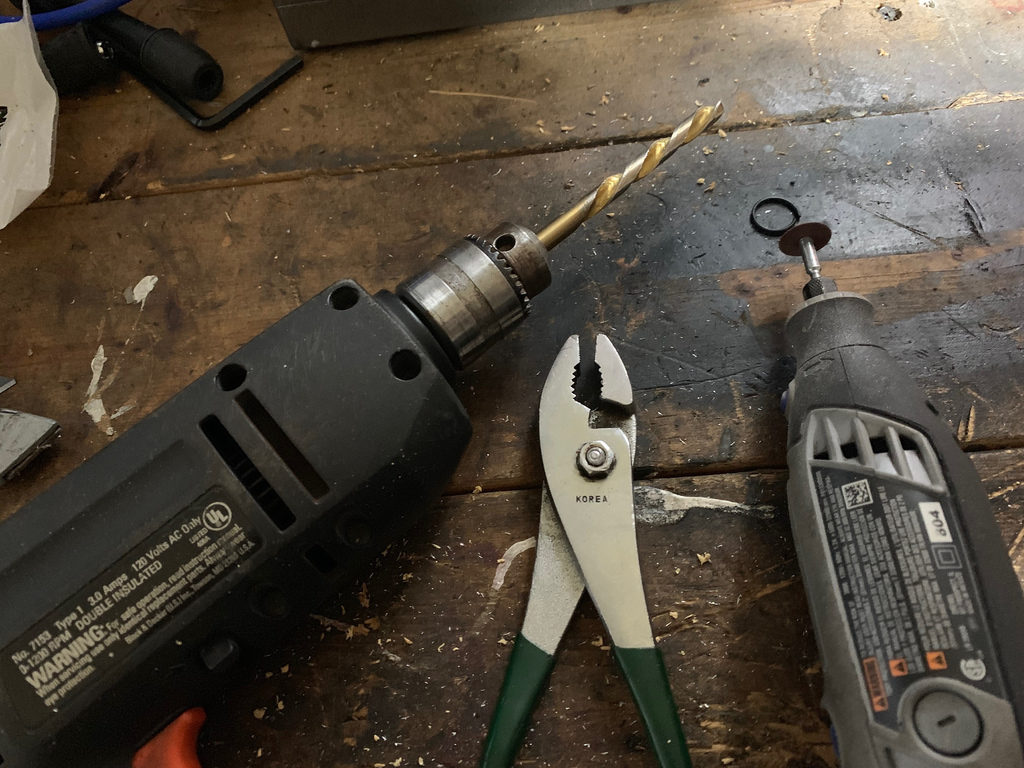
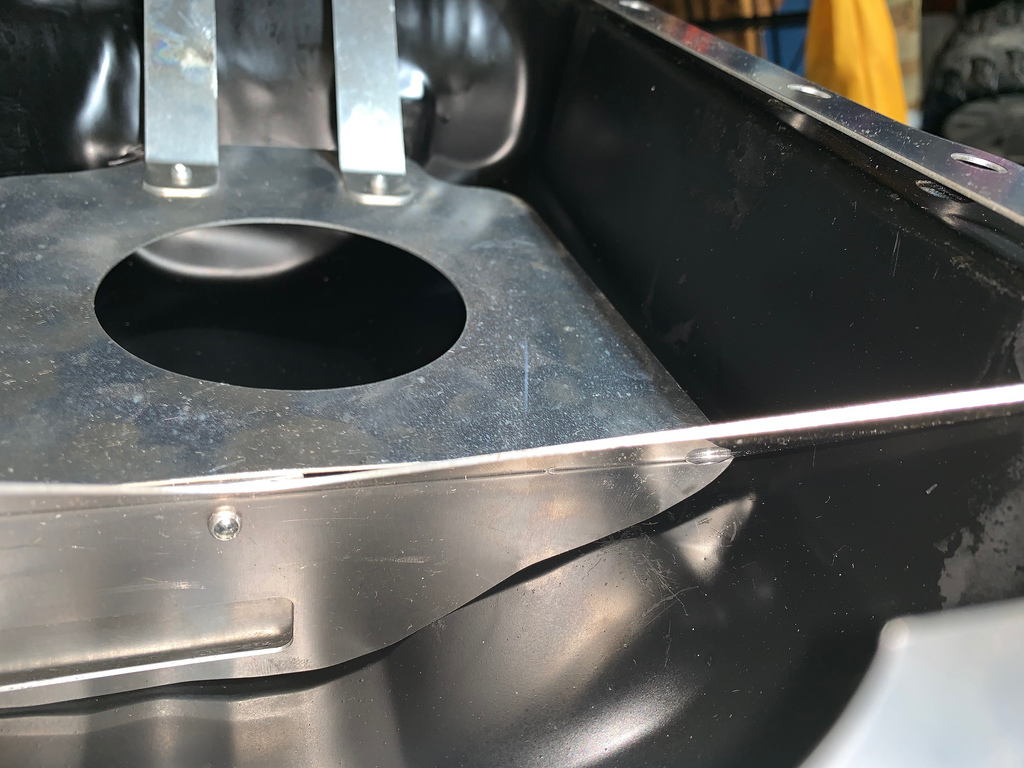
At that point I did not have time to have it fixed again for a 2nd time. So I got out some tools to fix the problem and make it fit.
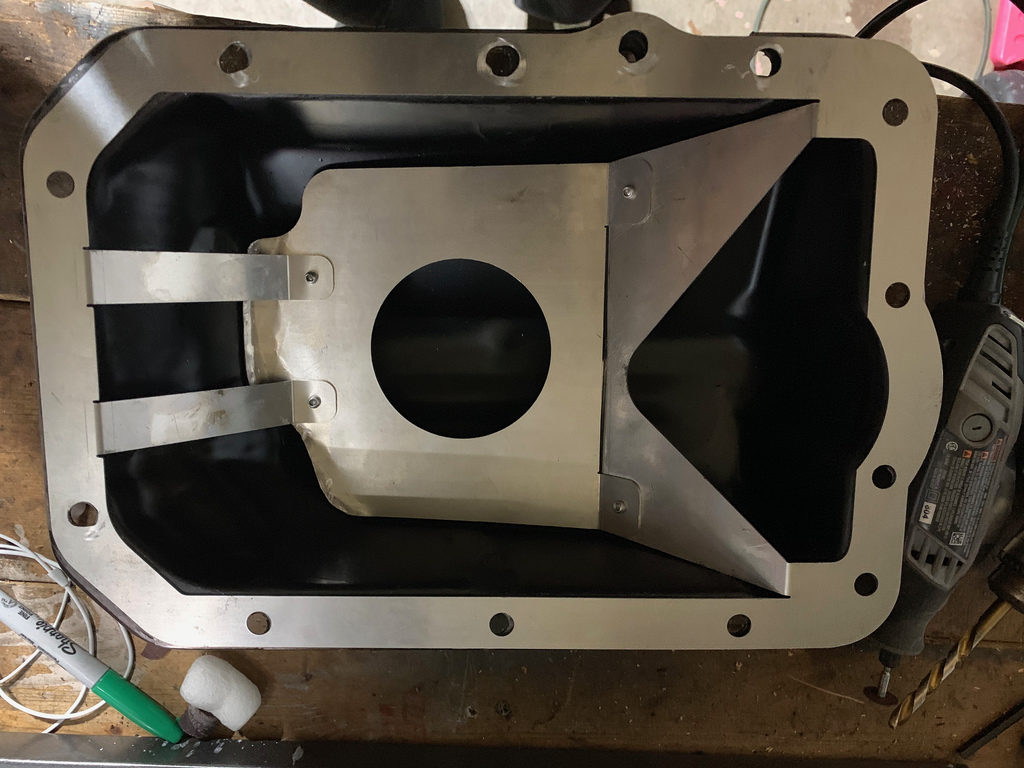
After about a hour and half of bending, trimming , and drilling I managed to get it to fit properly.
Finally sitting flush. If I had more time, I would have liked to send it back and get it made to fit exact. There is another company that is working on a upgraded oil pan that I am waiting to be released, so when that releases I will change to the whole pan.
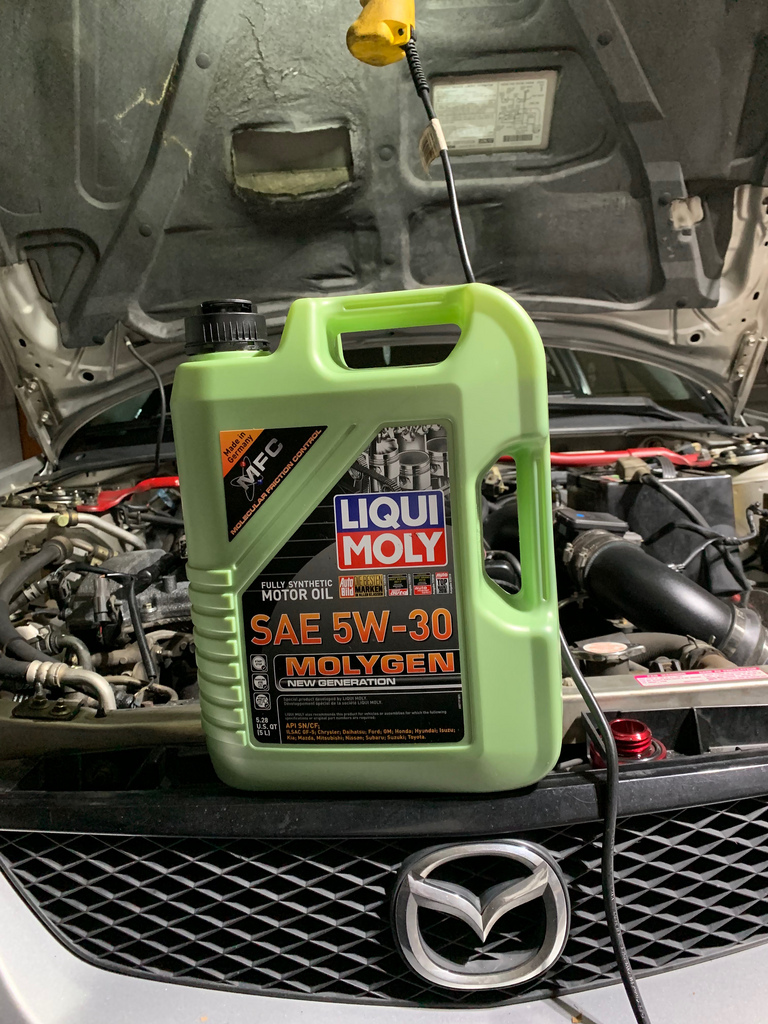
I also decided to change up to the Liqui Moly – Molygen a try. Since I have heard so much about their new green bottle oil.
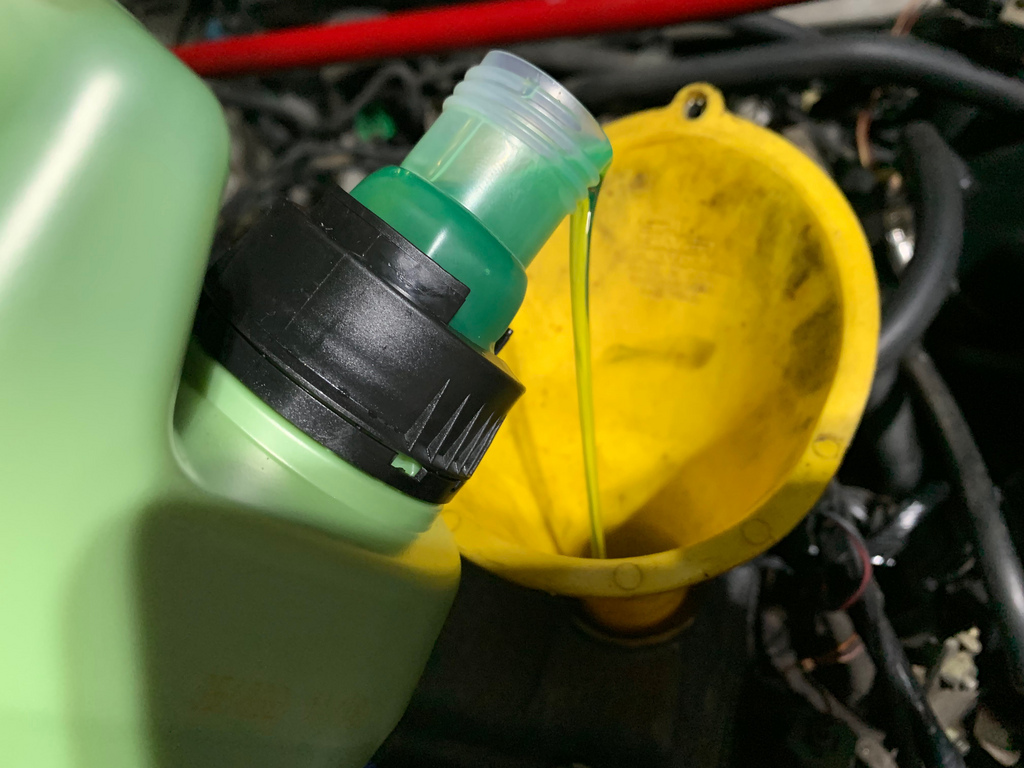
And its green.. But I wanted to be sure that the bearings were protected as best possible, and I had absolutely no chances of oil starvation. My only regret was not going with a heavier weight.
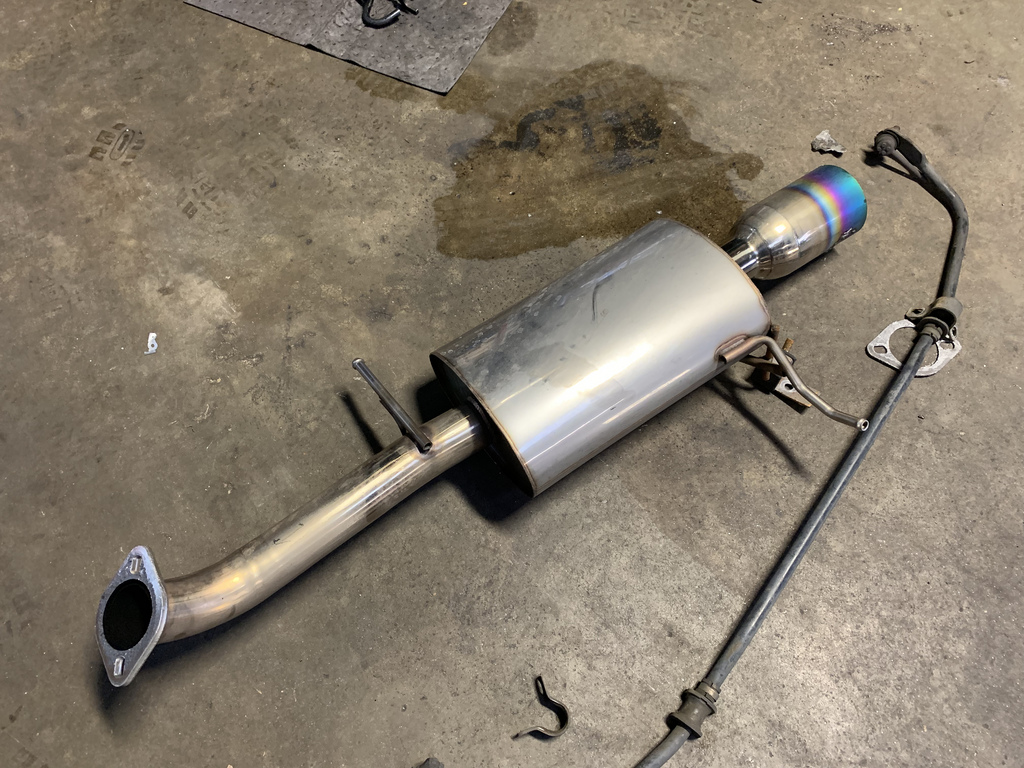
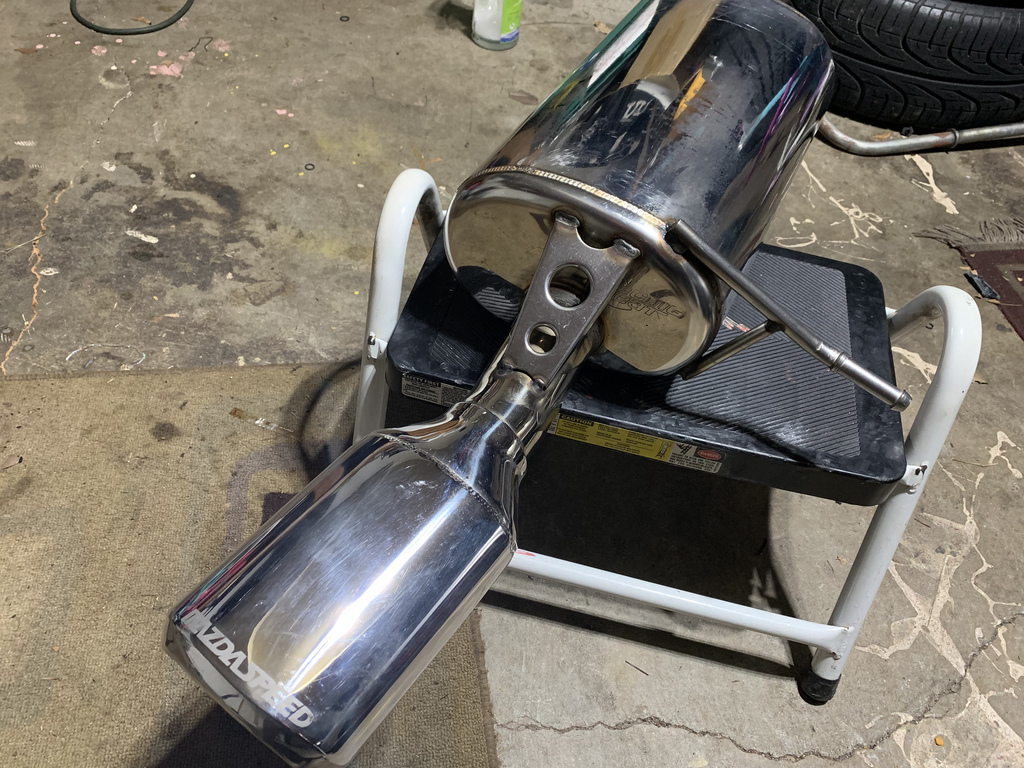
The cheap exhaust system from eBay fit well, and got the job done as far as being an exhaust. But the car was too loud for me, and sounded terrible. The muffler it came with was pretty much an empty canister.
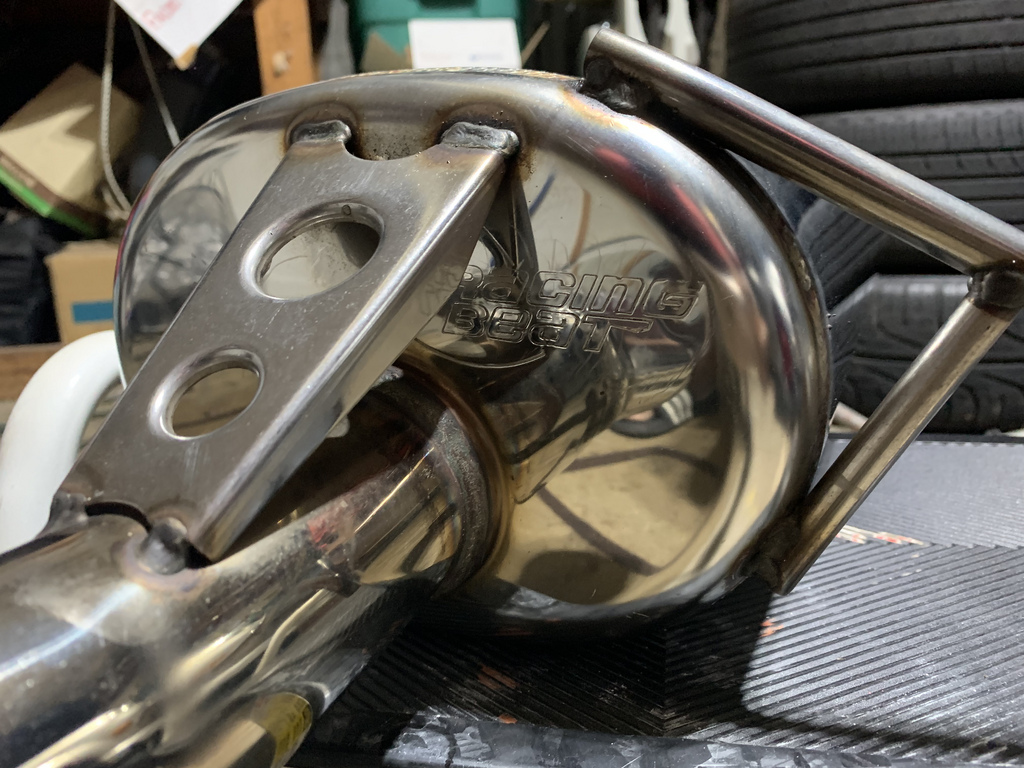
I decided to go with a Racing Beat muffler from a Mazdaspeed Protege, to hopefully quiet the car down.
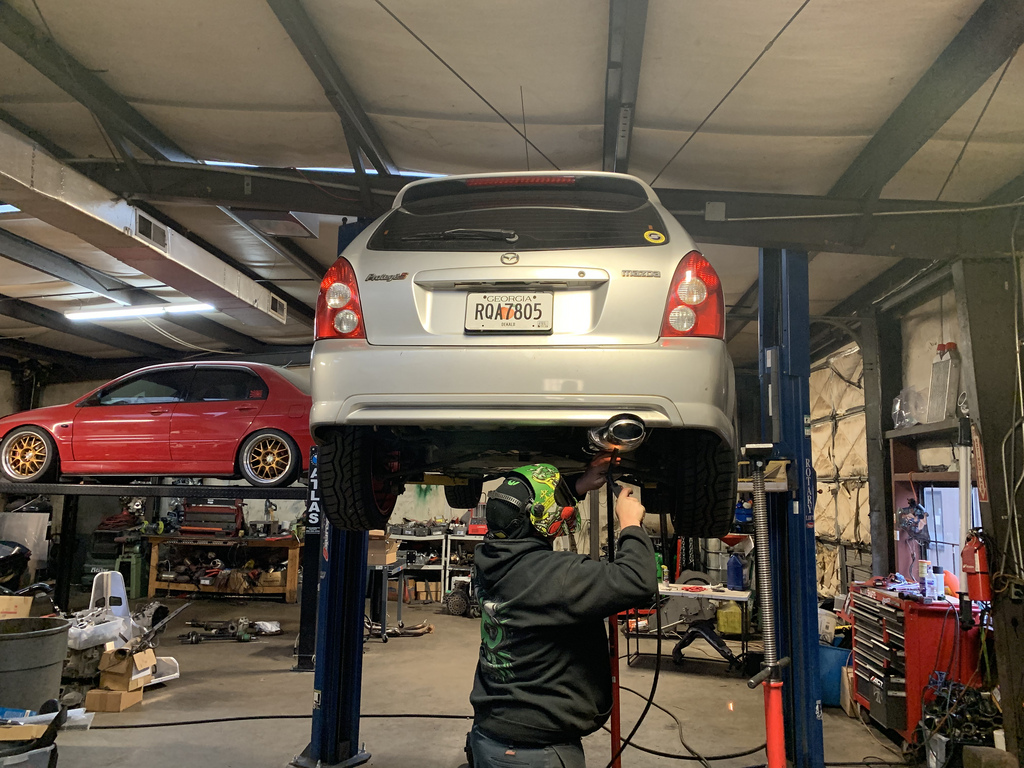
James at EBtec installing the Muffler. The Protege 5 is not as long as the Protege sedan. So it had to be modified to fit under the bumper
I also had them remove the catalytic converter.
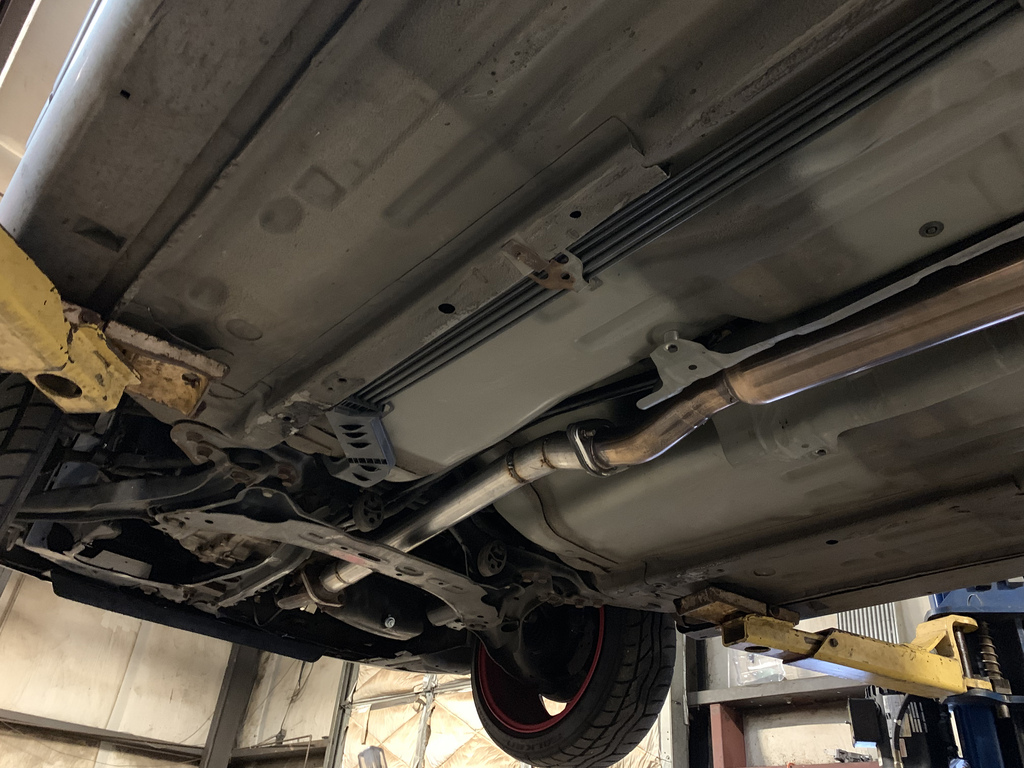
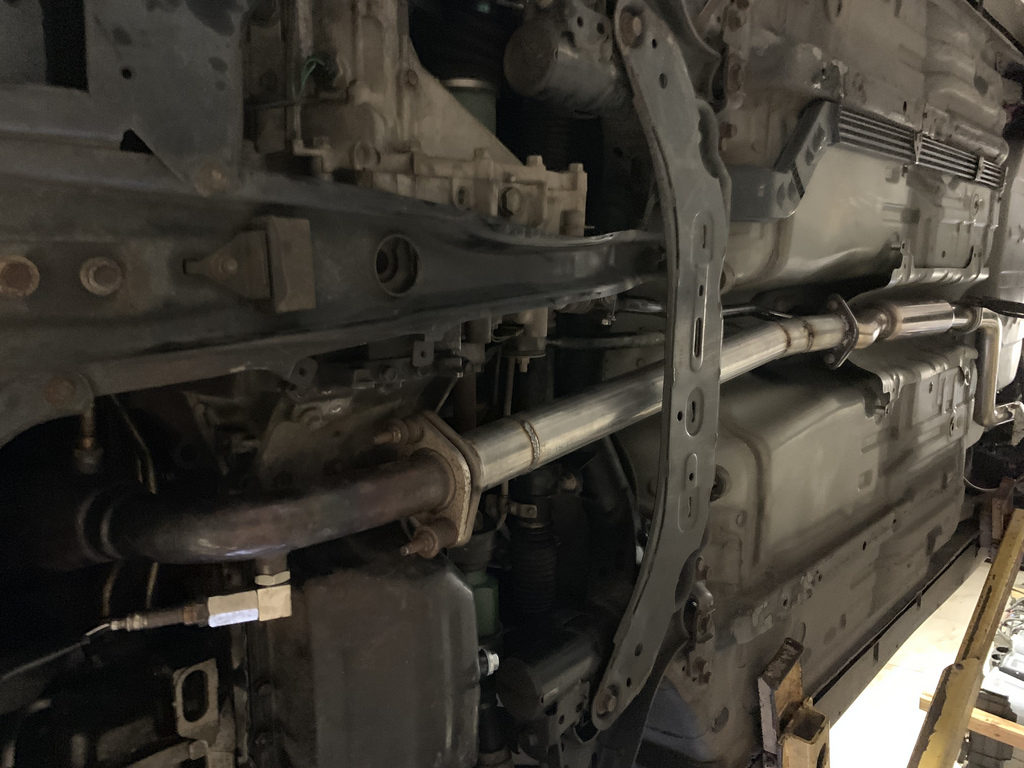
Mid to rear section.
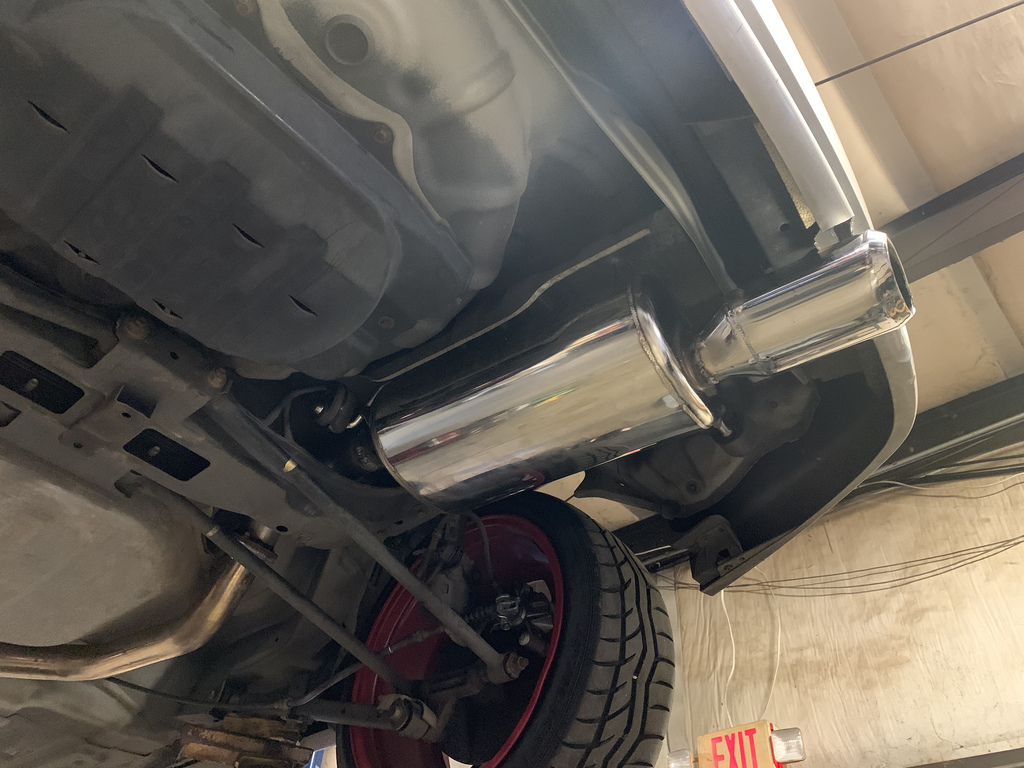
The muffler was much quieter, but still a little louder then I would like it. So in the future ill need to add a resonator and flex pipe to it, and possibly replace the muffler in the future.
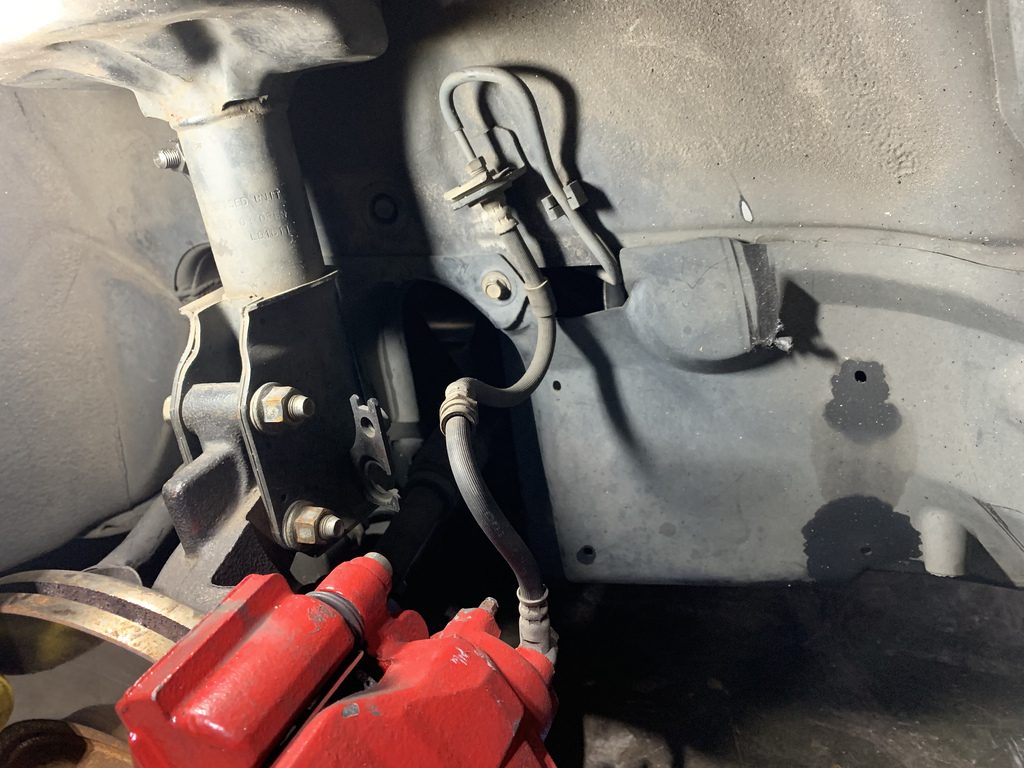
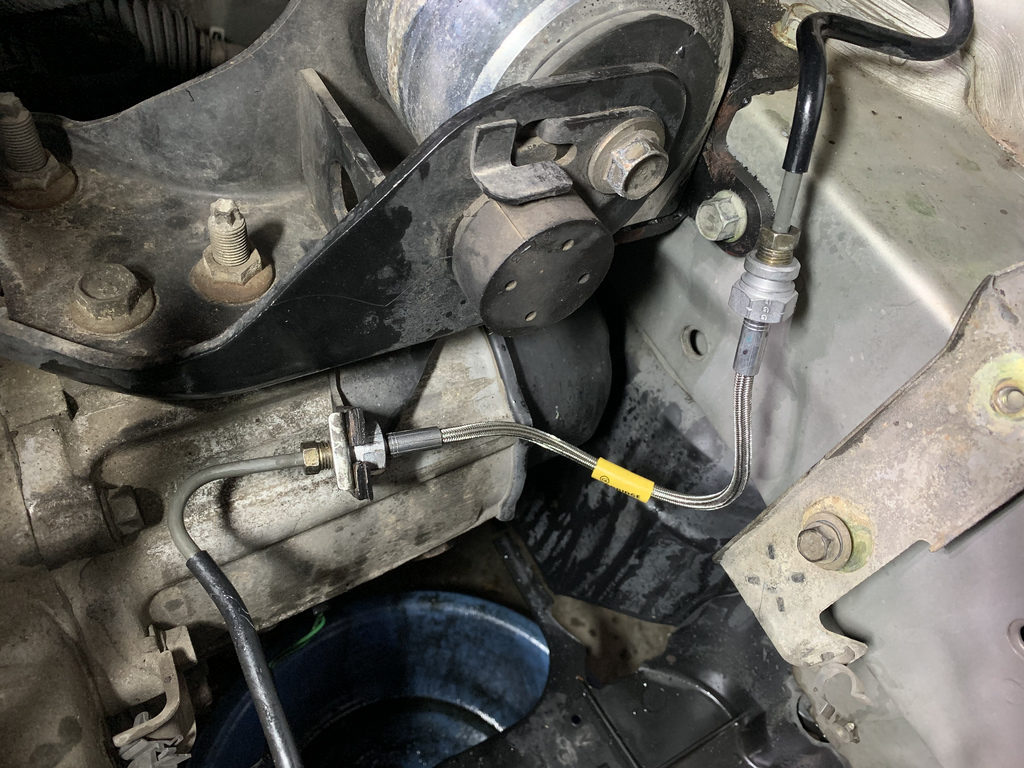
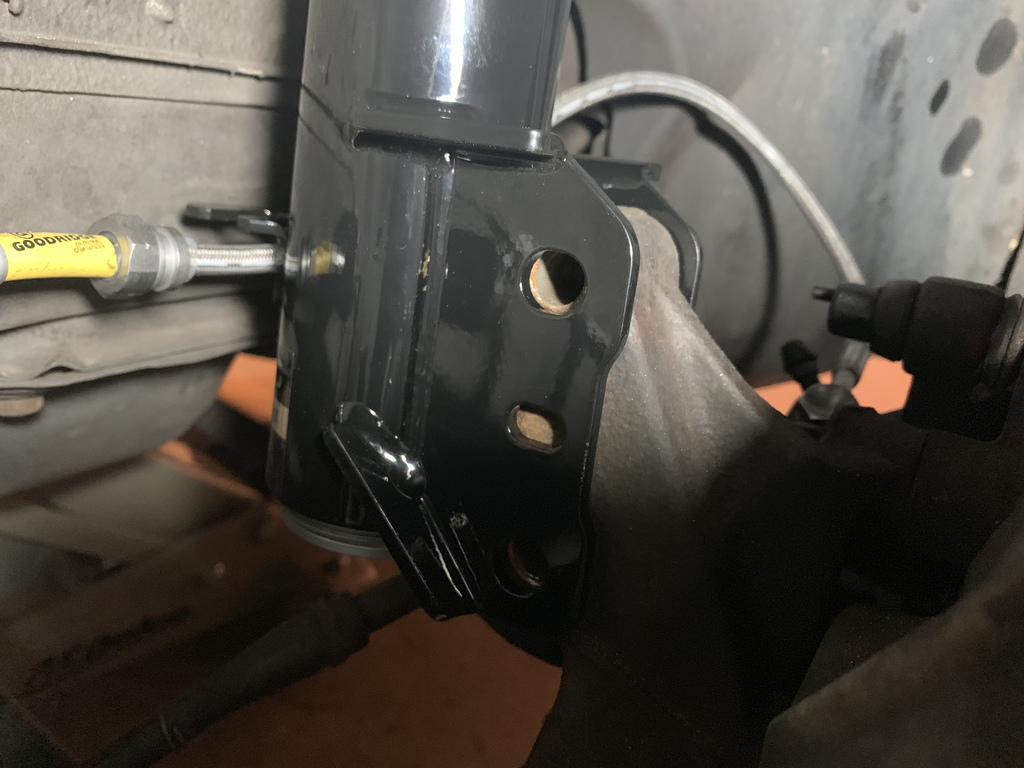
The next project was changing the brake and clutch lines to stainless steel lines. As mentioned before the car was taken care of by the 2 previous owners, and it looked like one of the rear calipers had been replaced at one point. But if I am going to be putting all confidence into my brakes then I needed to upgrade the brake lines.
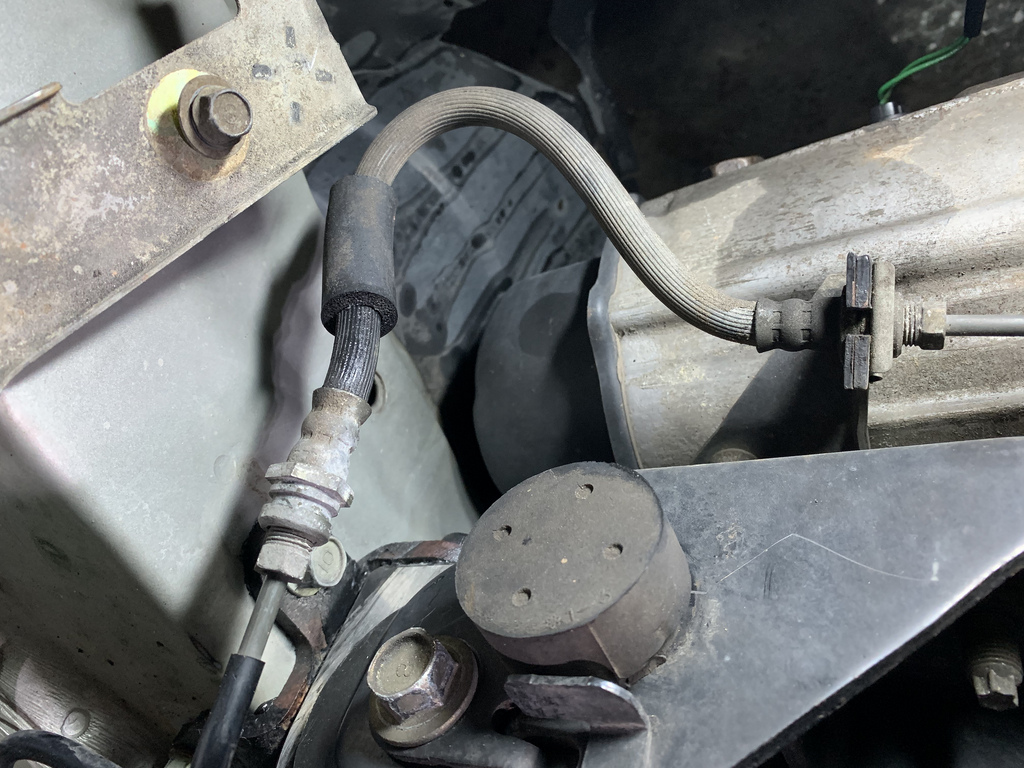
Most of the clutch lines are metal, but a part of it is rubber, and looking at one of the ends, you can see that it could be a potential issue if abused or put under any additional pressure over regular driving.
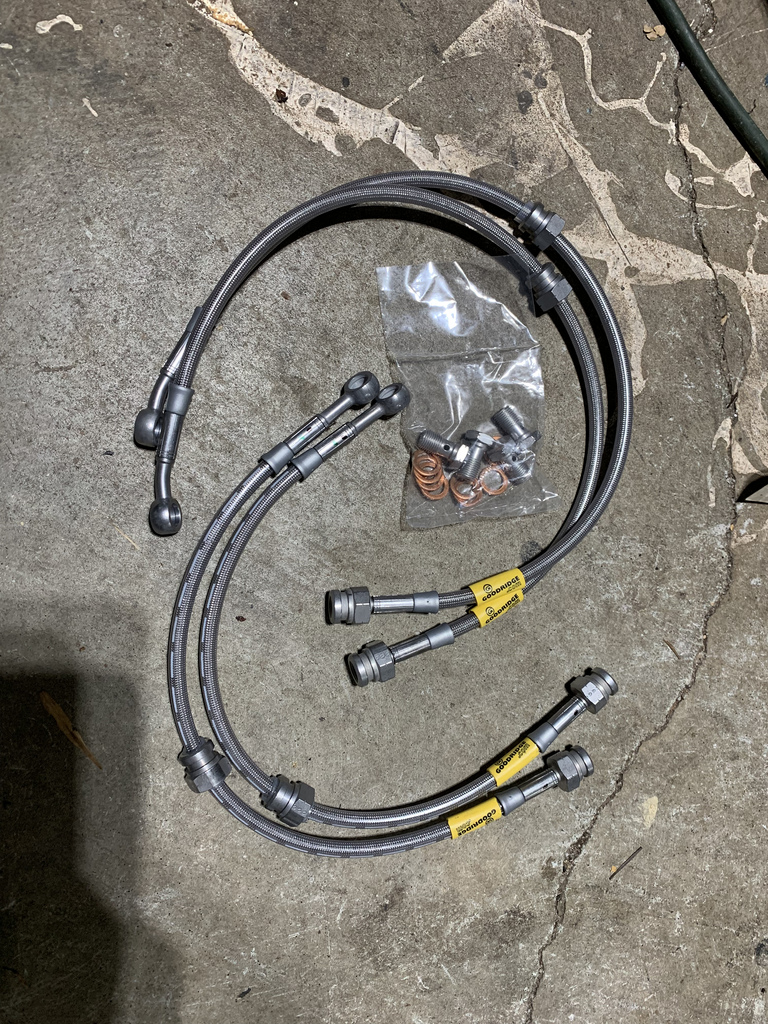
Went with the Goodridge Stainless Steel lines from Atlanta Speed Company
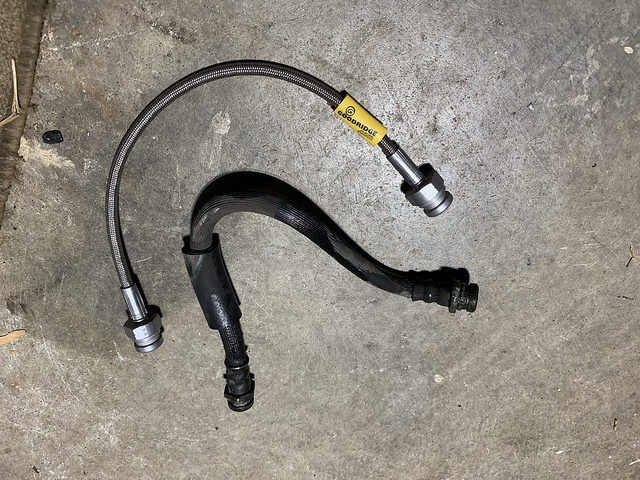
I was able to find a matching stainless steel line for the clutch on eBay to match the brake lines.
Clutch line in
Everything fit well, and went on without a hitch. I had a little trouble with getting the caliper bolt off, and unbolting the bleeder line, so excuse the mess from PB blaster.
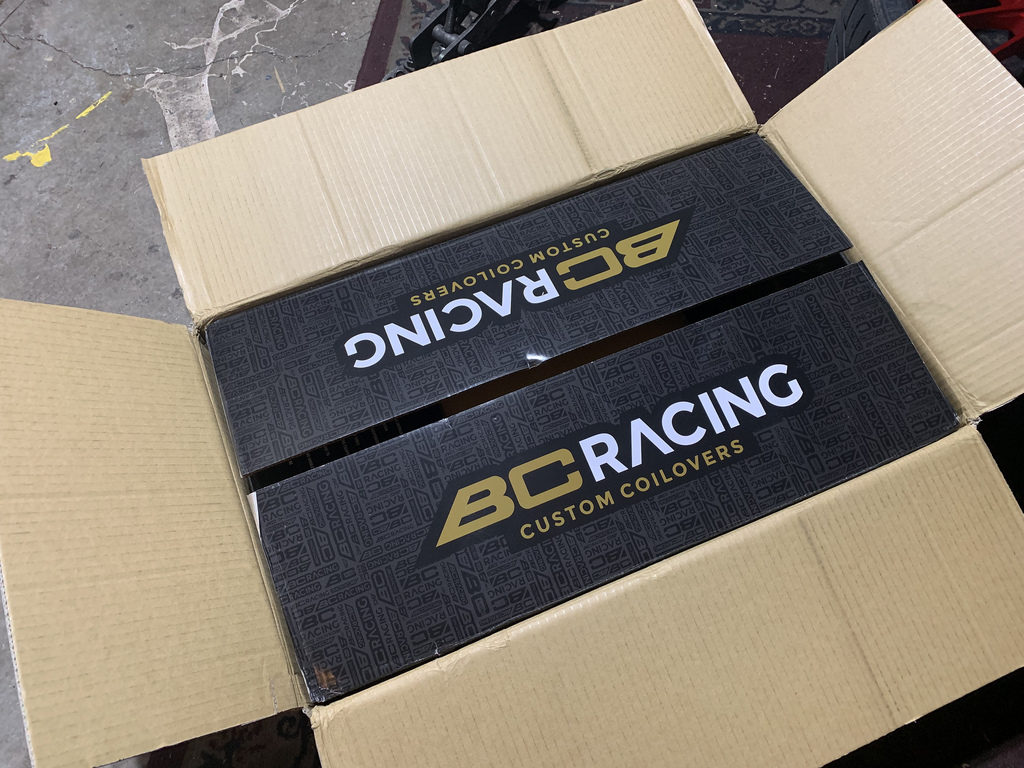
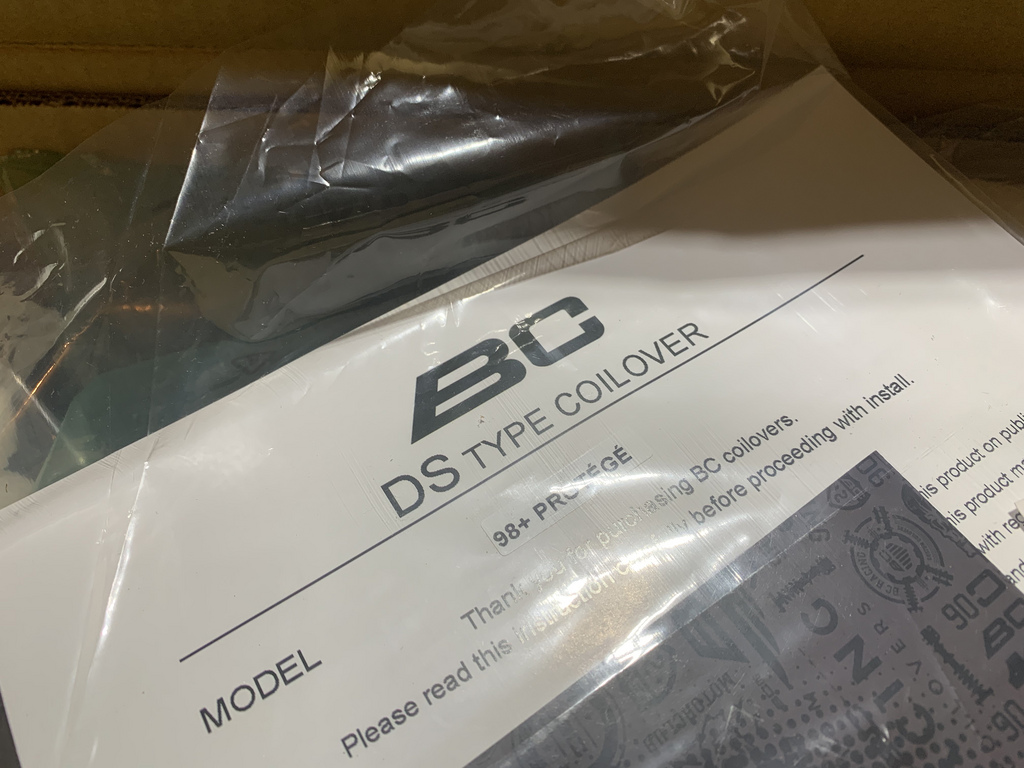
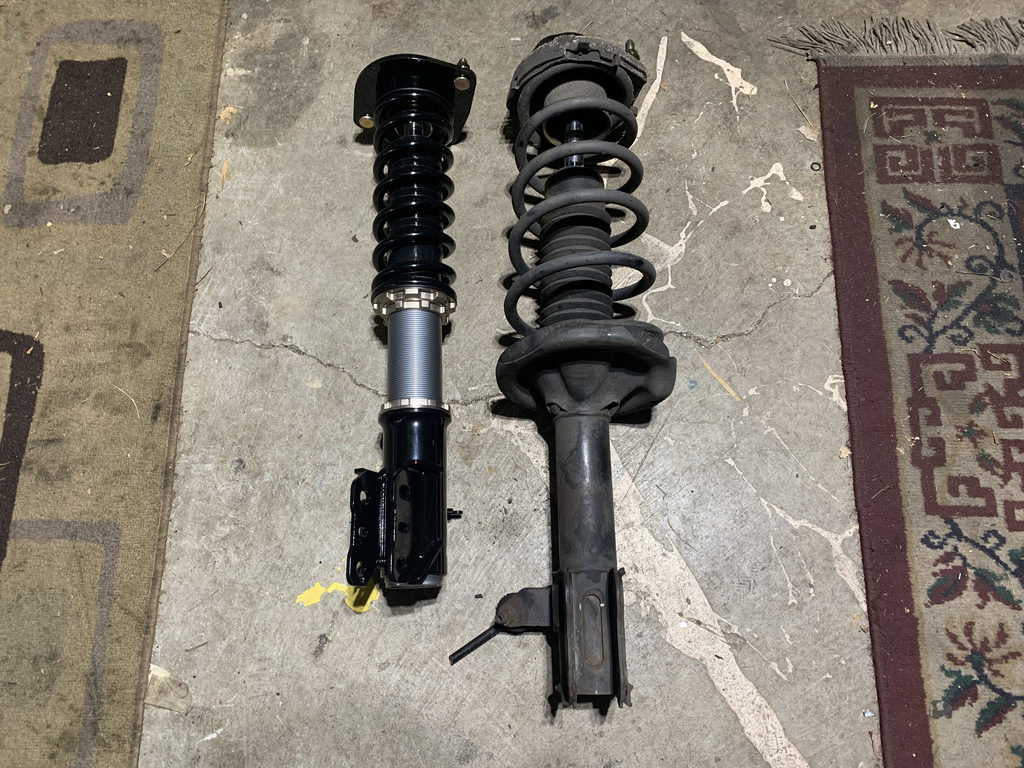
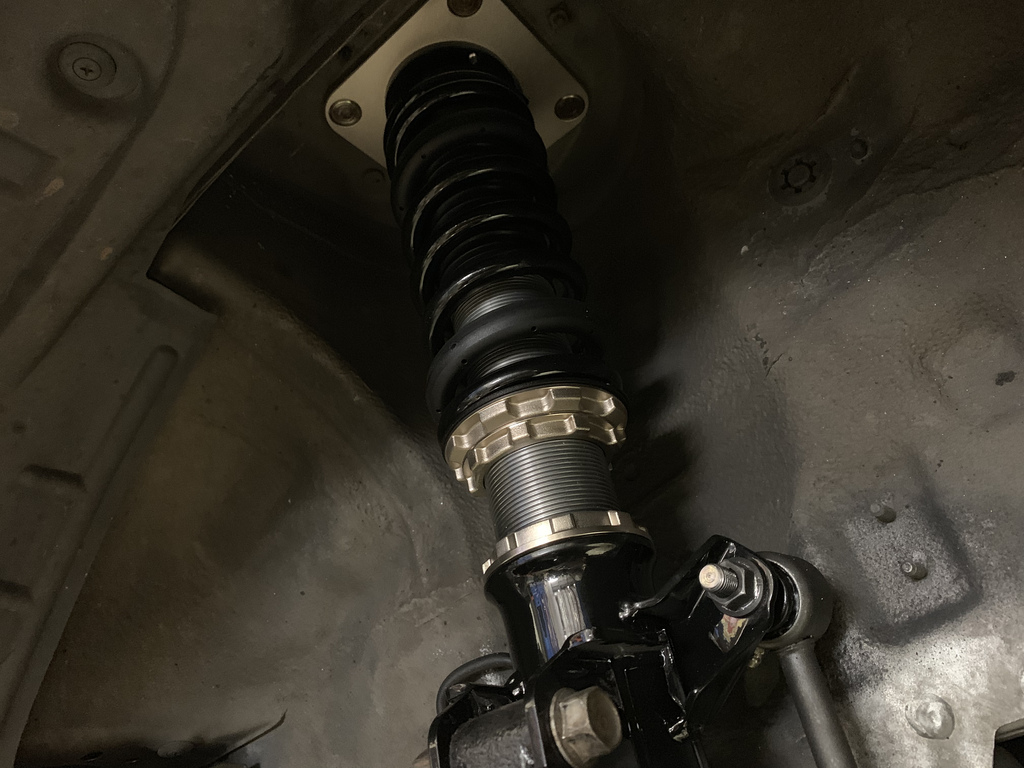
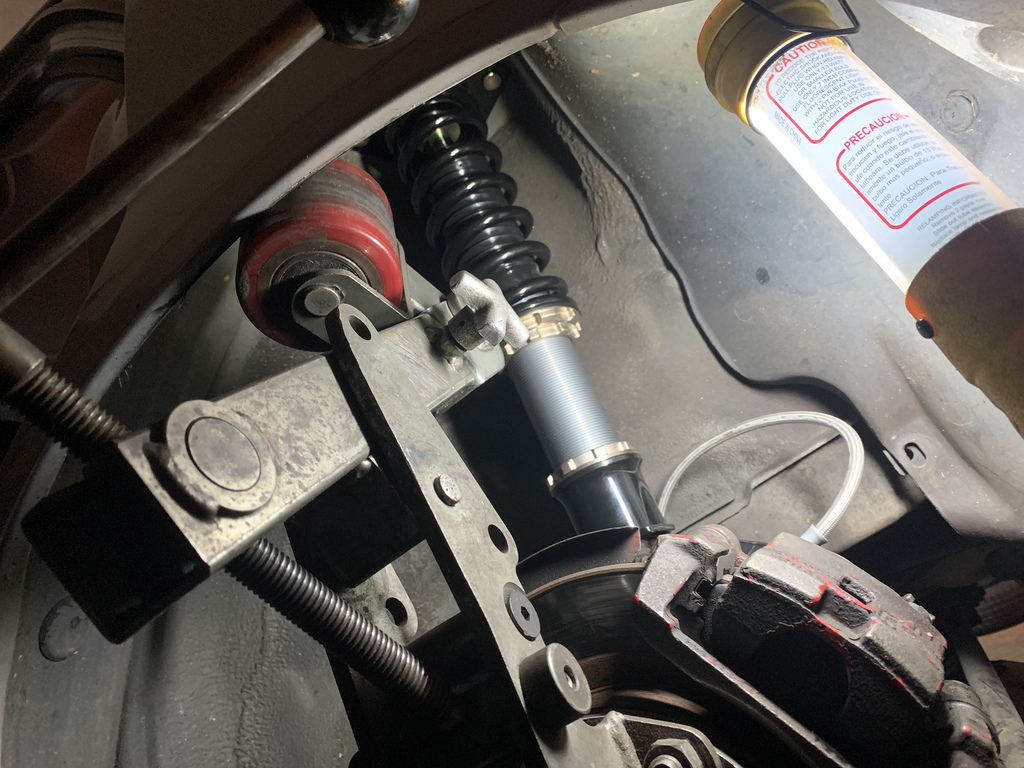
It was crunch time, and down to the wire, and we still had not gotten coilovers for the car. But Friday afternoon we received our goodies from BC Racing just in time for Sundays track day. From the start I was not sure on what coilover to go with after not having any luck with the used set I bought when I first got the car.
Having worked with BC Racing with my Mazda 6, we decided to run them on the Protege 5. The Mazda 6 was put together to look good, and be low so we used their BR series , and they worked out great and achieved what I wanted with that car.
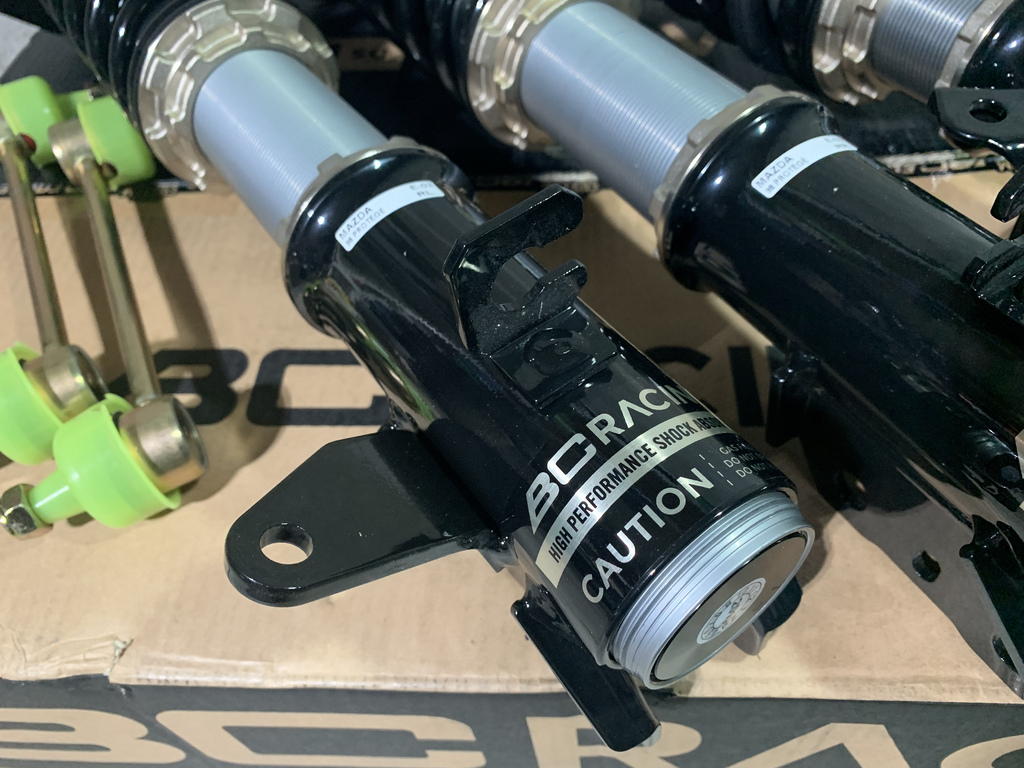
BC Racing has introduced a new DS Series , that is geared more towards track use, instead of just being low. The biggest change is the digressive style shock over the linear style in the BR Series. I really never knew the difference between the two, so I read up and learned as much as I could about the differences.
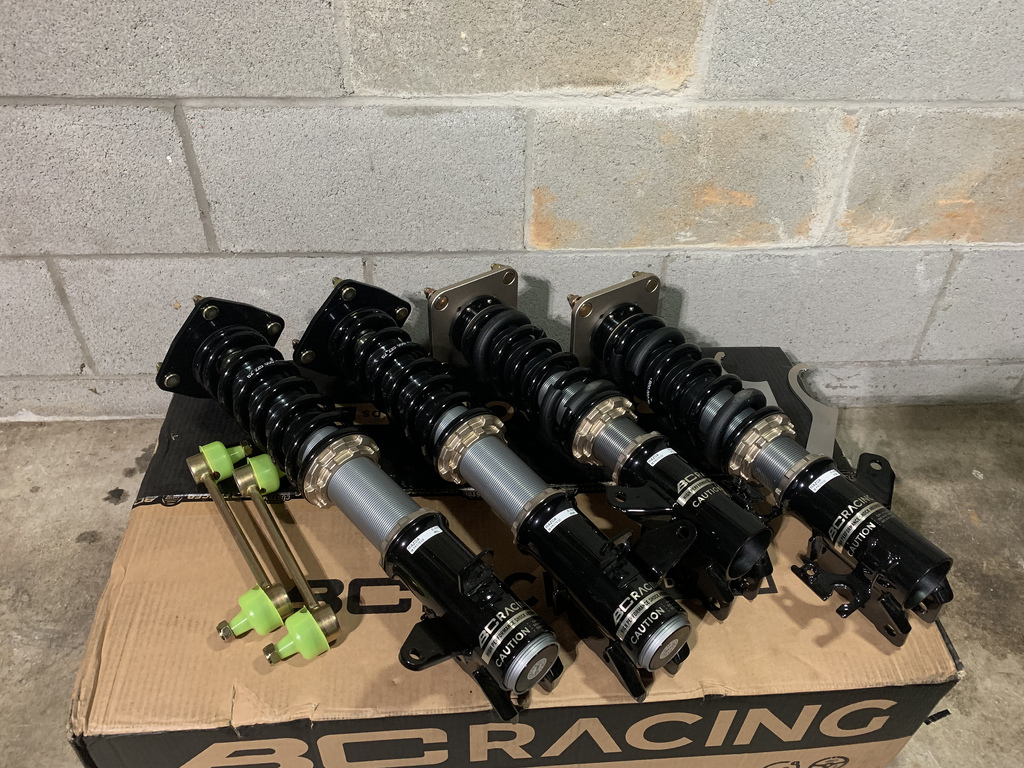
The Digressive piston shocks provide a slower rebound at higher speeds , and hard cornering, which is perfect for track use. The down side is the alternative to having a slightly harsher ride with daily driving and small bumps at slower speeds. From what I read up about the two styles, it seemed like the perfect setup for the Protege.
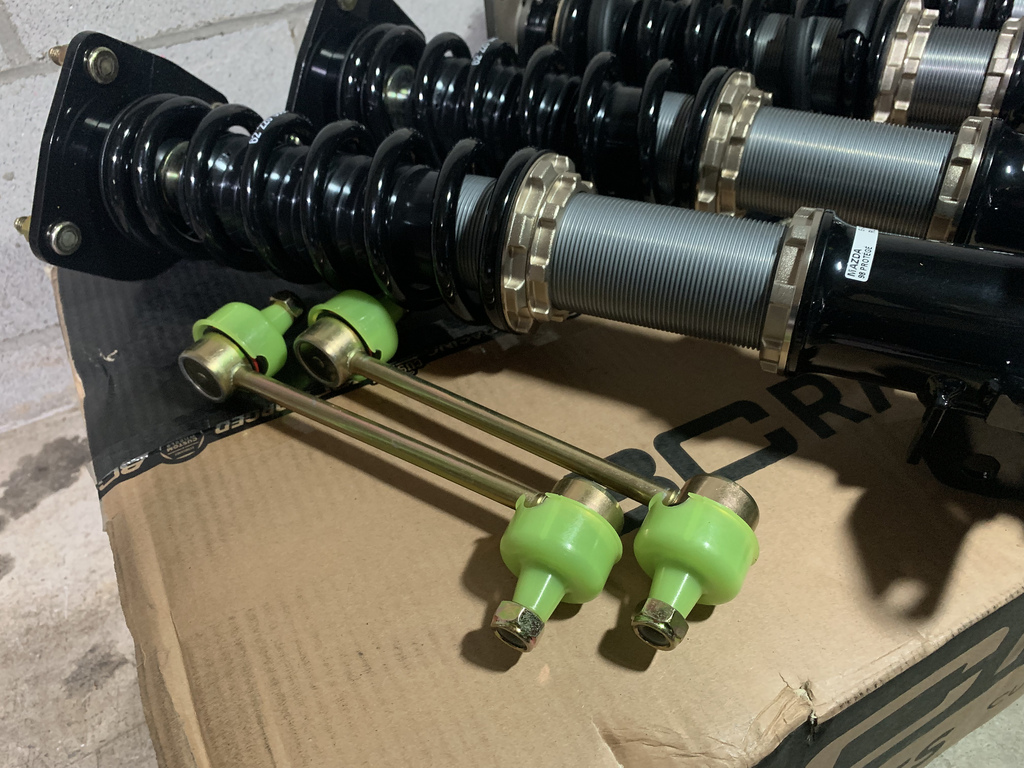
The kit also includes a pair of reinforced, shorter sway bar end links, that is a must.
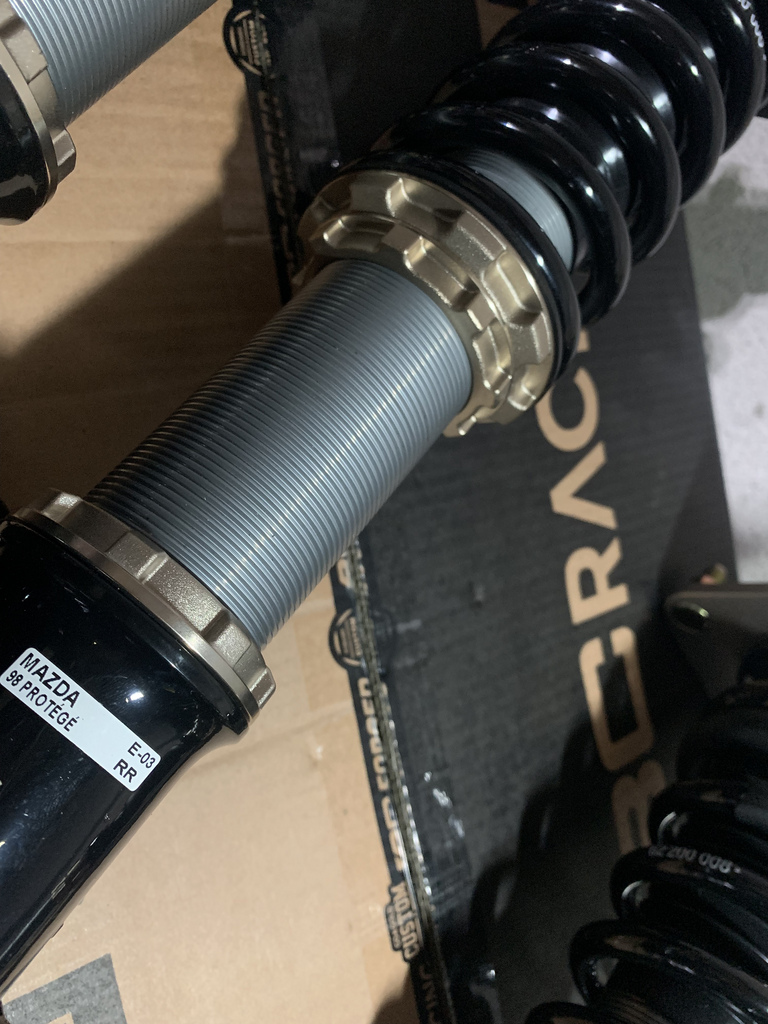
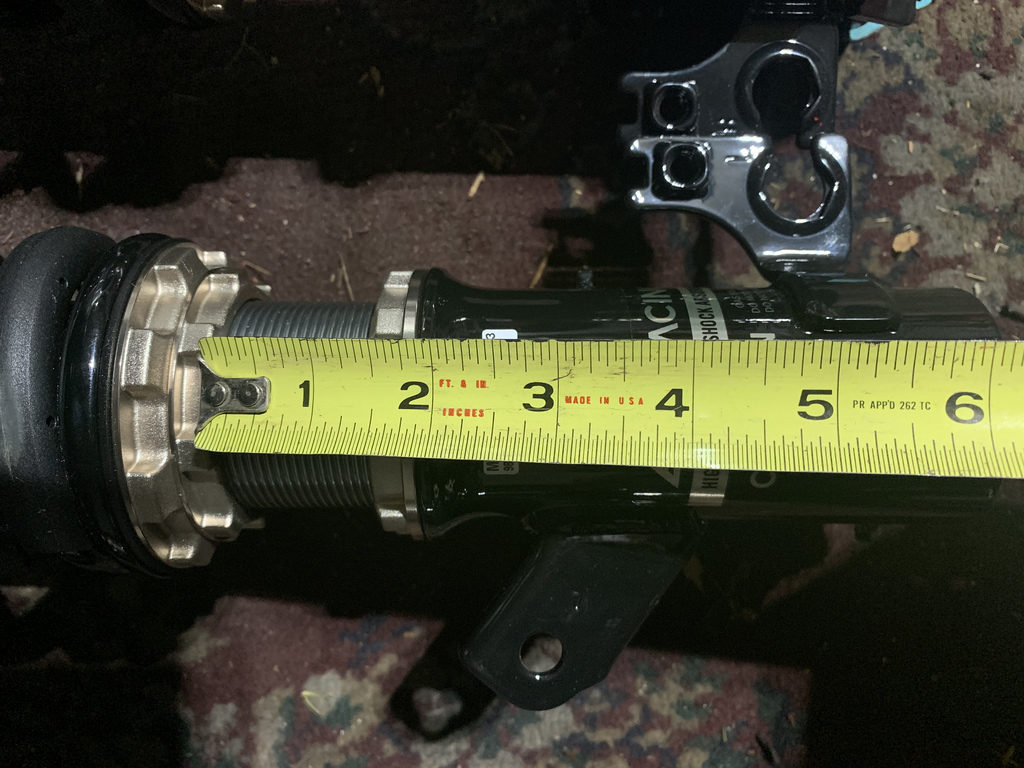
The DS Series strut body is a little larger then the BR Series, and the threads are silver, opposed to the black threads on the BR Series.
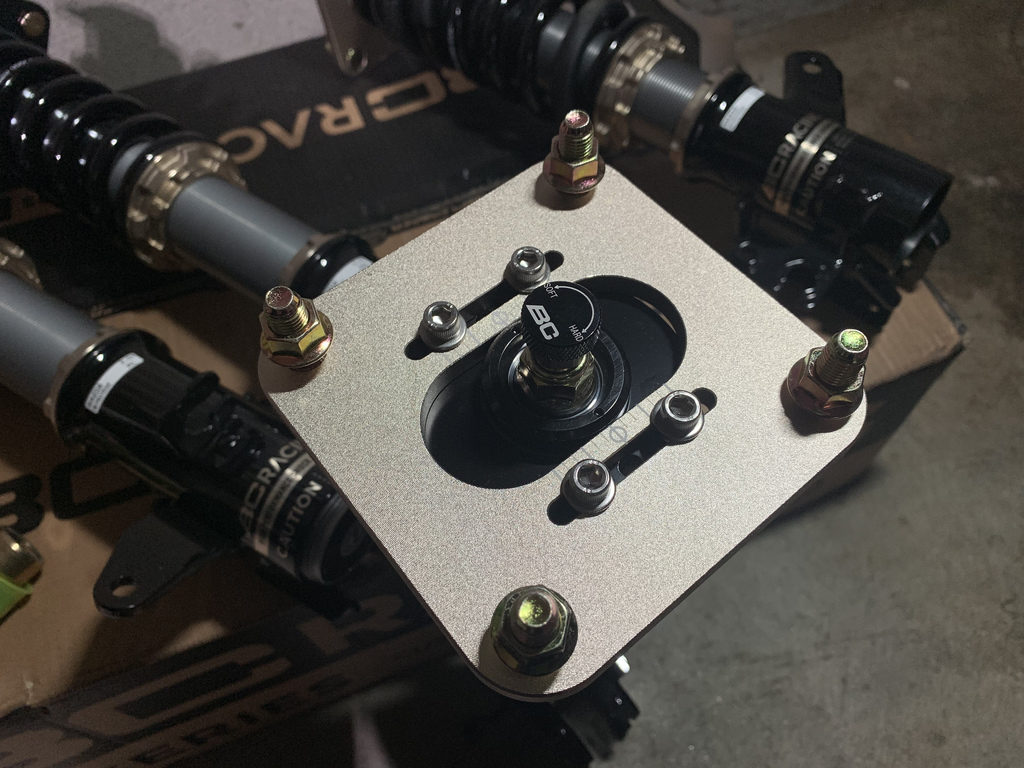
The front coilovers offer a camber plate, and also with most BC Racing coilover kits they have adjustable compression and rebound adjustments.
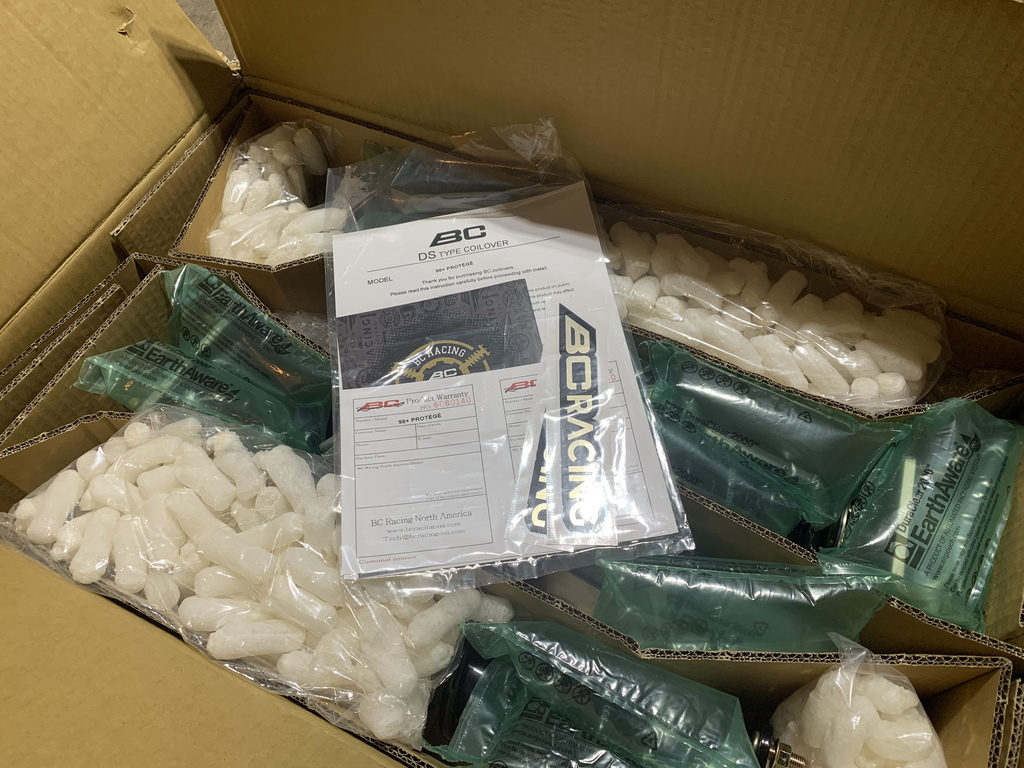
Another plus, was that the coilovers come already pre-loaded out the box and were set with 6k / 8k springs. So that saves the hassle of doing it incorrectly, and having a terrible ride. When I received my old set a few years ago, the pre-load had to be done by the user, as far as I knew. Now it seems that they do it out of the box, and advise installing them as they are, and adjusting once installed. It really saves the trouble and hassle of potentially ruining your ride by not knowing how to set up the coilovers out the box.
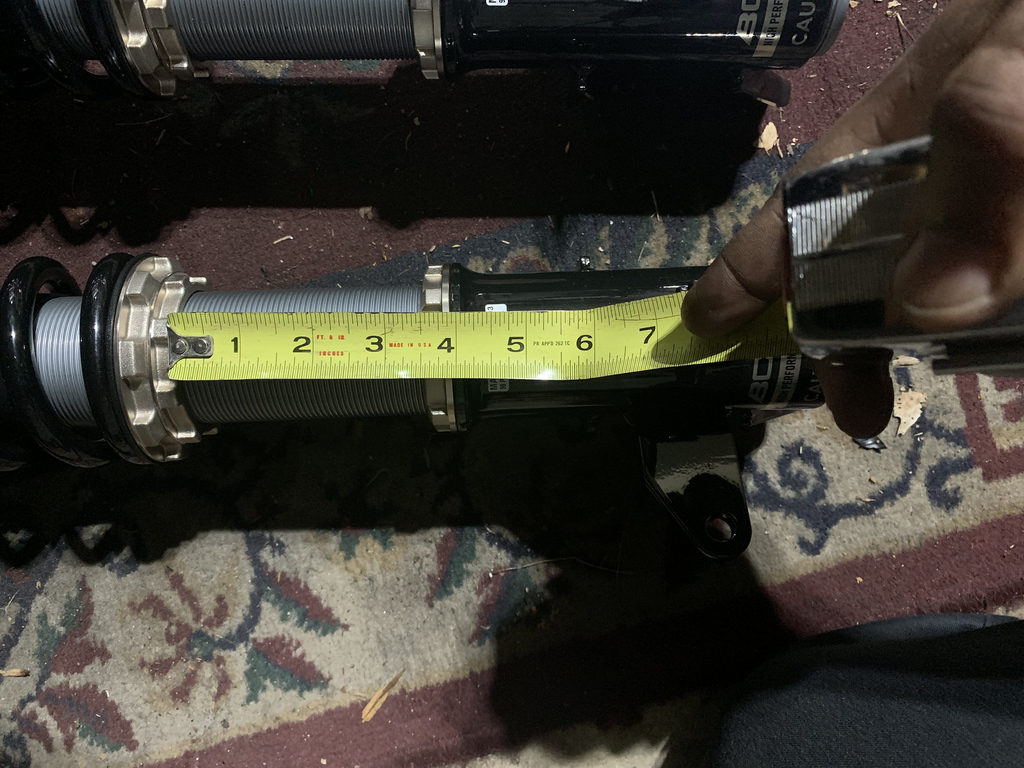
Like they said, both front and rear were set, pre loaded , and dead even front and back out of the box.
Old 17 year old 289k mile Struts..
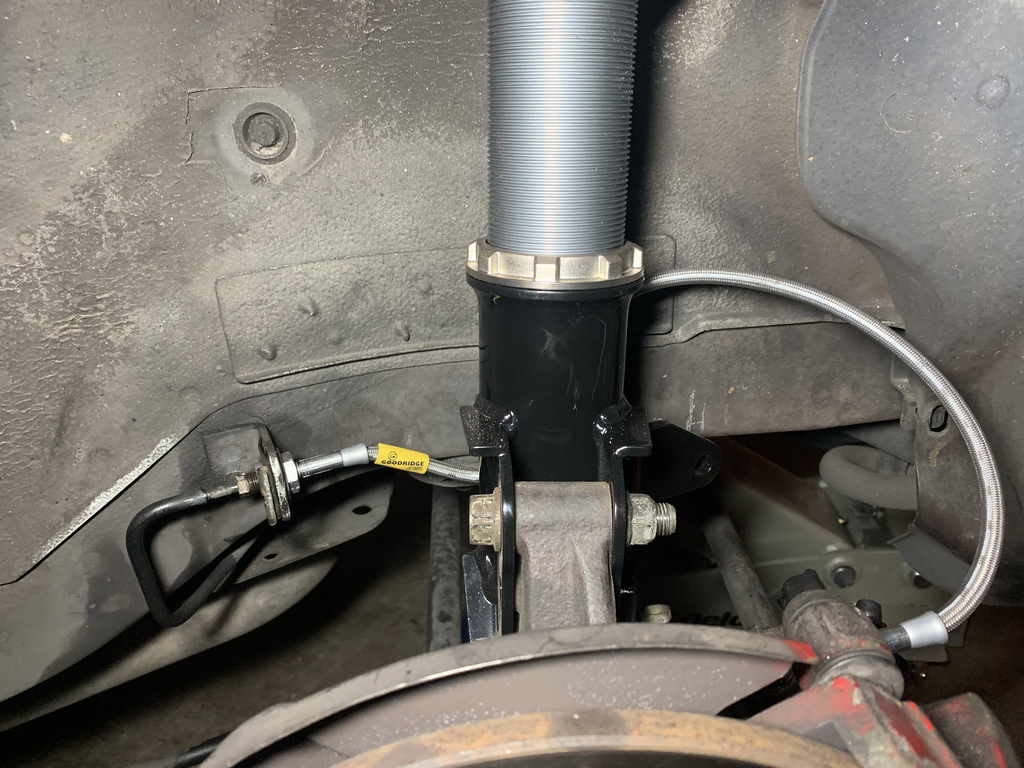
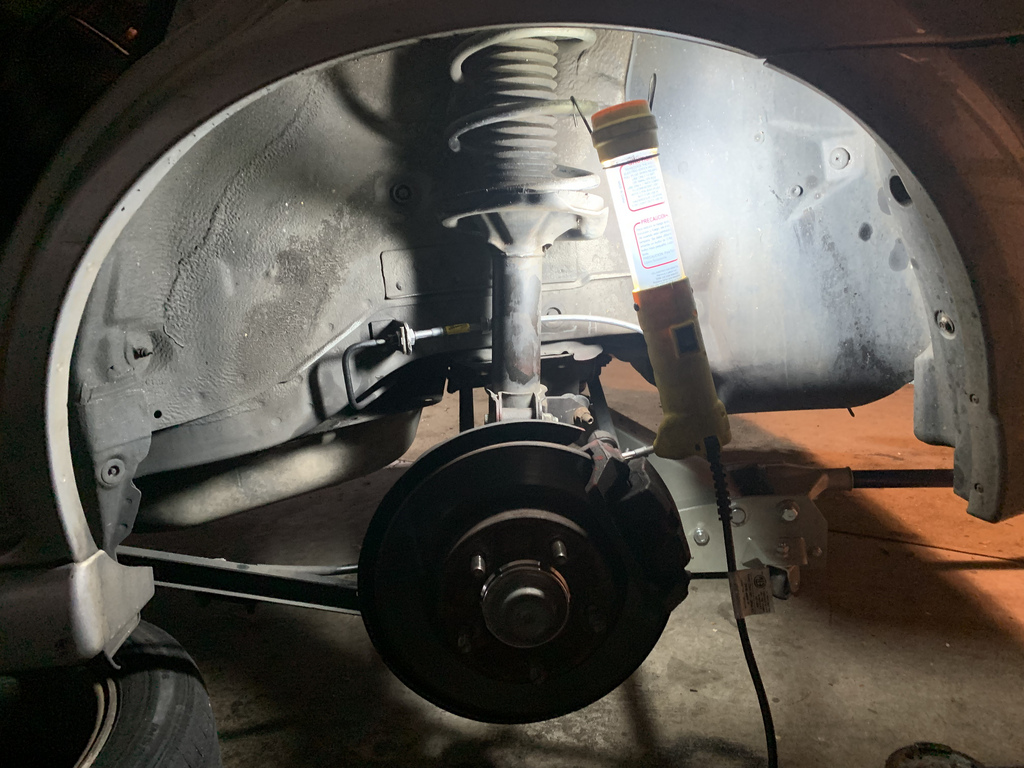
Fitment was good no issues.
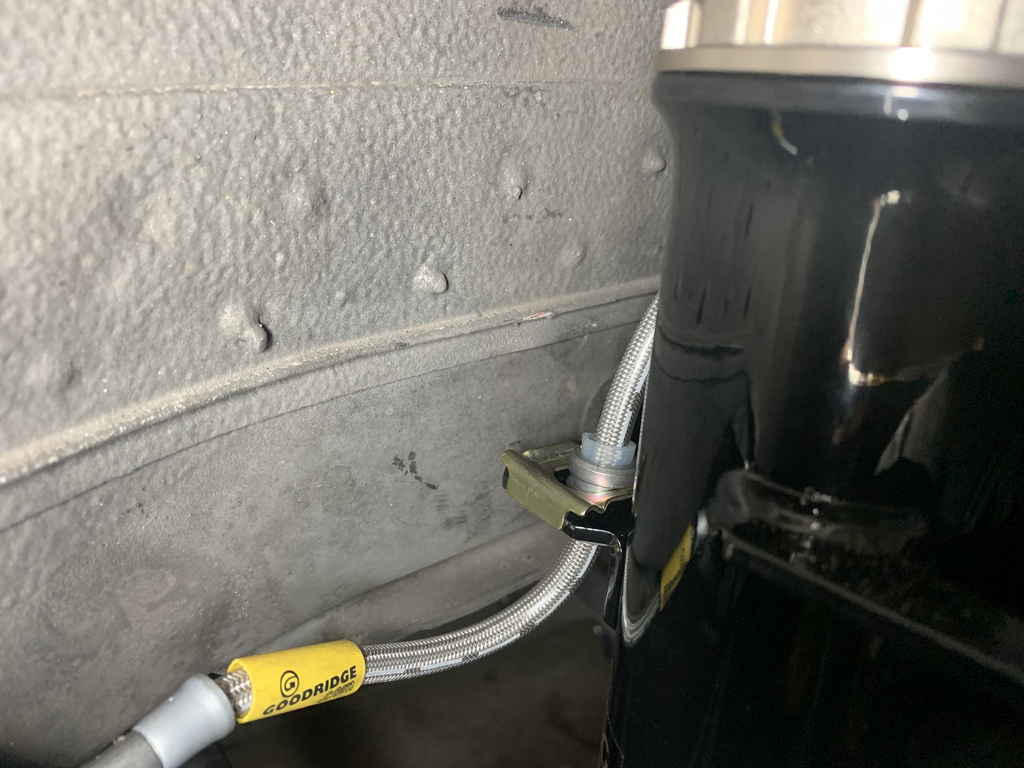
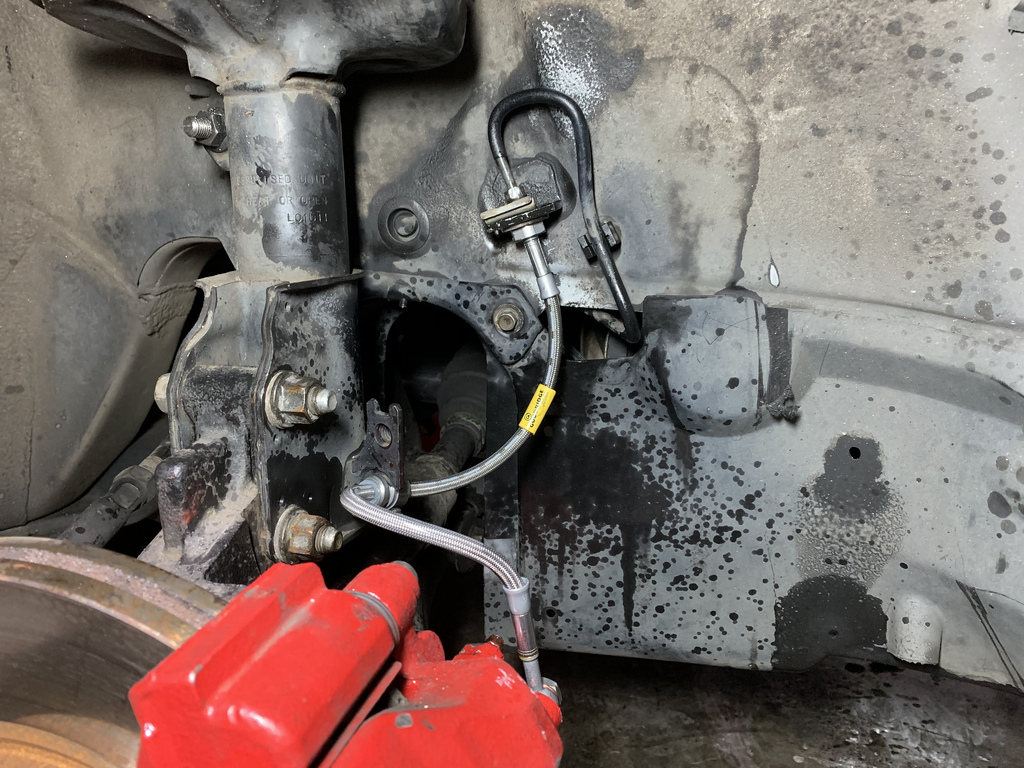
Brake hose fits back in the oem place no issues.
Everything in all good no issues.
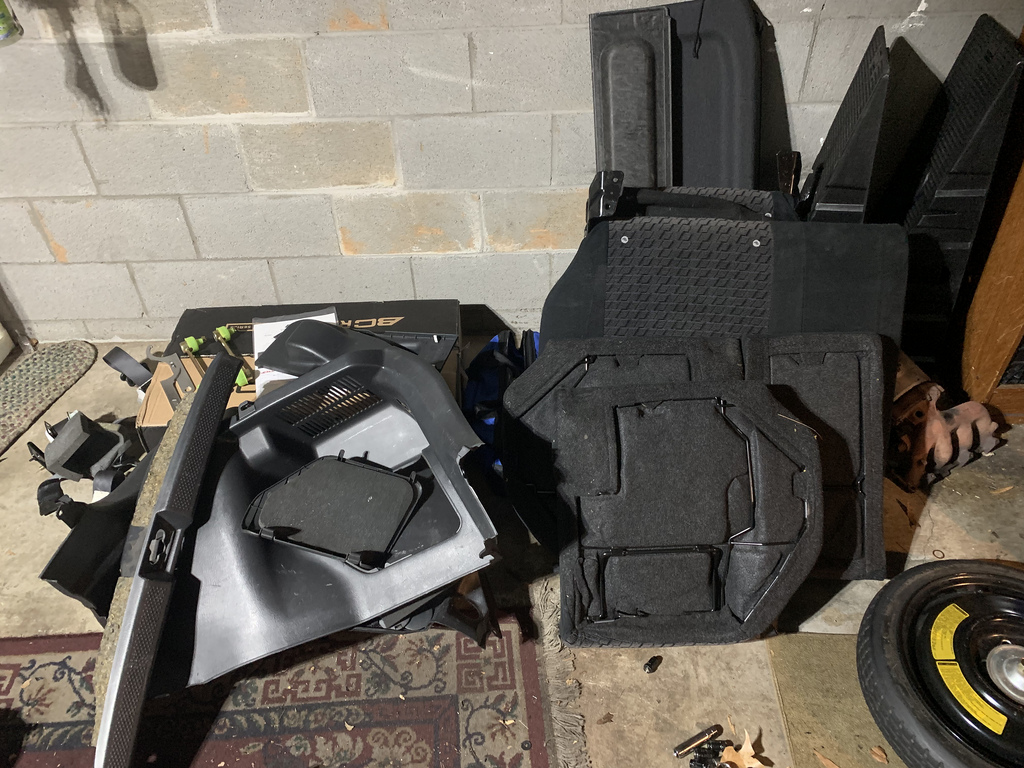
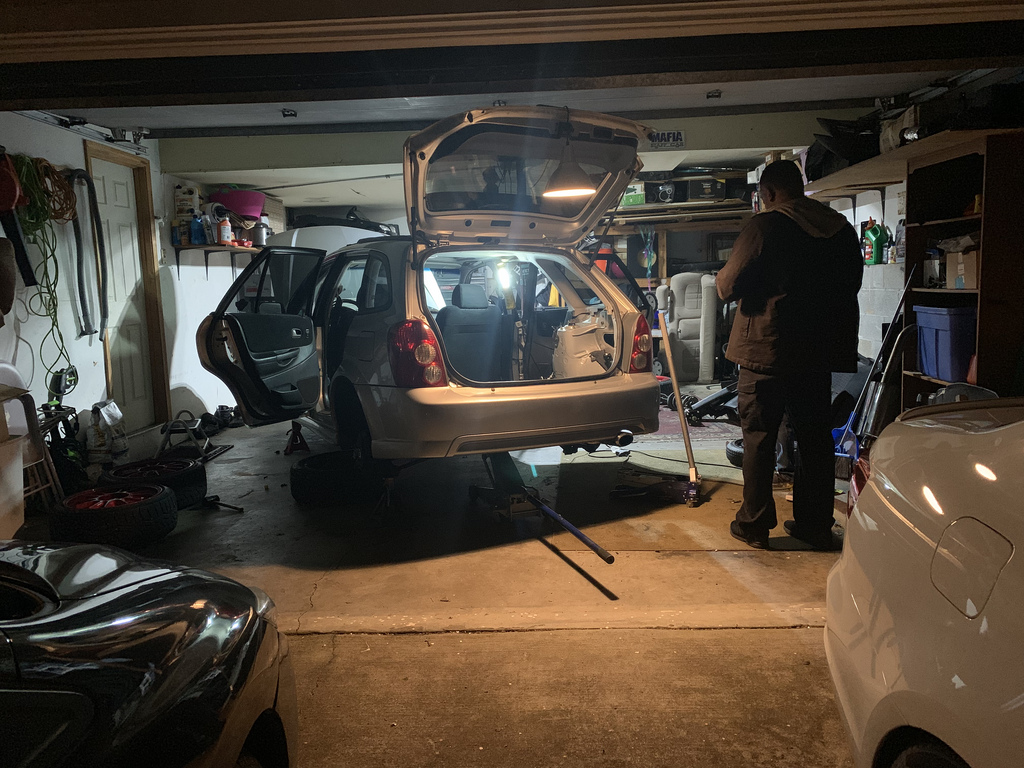
Most of the rear interior panels have to be removed to get to the rear struts, so we made the decision to go ahead and remove the seats, and all the panels in the rear for the track day.
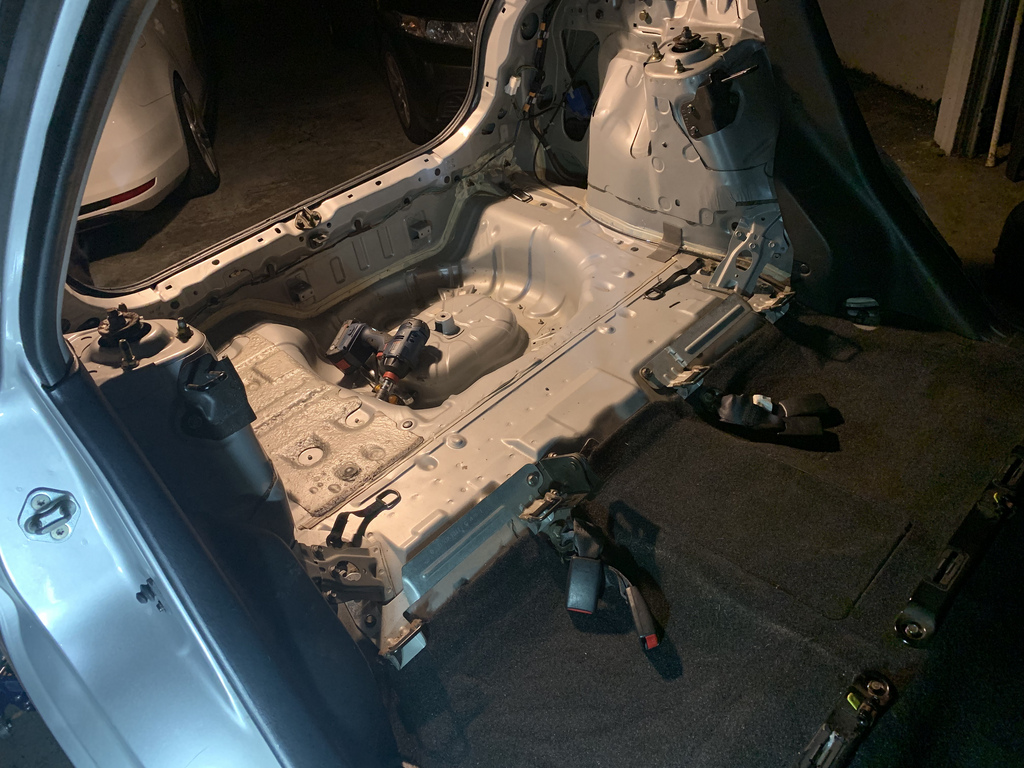
The protege 5 is built of the protege sedan chassis , and shares pretty much everything with it. Except that the rear is slightly more narrow, and shorter then the Sedan. So it makes wheel fitment a little different. So we had to roll the rear fenders to clear the tires.
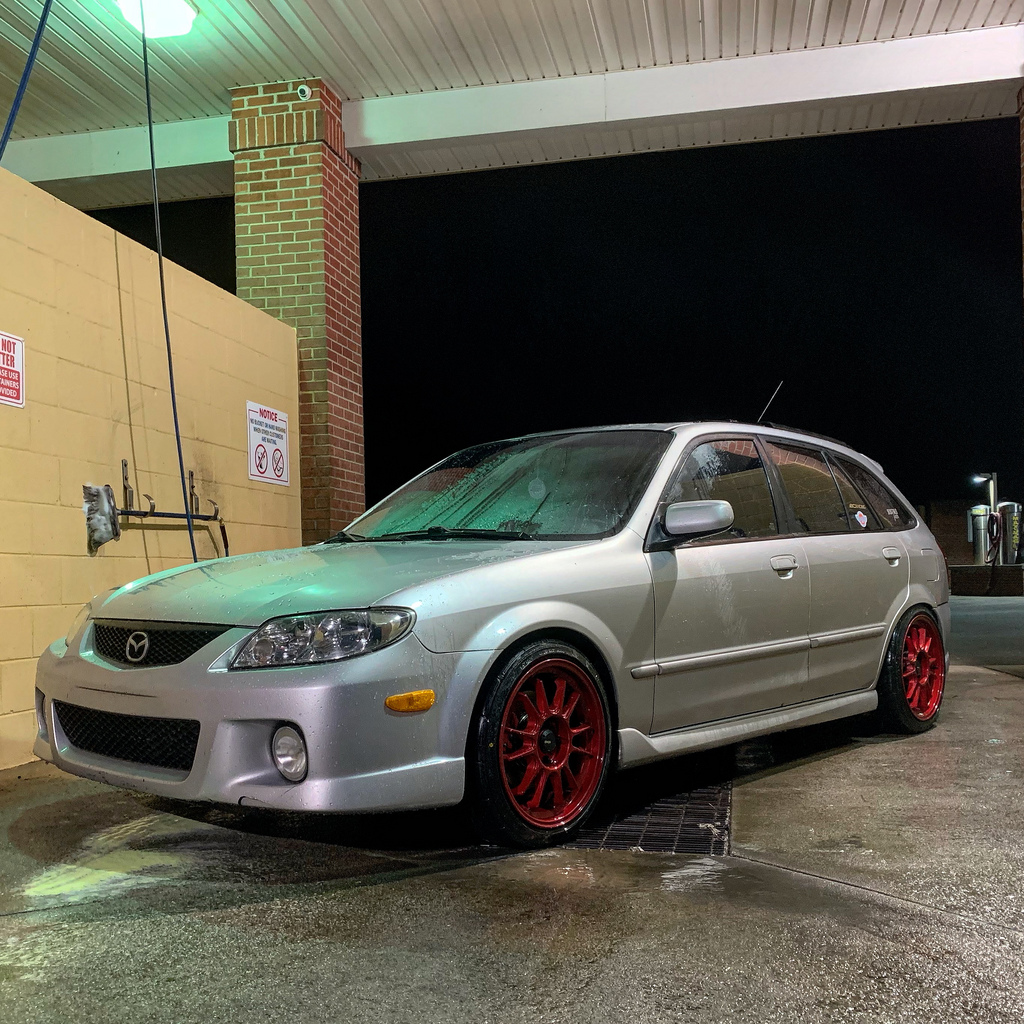
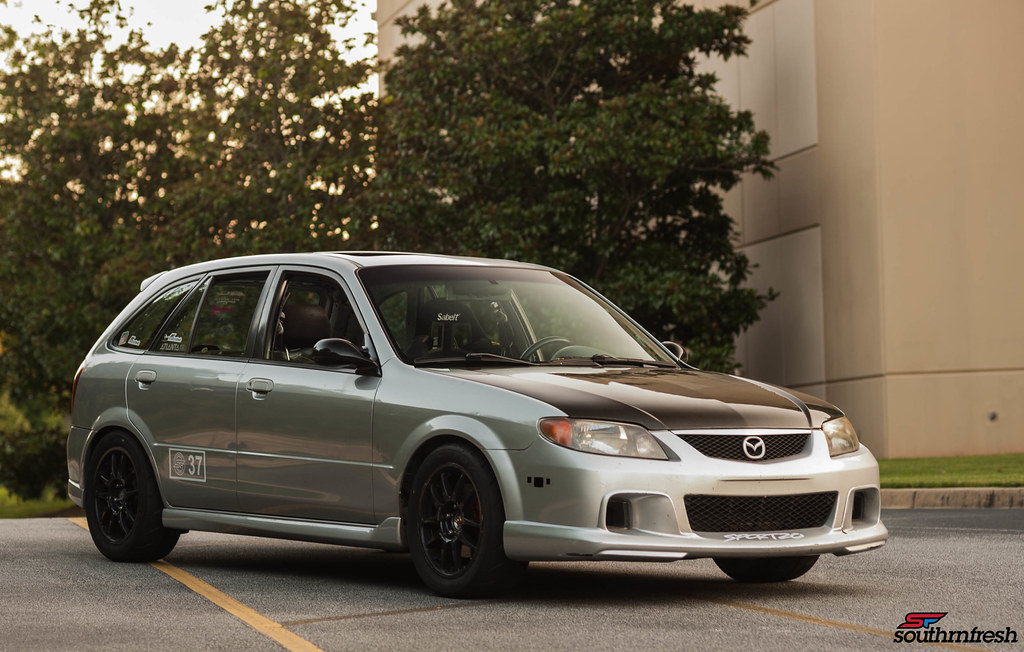
Finally the car was looking sporty and sitting lower. First trip was to the car wash for a quick bath.
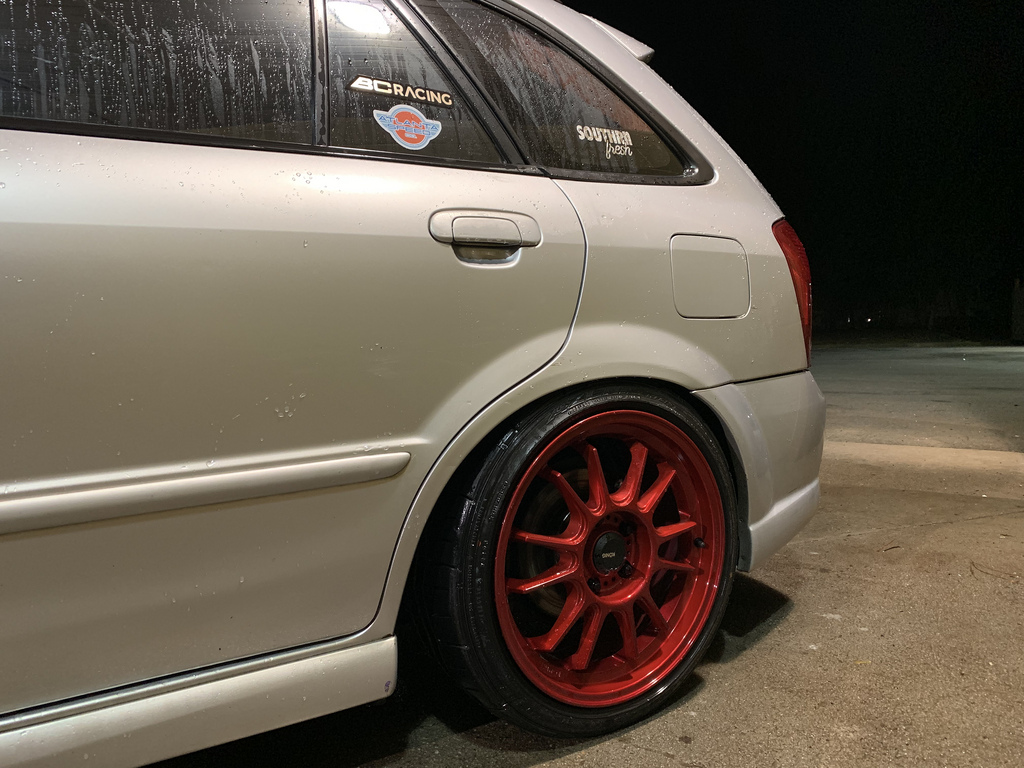
The car rode really well, but as specified with the style of coilover at slow speeds it was really stiff, but with any sort of speed and quick turns everything smoothed out, and the car was planted, turn in was sharp and all the unwanted body roll disappeared. Very impressed how the car drove out of the box.
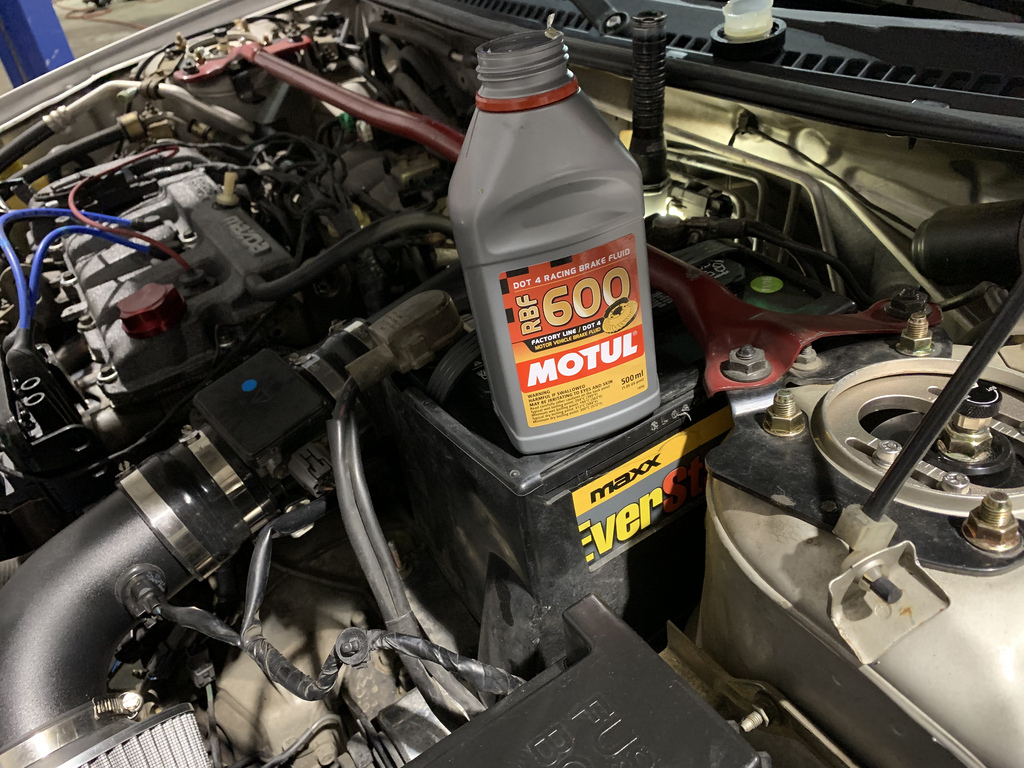
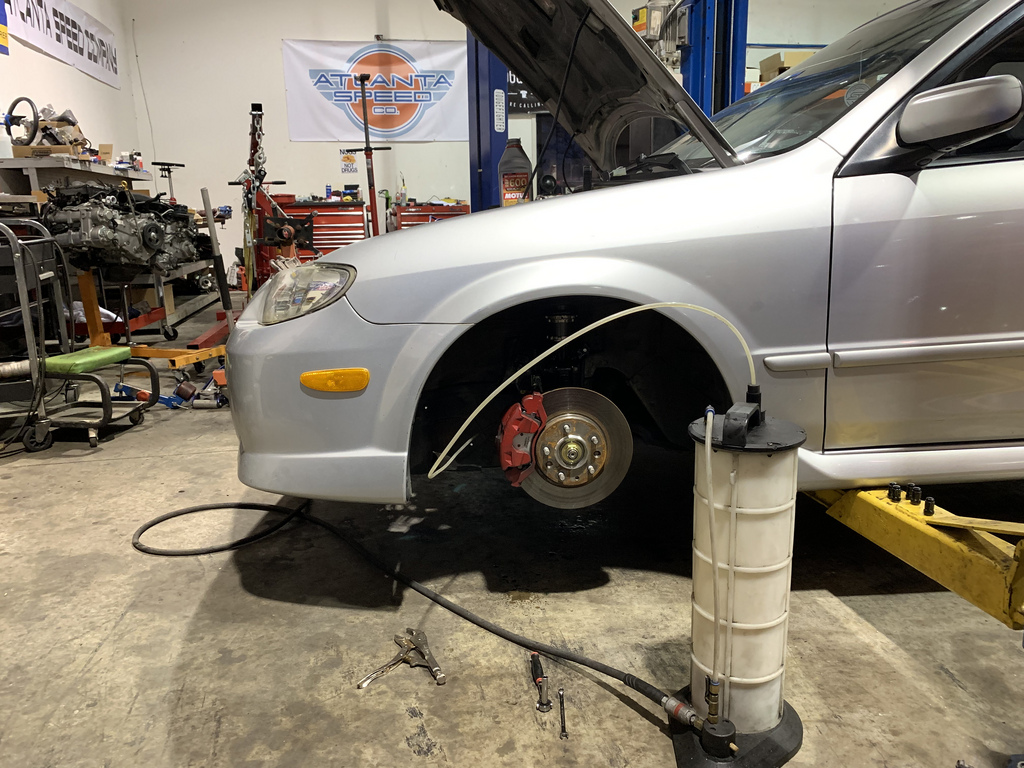
While installing the stainless steel brake lines i ran into a issue trying to bleed my left front caliper, because the bleeder screw was stripped. I had to get the fluid replaced anyway so I limped to Atlanta Speed Company and had them replace the fluid with some Motul 600. We had planned to use hawk DTC-60 pads on the car, but we had a mix up on part numbers since the car has Mazda 6 front brakes. So we just stayed with generic blank rotors, and ceramic pads from the local part store.
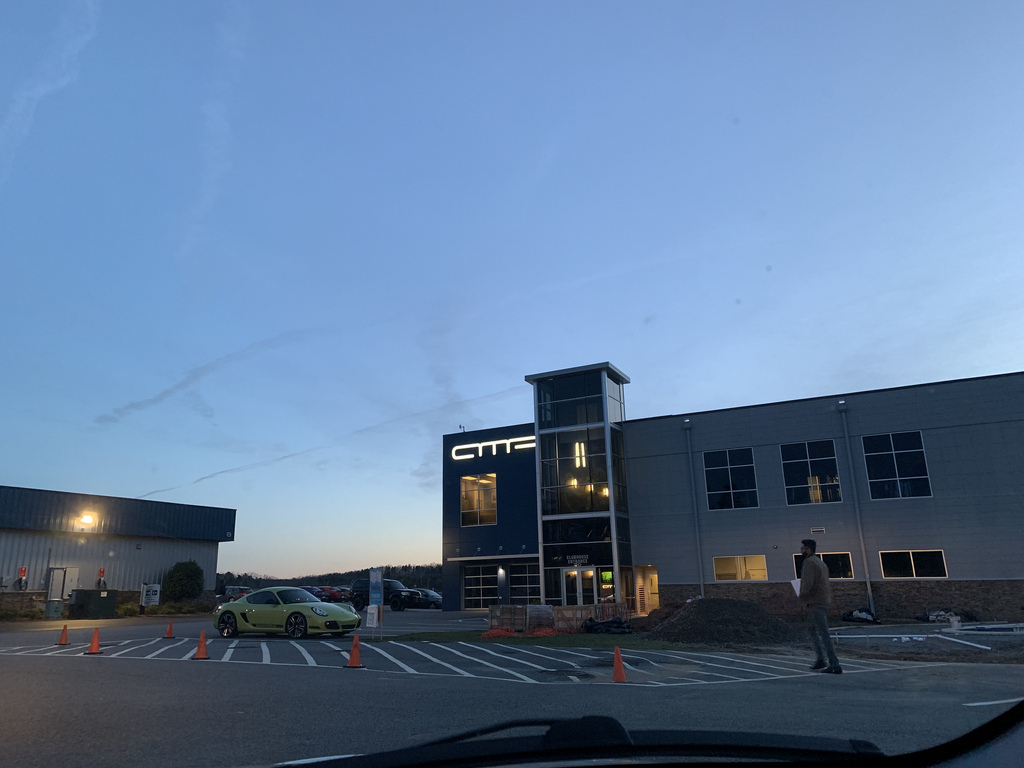
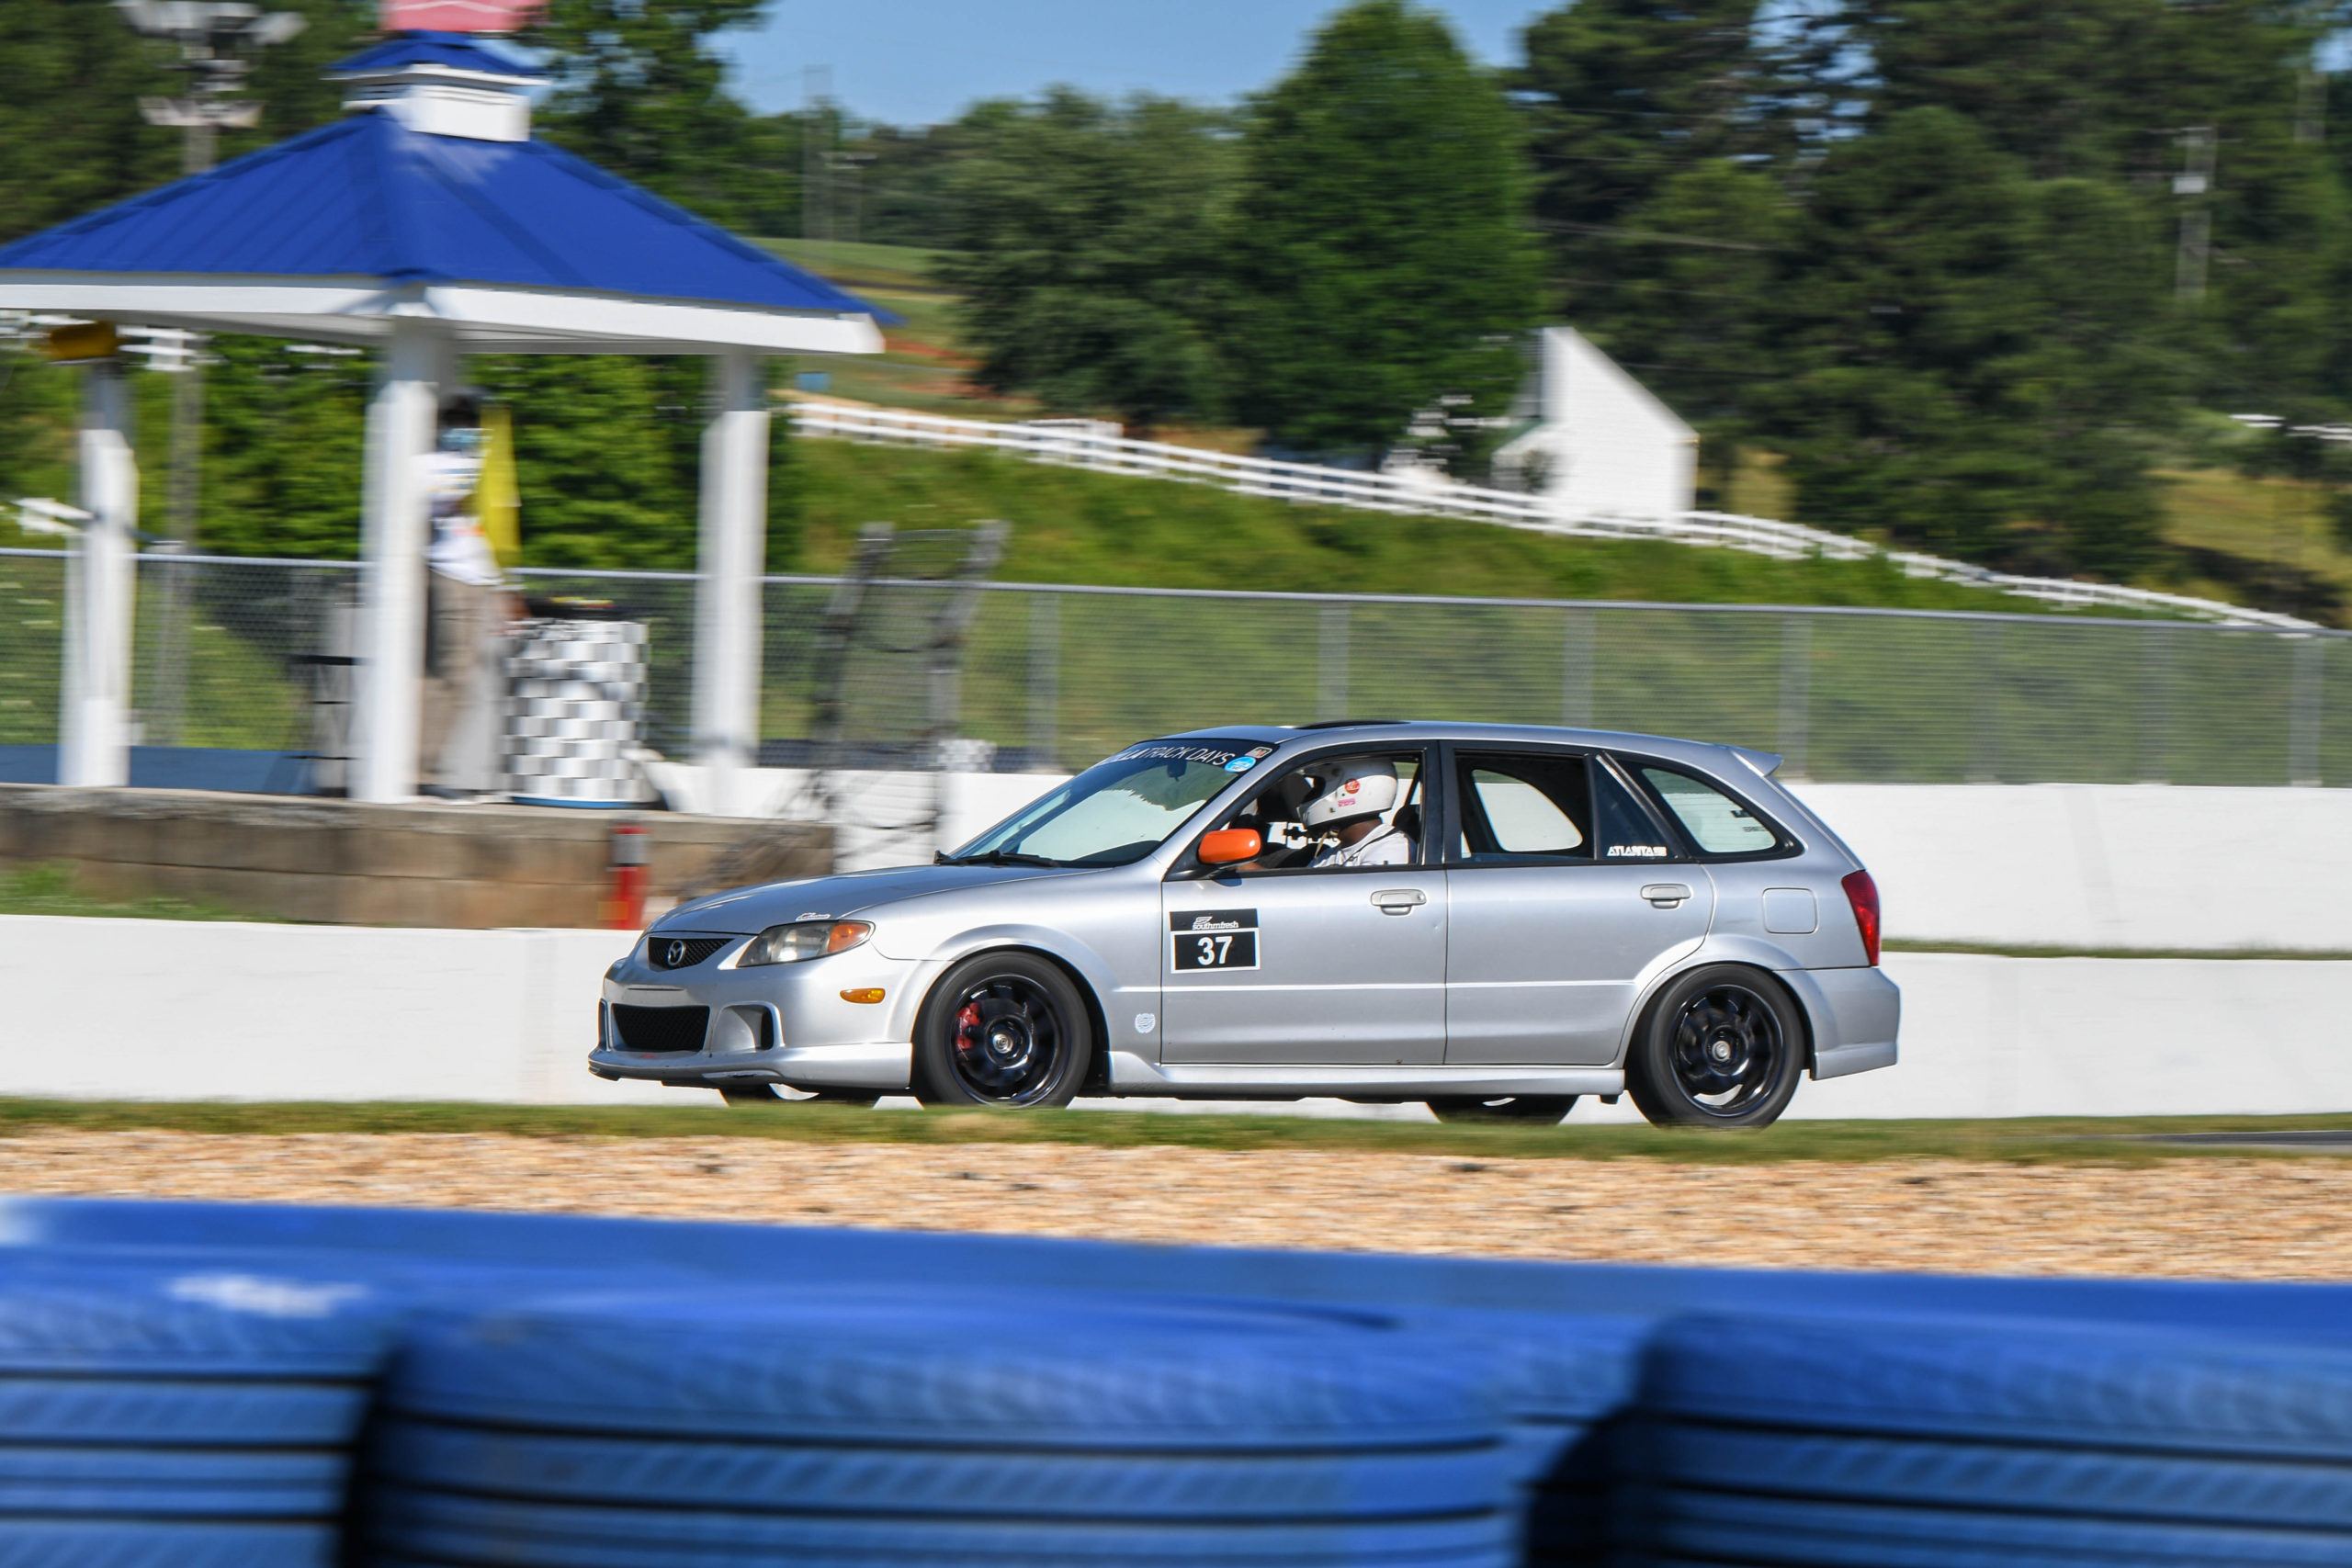
Time was up and it was time to put it all to the test. We had arrived at Atlanta Motorsports Park for the Jzilla: Death of winter track day bright and early Sunday morning. We are gonna stop here, and continue with videos, photos of the track day on the next post.
Its surreal to see everything come together up till this point. Especially it only being only 5 months. I had always wanted to put together a car for one specific thing. And hopefully anyone else that is interested in doing the same is motivated by this. Thanks for reading, and we should have the track day post up in a few days.
- 2002 Mazda Protege 5: $1200.00
- Mazda 6 brake upgrade: $90
- Coil pack conversion and valve cover gasket: $94
- Ebay Intake – $31
- 215/40r17 Falken RT615k – $360
- 17×8 Konig Hypergram – $720
- Used Headlights – $100
- Timing Belt Parts/Labor $550
- Used AWR Motor Mounts $75
- 10w40 Liqui Moly Oil Change $60
- Autoexe Oil Cap $60
- Mazda 626 Intake Manifold $ 0
- Used 4-1 Header – $60
- Ebay Exhaust – $120
- Corksport Shift Bushing kit – $79
- RAZO Short Shifter kit – $59
- Redline MT-90 Gear Oil – $35
- Speedcircuit oil pan baffle – $150
- Mazdaspeed muffler – $0
- Muffler install / exhaust – $150
- Goodridge Stainless Steel Brake / Clutch hose – $120
- BC Racing DS Coilovers – $1300
- Brake Flush w/ Motul 600 – $160
- Jzilla Track day – $260
Total : $5833.00