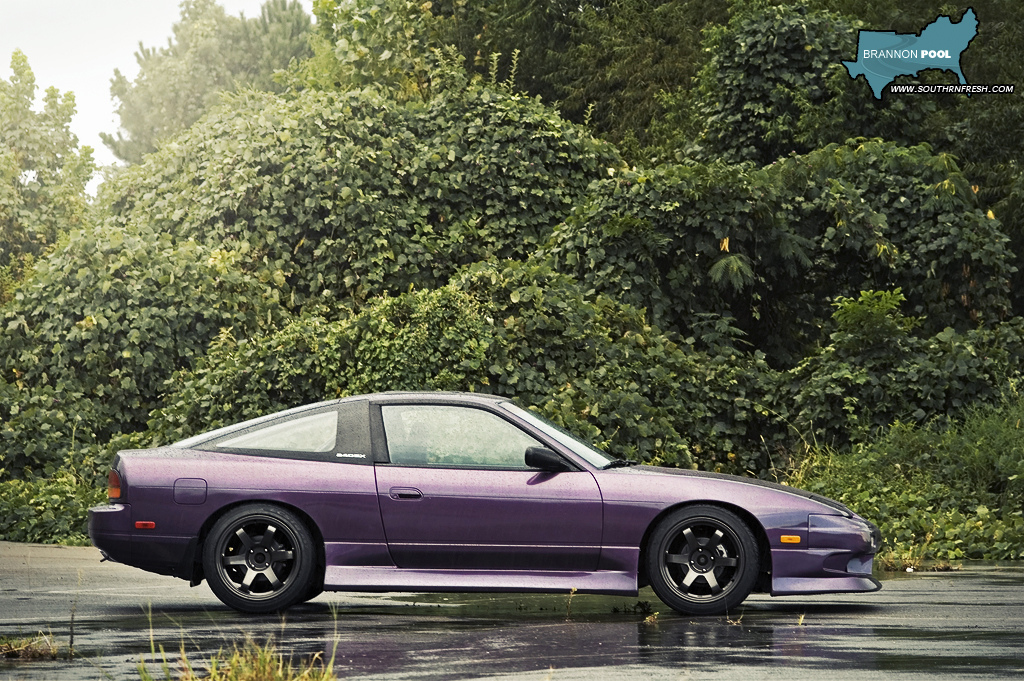
Mazda Protege 5 Track car project : Megasquirt Install and Dyno , Radium Fuel System Upgrades, and Autoexe parts!
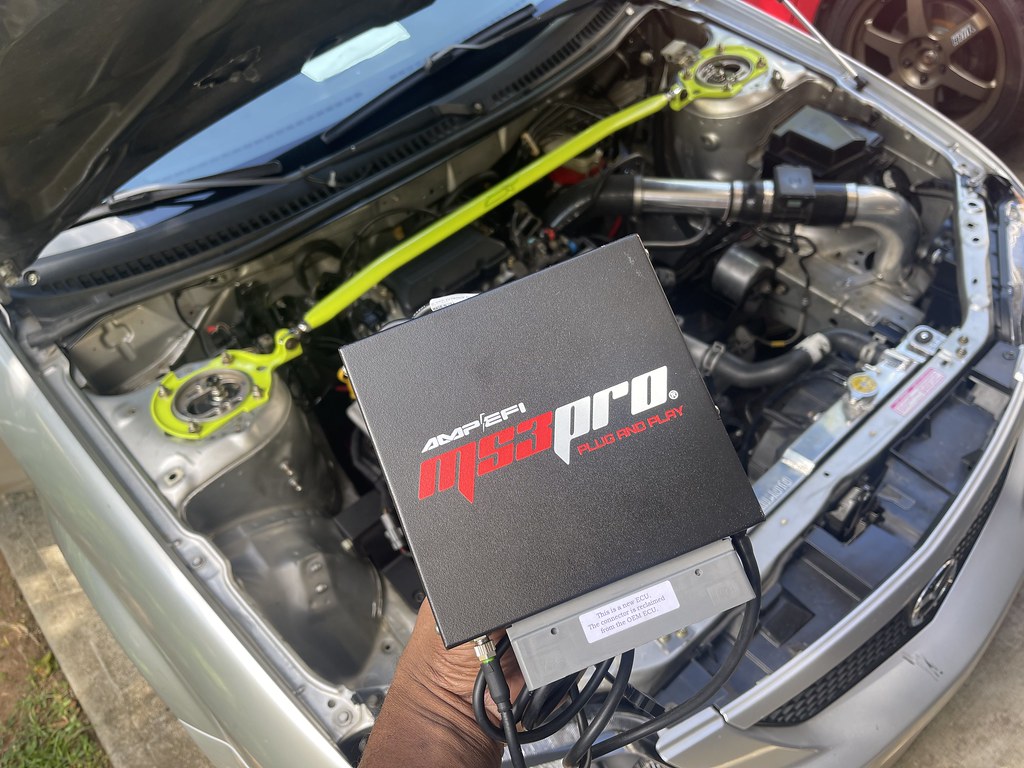
After months of bothering them Kevin over at DIYAUTOTUNE finished the Megasquirt Plug and Play ECU for the 3rd Generation Protege. As mentioned in my trials and tribulations with the JDM FSZE ecu and the MP3 US ecu each one uses different connectors. The US got stuck with Fords style connectors, while the rest of the world uses a Denso style found in most other Mazdas. Which is why out of the box tuning options were never available outside of custom wired in standalone. So it was a pretty big deal for DIYAUTOTUNE to put fourth effort in making this ECU for the community.

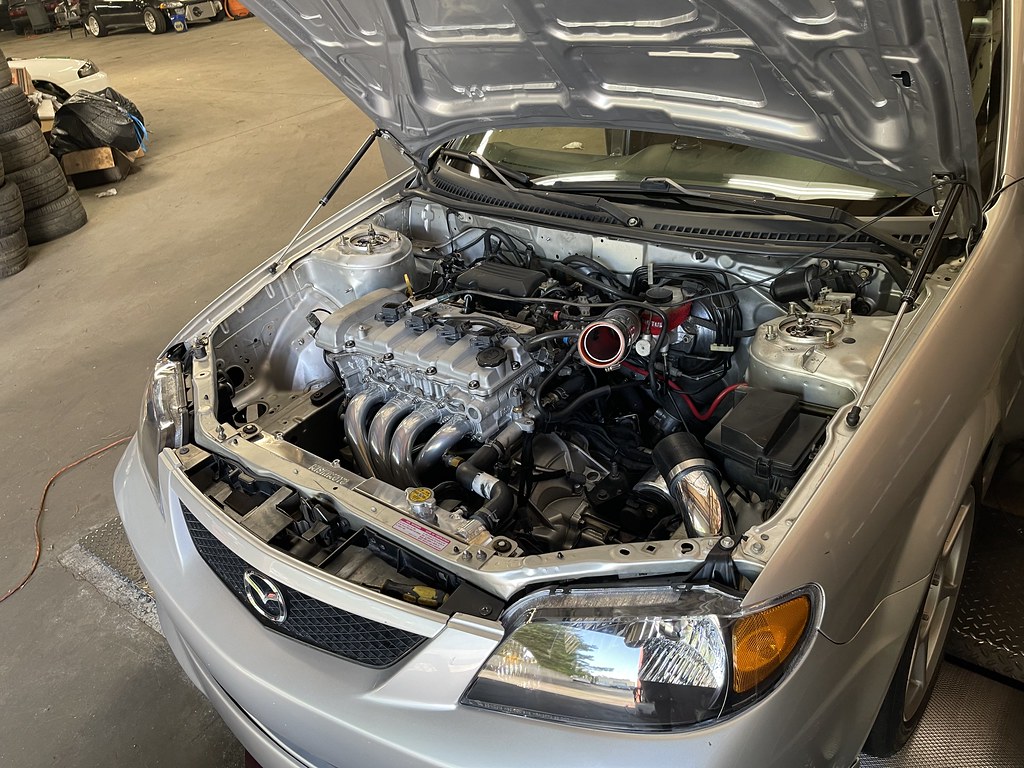
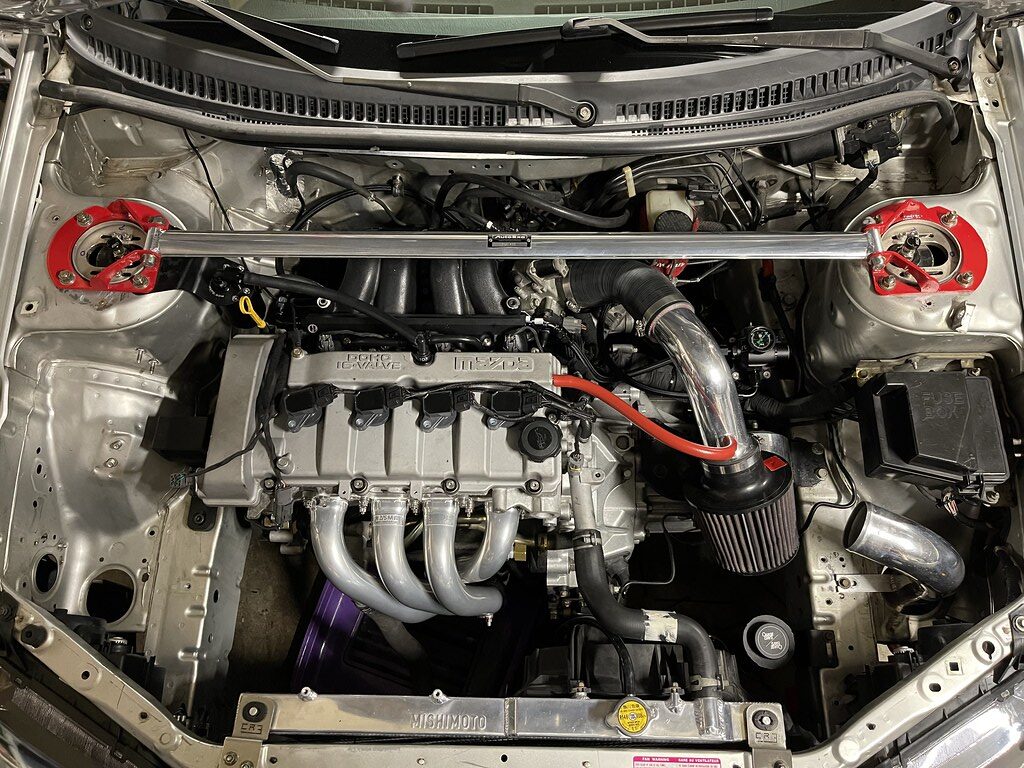
The ECU bolted directly into the US harness. The only thing needed is to run a vacuum source for the map sensor on the side of the ECU, and its ready to go.
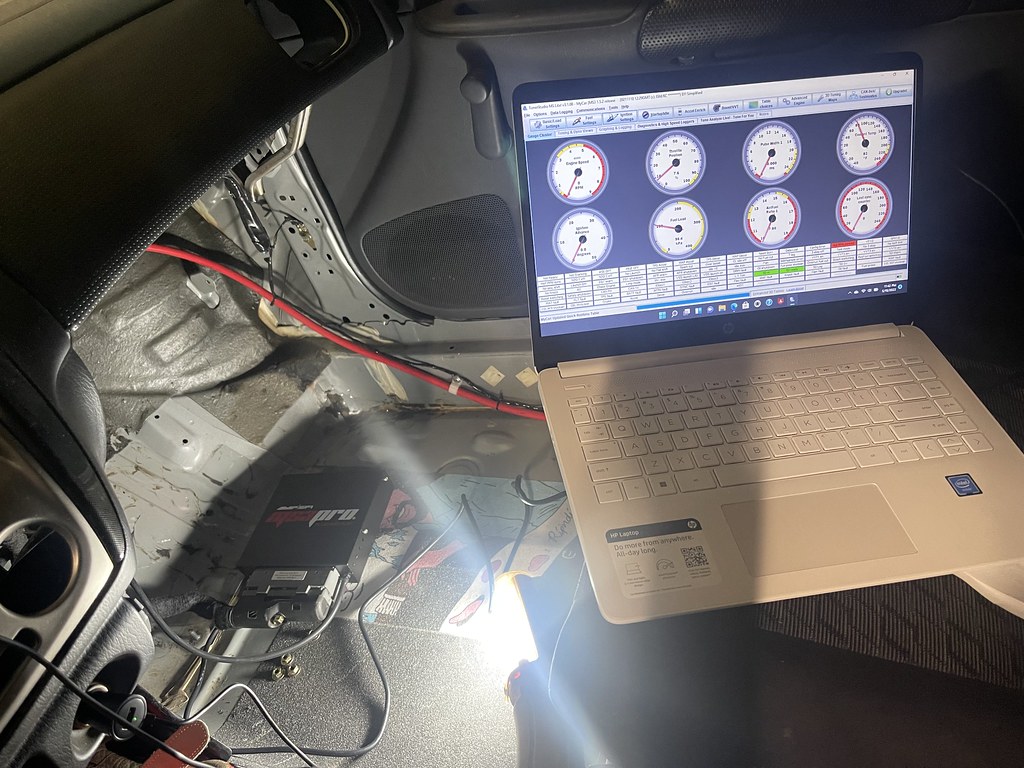
The first start up I had to run through a few checks with Kevin to make sure everything was setup. But the car started up, and was a little hesitant to idle because none of the parameters had been set.
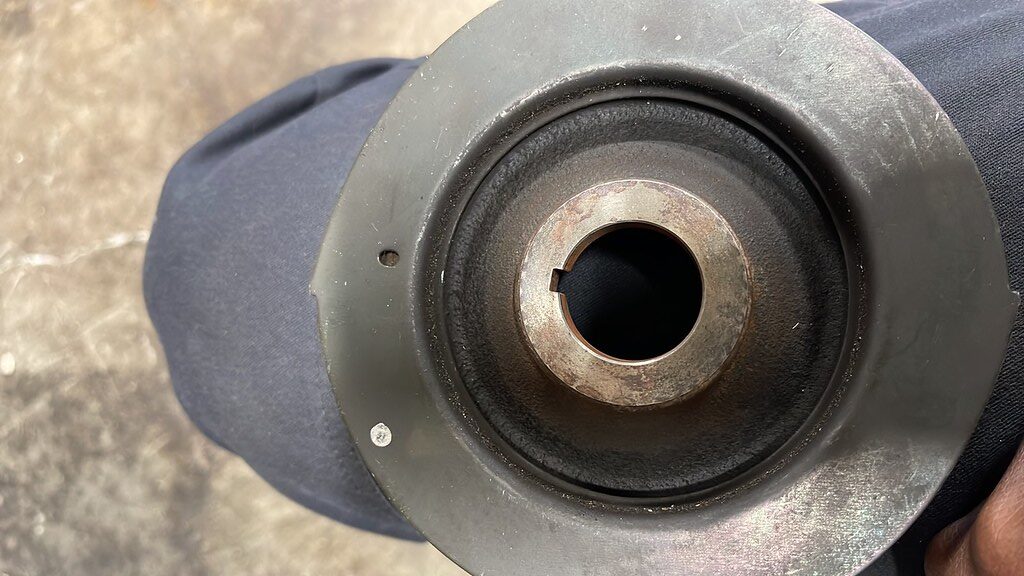

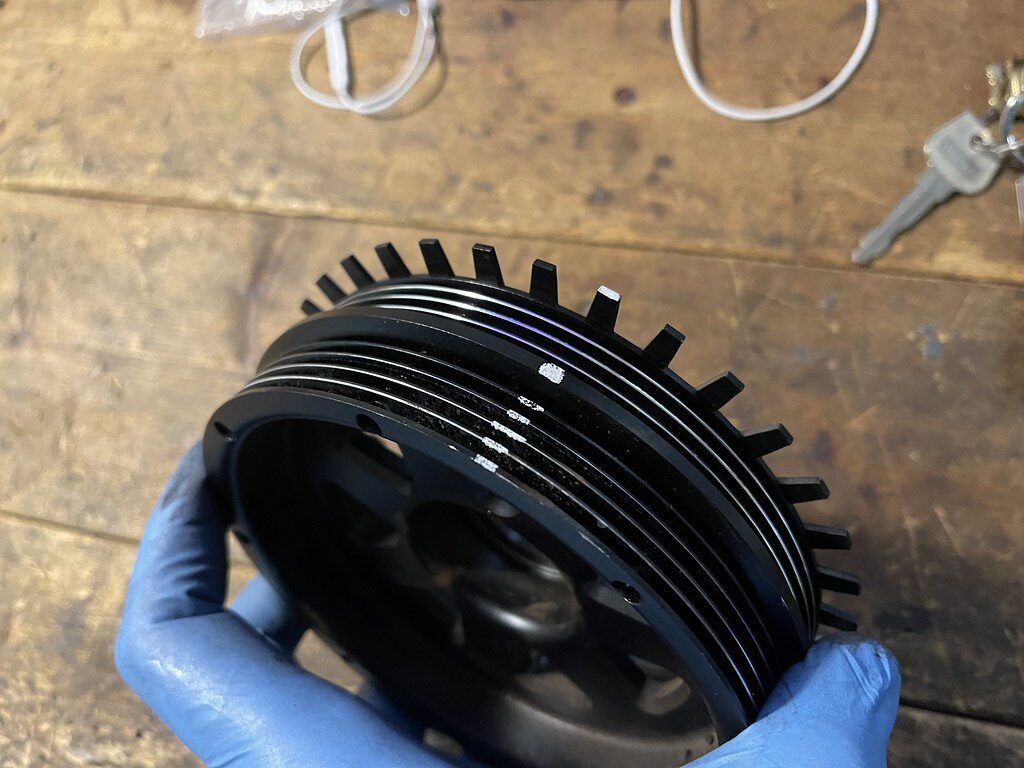
With any Megasquirt checking timing and entering it into the tuner studio is priority. My version of the Hydra crank pulley did not have any identifying marks for TDC. So the best I could do is mark it based off the OEM one and pray it worked.
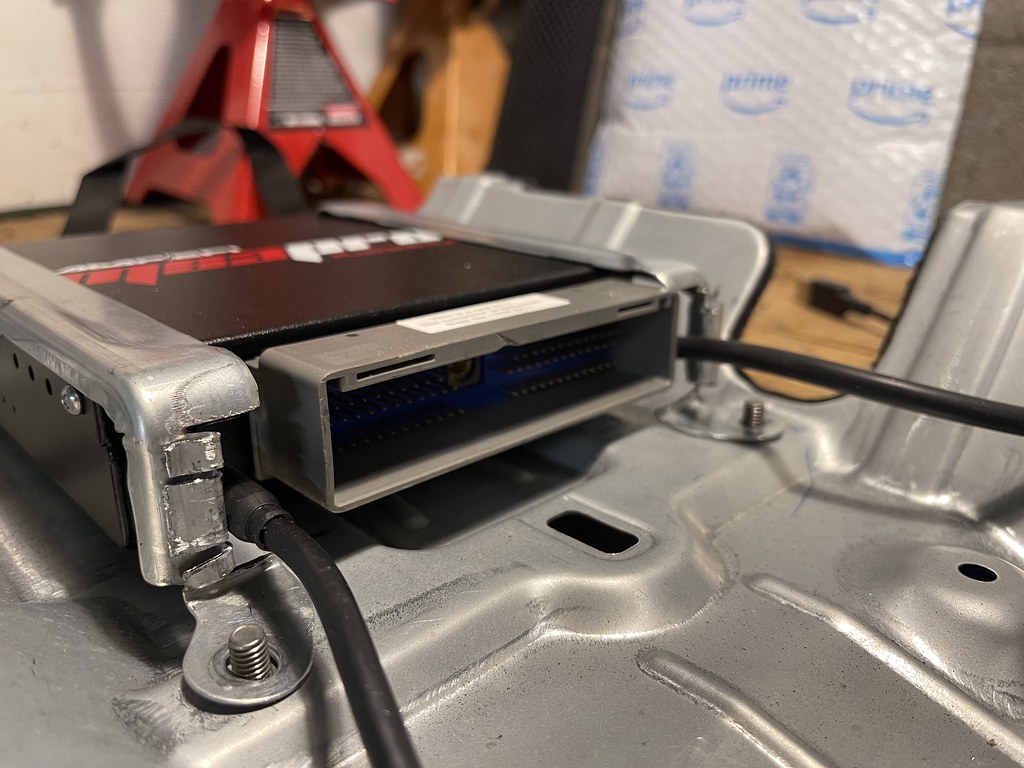
The ECU fits in the factory ECU place with minor modification to the brackets for the Map vacuum and data cable.
Next step before tuning was to install the wideband and wire it into the ECU.
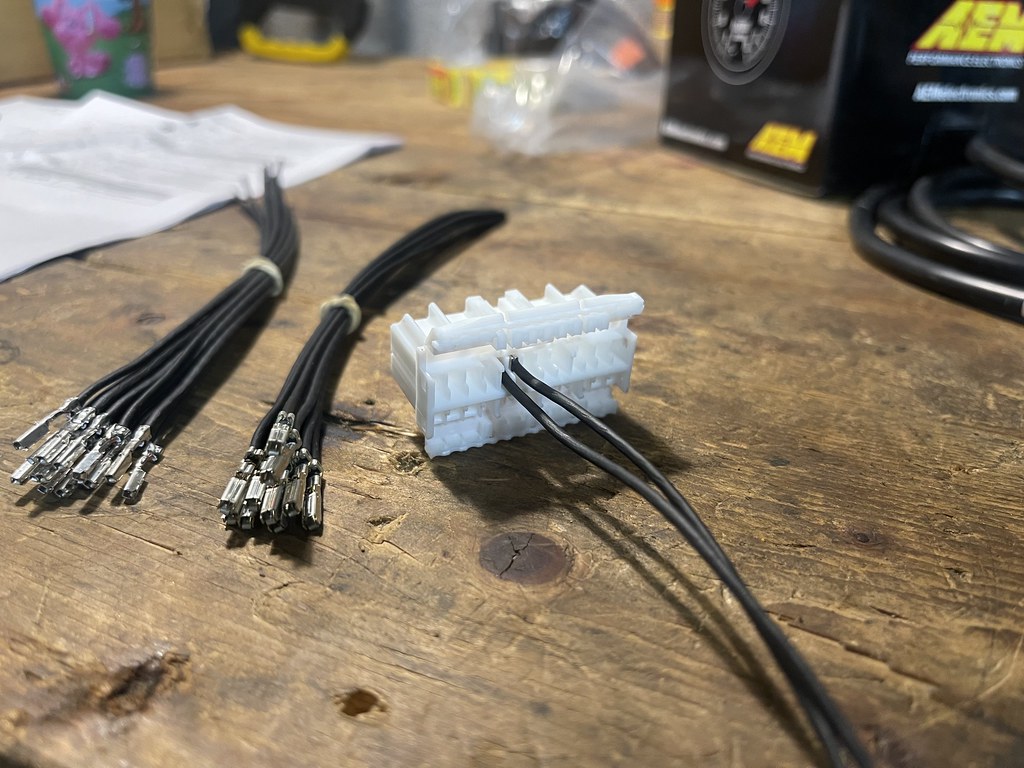
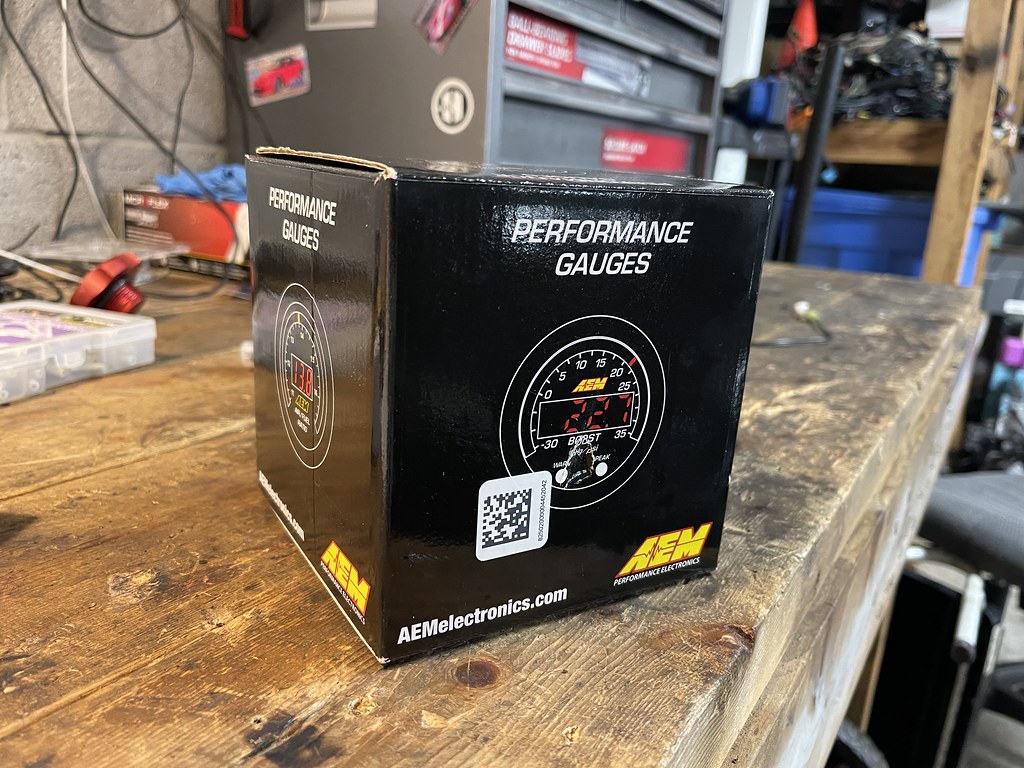
The MS3 comes with an add-on connector which makes adding gauges a breeze with the diagram. I was able to use the canbus slot for the for the gauge, which made installation a breeze.
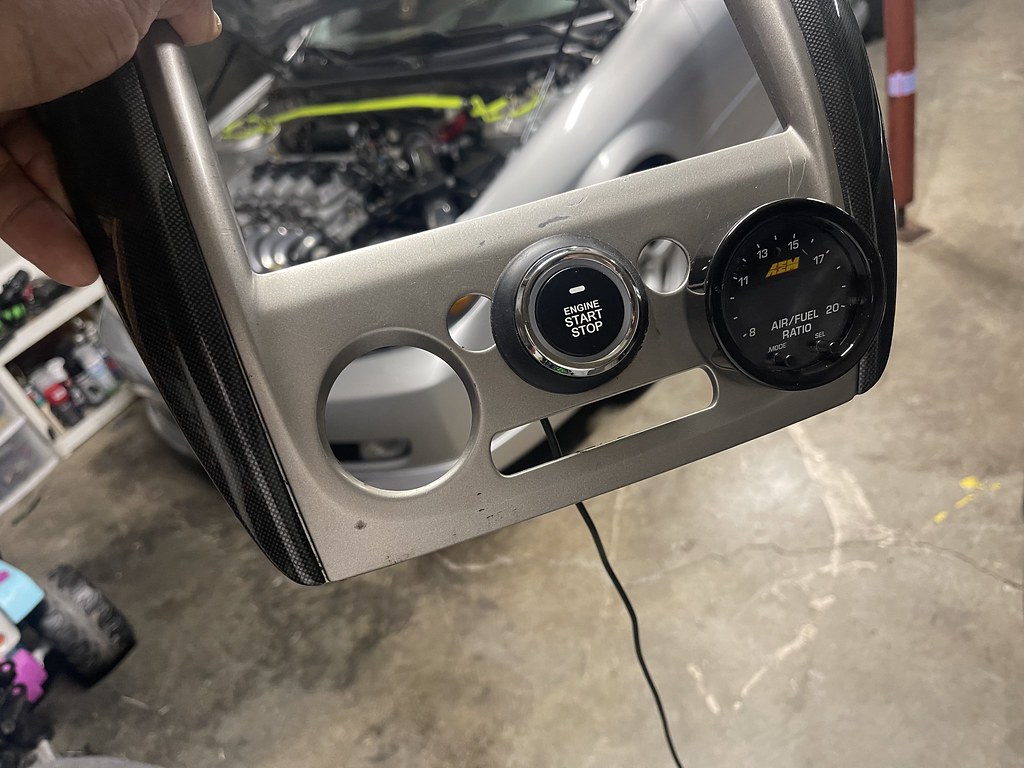
The gauge found a temporary home in the old HVAC position along with the temporary start button, which was moved after this photo was taken.
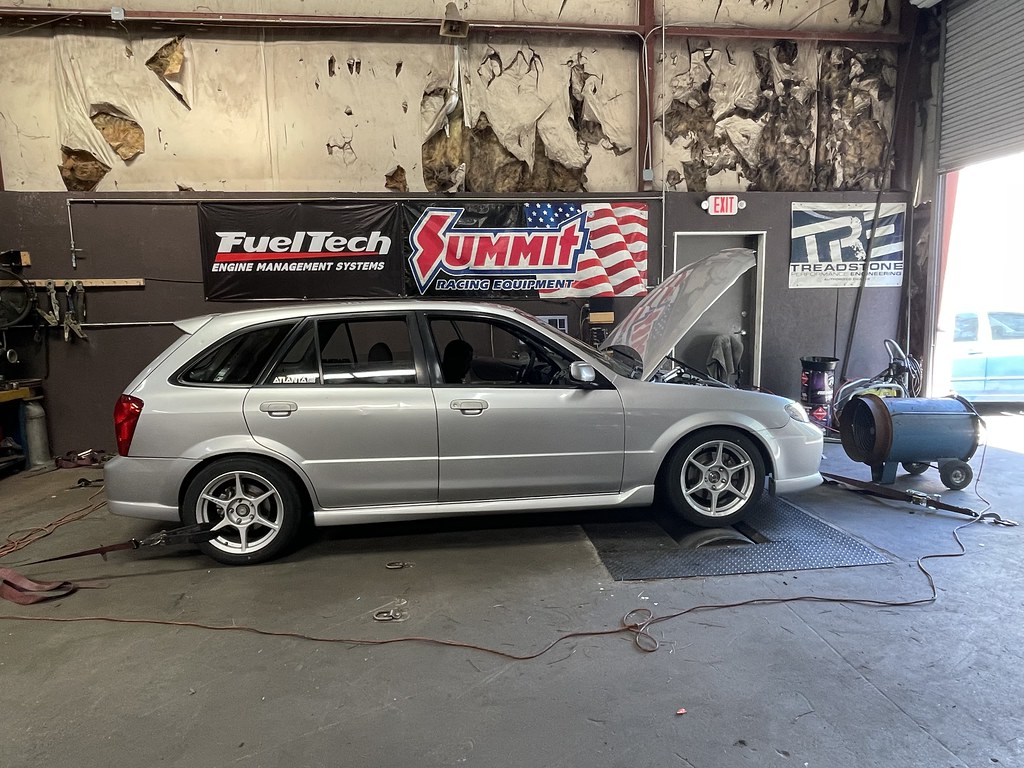
Once again I was back on the dyno. This time with proper tuning software for Arjay to do his magic with. The first hour was mostly working out the bugs and getting everything set up to work properly.
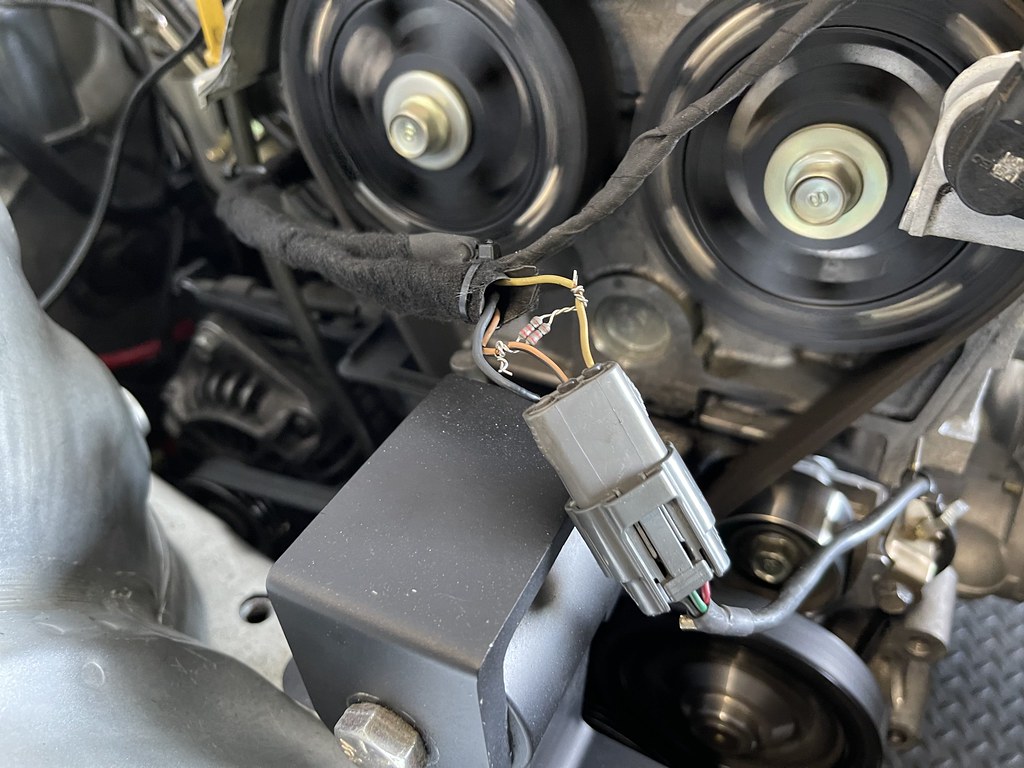 Once we got the idle setup, and the car was able to idle on its own. We ran into an issue with the car losing a crank signal causing a breakup at 3500rpm. We had to rig up a resistor in order to solve that issue. Kevin at DIY was able to correct this issue by adding a resistor in the actual ECU so this wont be an issue.
Once we got the crank signal sorted, we noticed the alternator was overcharging the battery up to 18 volts during dyno pulls. We were able to adjust the alternator output and keep it steady at 13 volts.
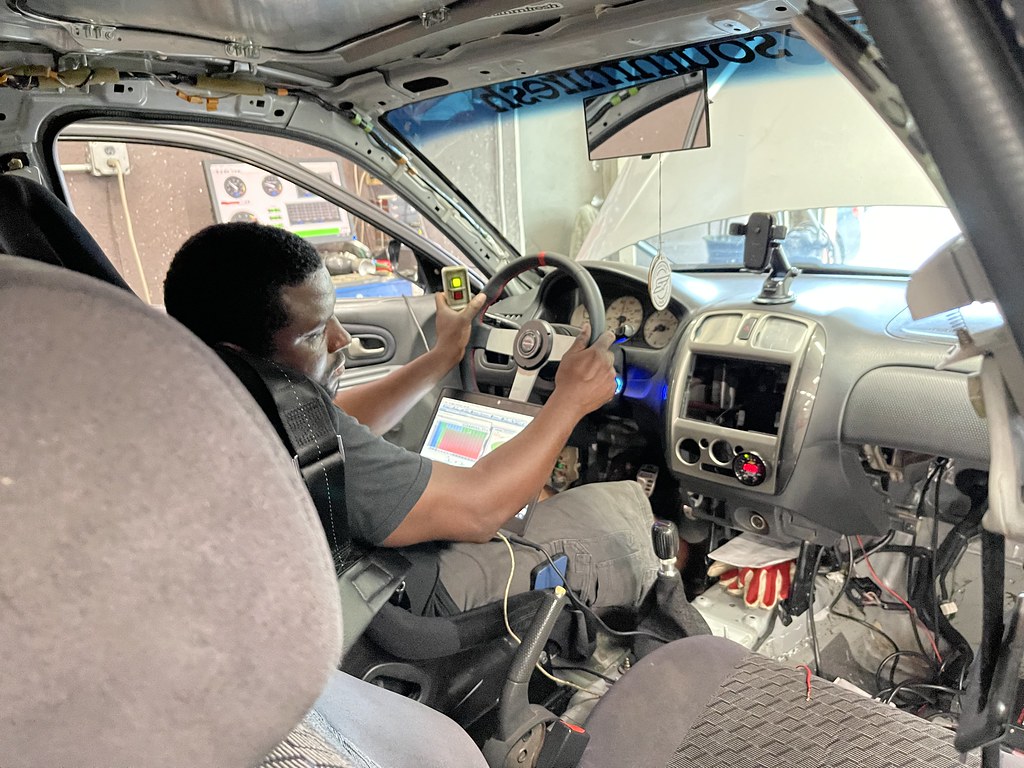
After a few hours of getting past those issues, we were able to see about putting some numbers down.
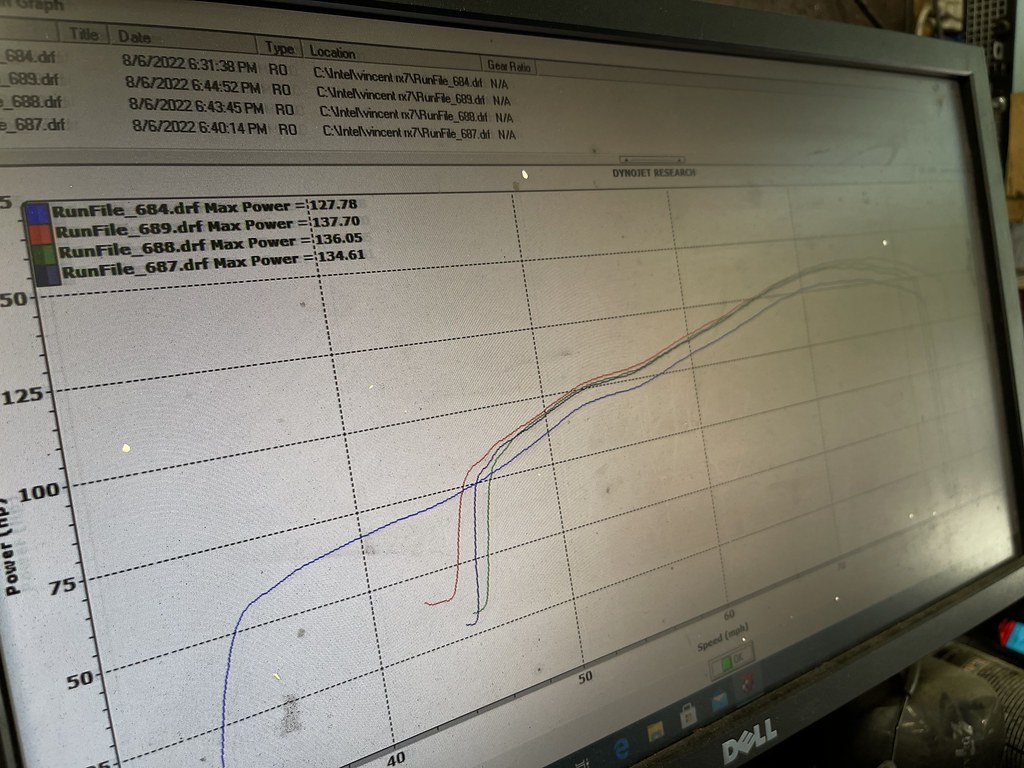
First clean run the car made 127hp out the box which was way down from previous. But we picked up a good bit after a few runs..
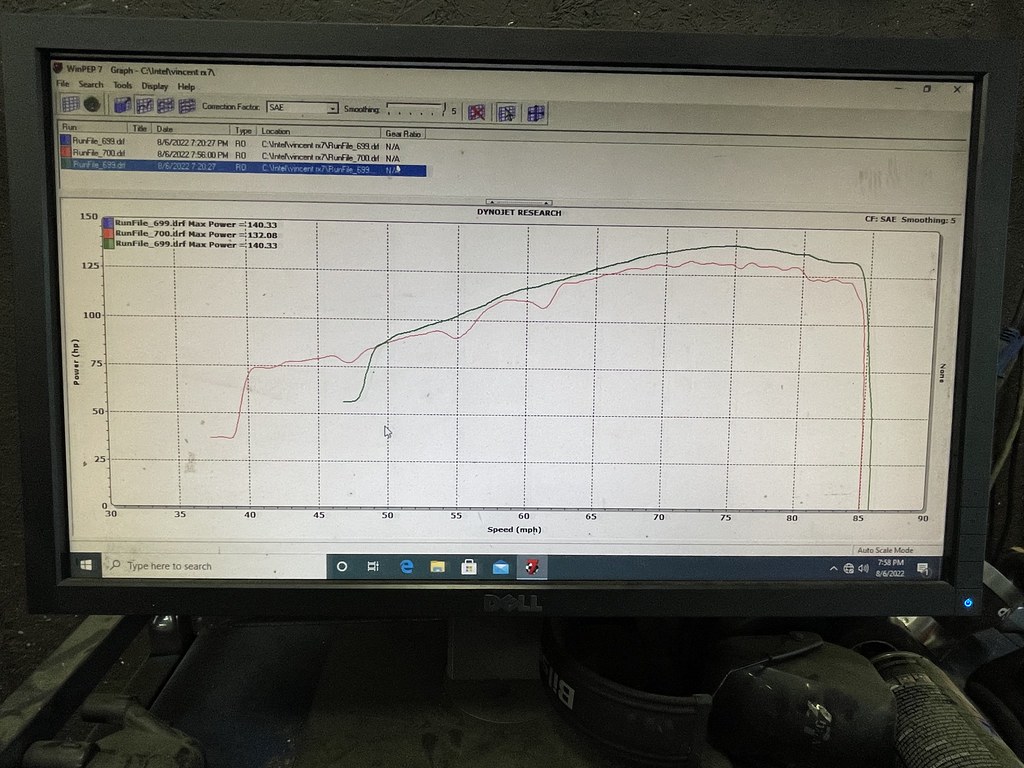
After fighting with issues most of the 3 hours, we only spent about 30-45 minutes doing power pulls. Arjay was able to get a nice and smooth power band and get it at 140hp at the wheels, which is the most it has made so far. We were unable to get any torque readings this go round, but it will be back on soon to mess around and see what we can squeeze out of it. The Megasquirt is a huge milestone for the car because it opens it up for anything i want to throw at it in the future, so I am extremely satisfied with it all. We spent most of the session getting the car up, so once we got those numbers we rapped it up for the day. I will be going back at a later date to see if we can get more out.
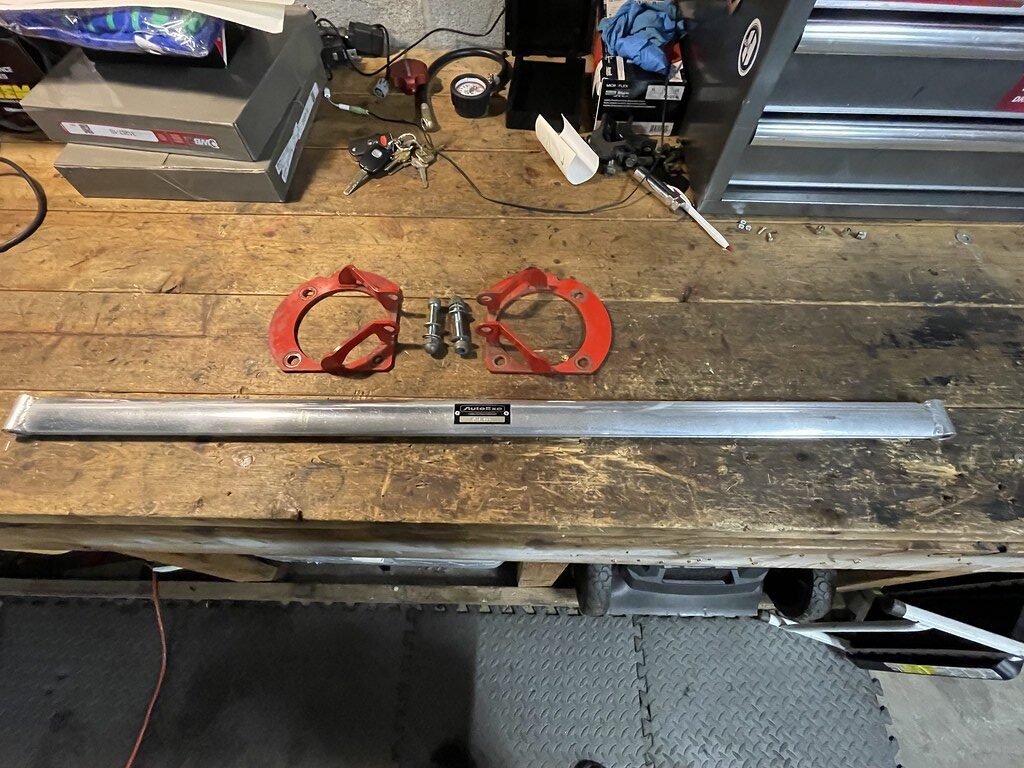
After the dyno session I was looking for things to do, so I started to pull out some of the parts I had been collecting. And figured its time to get this stuff installed. I stumbled upon this Autoexe strut tower bar on Yahoo Japan.
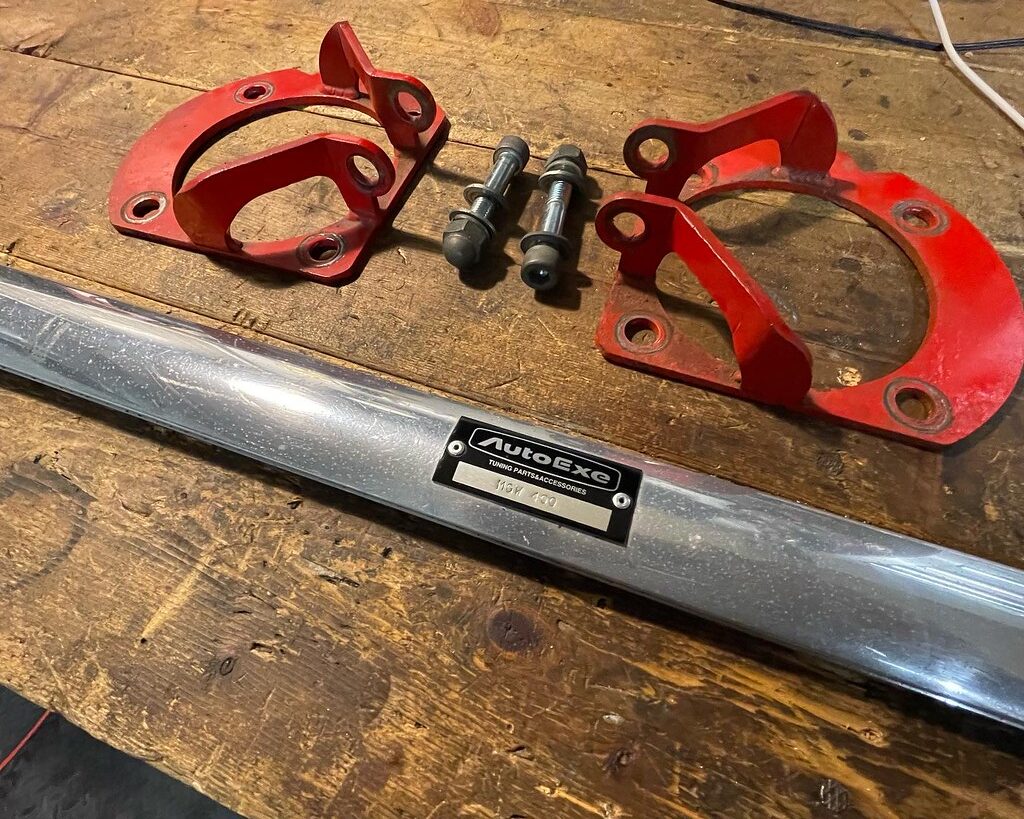
It was listed as “mazda strut bar” on the auction. But one of the photos showed the parts number, and I cross referenced it and it came up as being for a BJ chassis car. It was in decent shape, but was in need of some restoration.
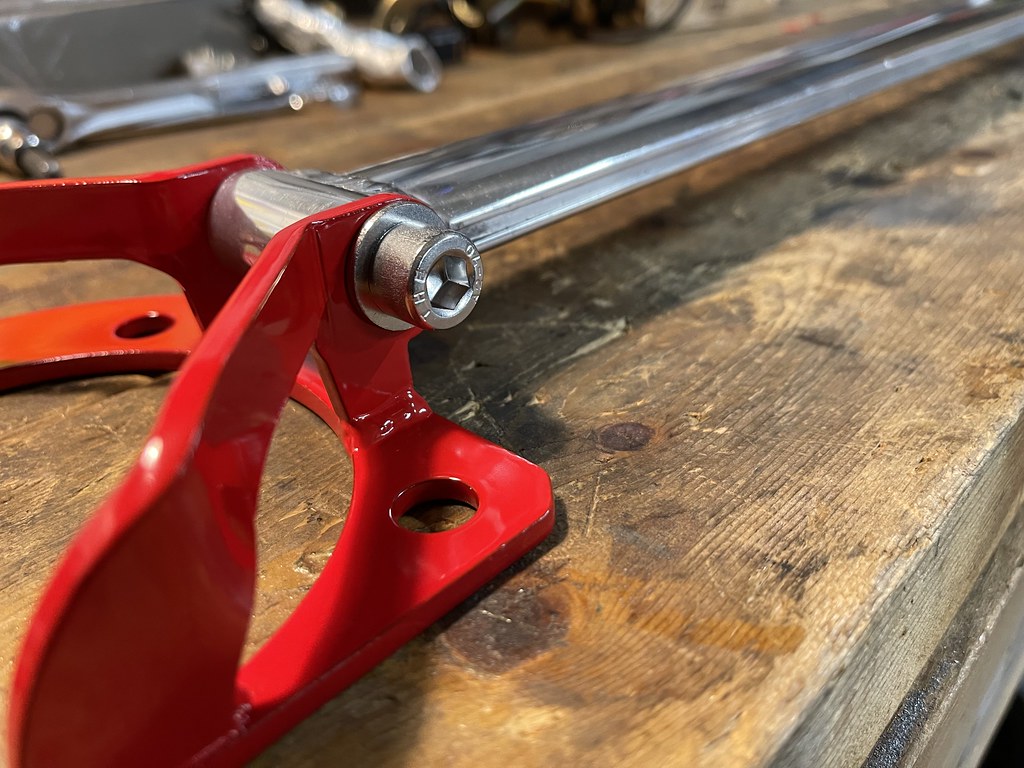
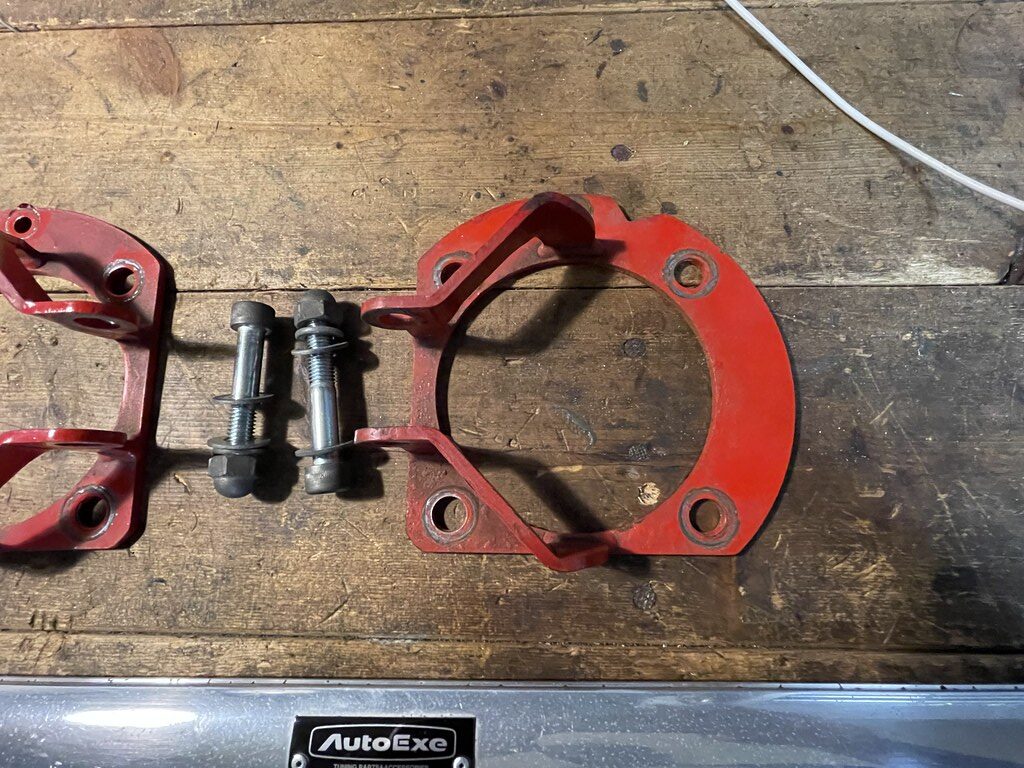
I had my good friend Matt ( @lloyds_atl) assisted me on refinishing the mounts and polishing the bar to its glory. I also replaced the bolts to match the new look.
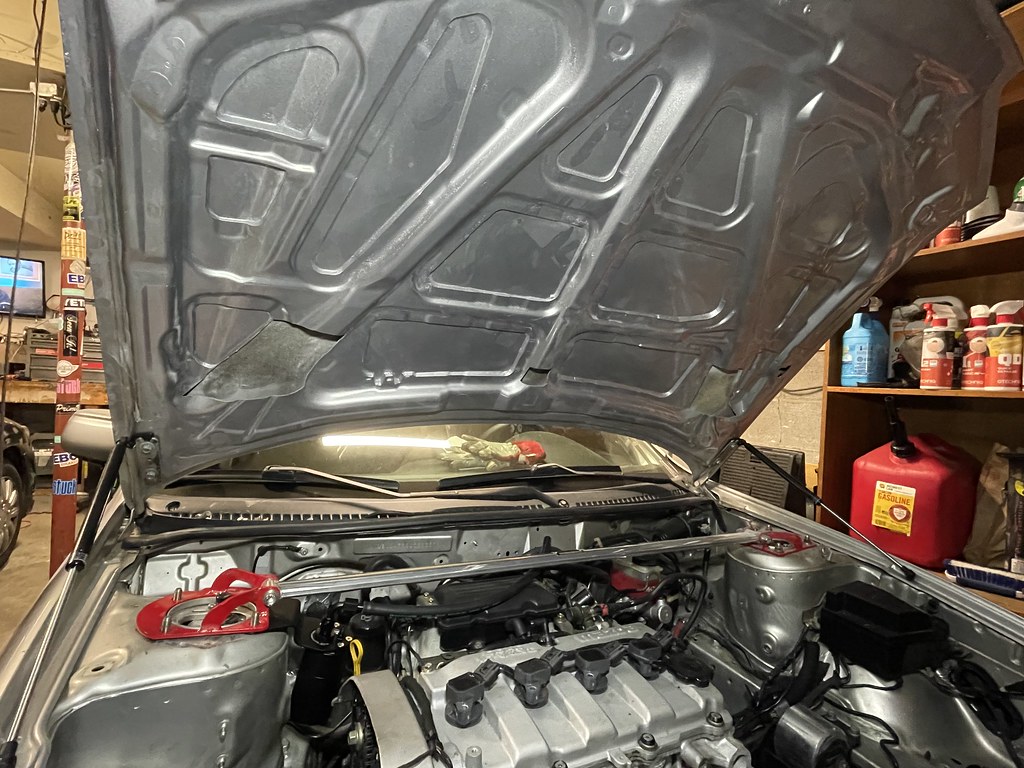
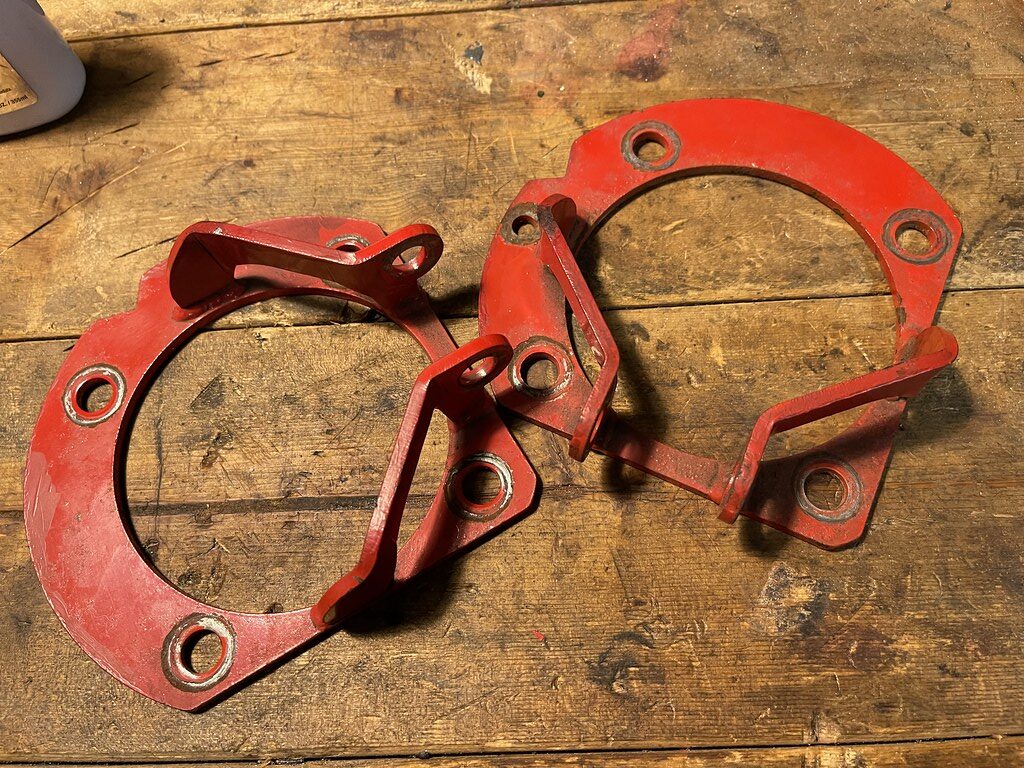
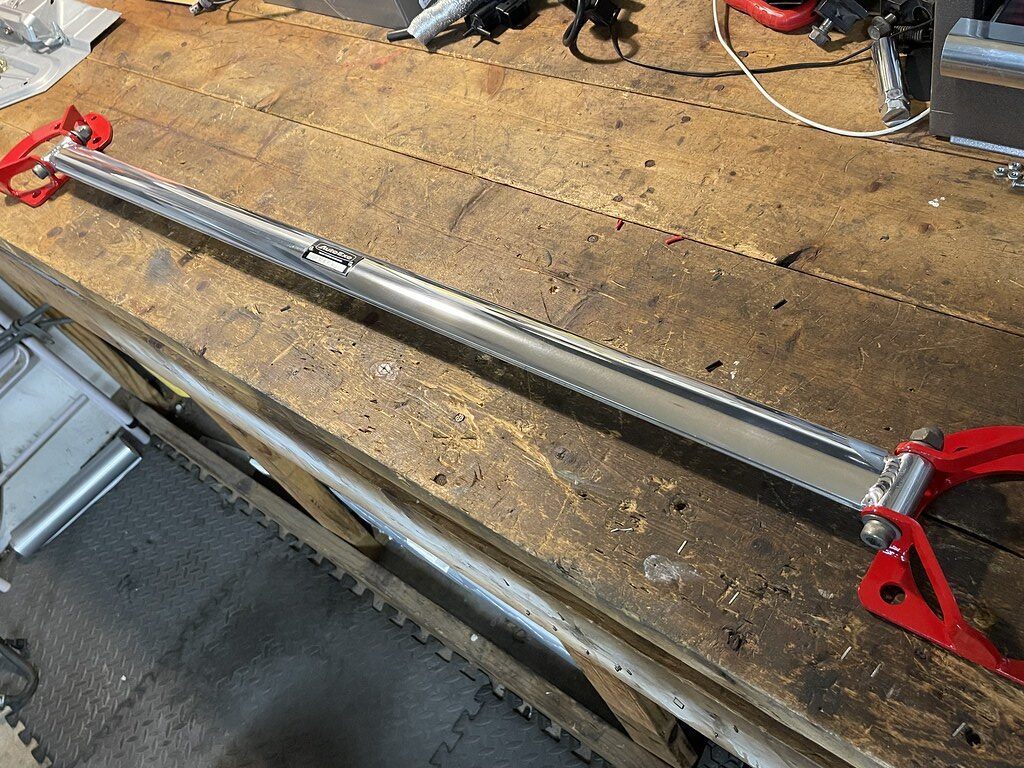
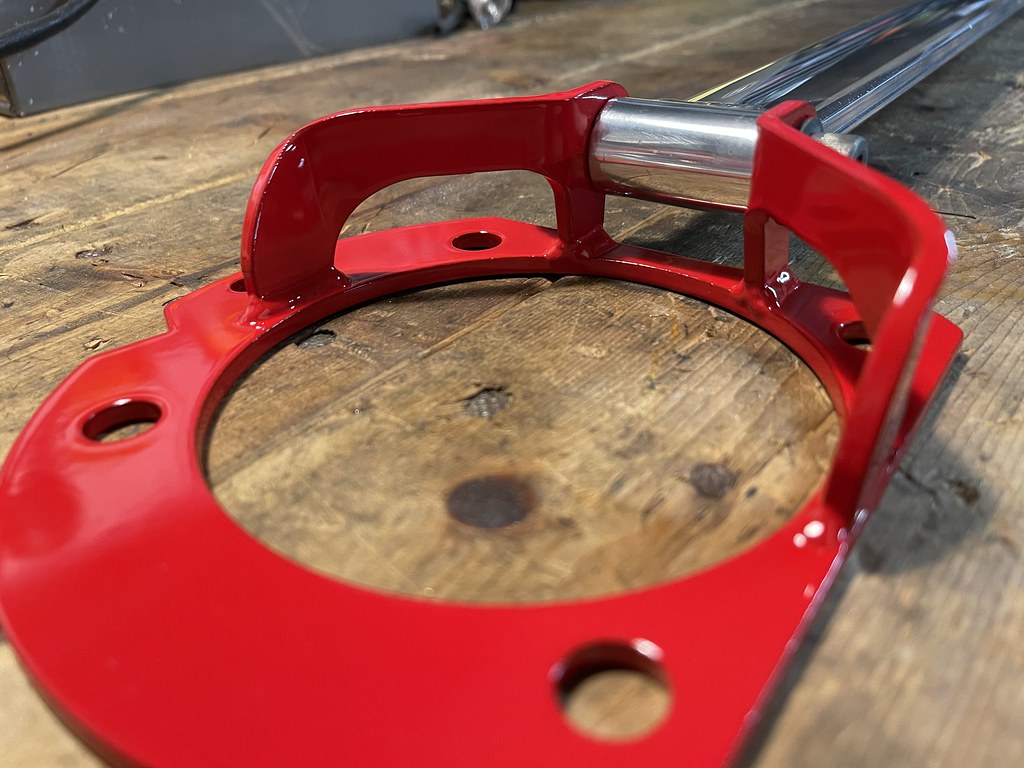
Once this was all done, I installed it… that is when I realized that the hood wont close. The side brace mounts, were keeping the hood for closing. I started to look a little deeper into the part number and found that the bar is actually for the 2000 Mazda Premacy, which is the same chassis as the 3rd Gen Protege. But the Premacy is a compact van, which later became the Mazda 5 thats based off the Mazda 3. Which explains why the side mounts are so tall. I test fit the bar before I had it powder coated, but i guess I never tried to close the hood.. So the only thing for me to do was to trim the hood.
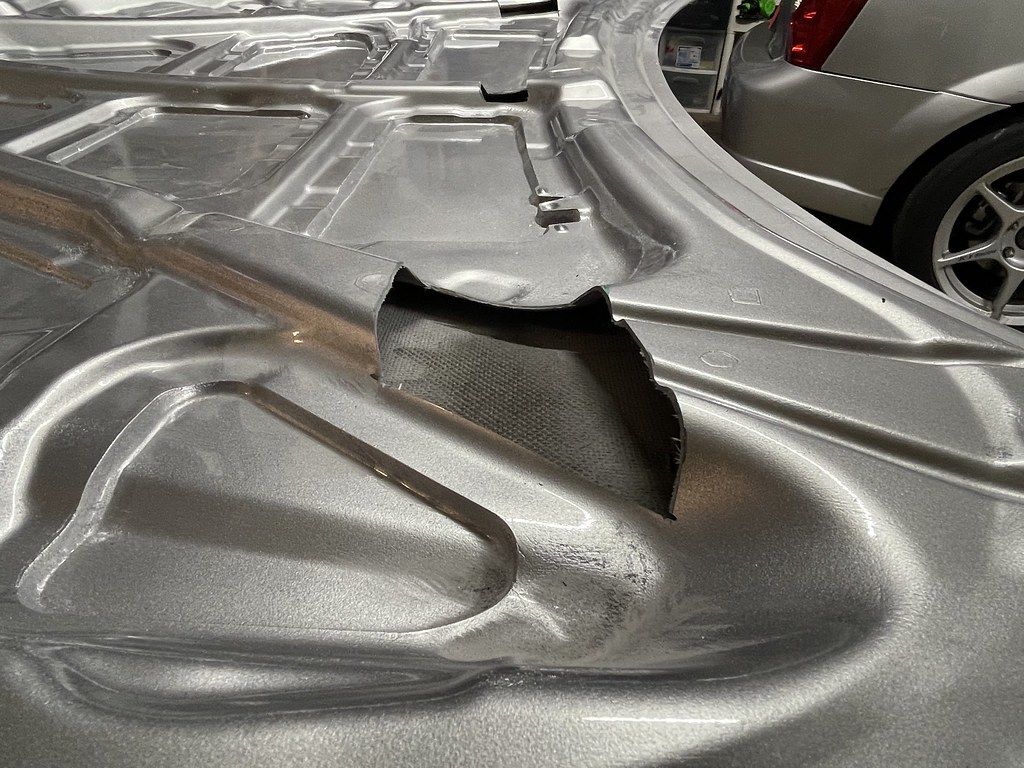
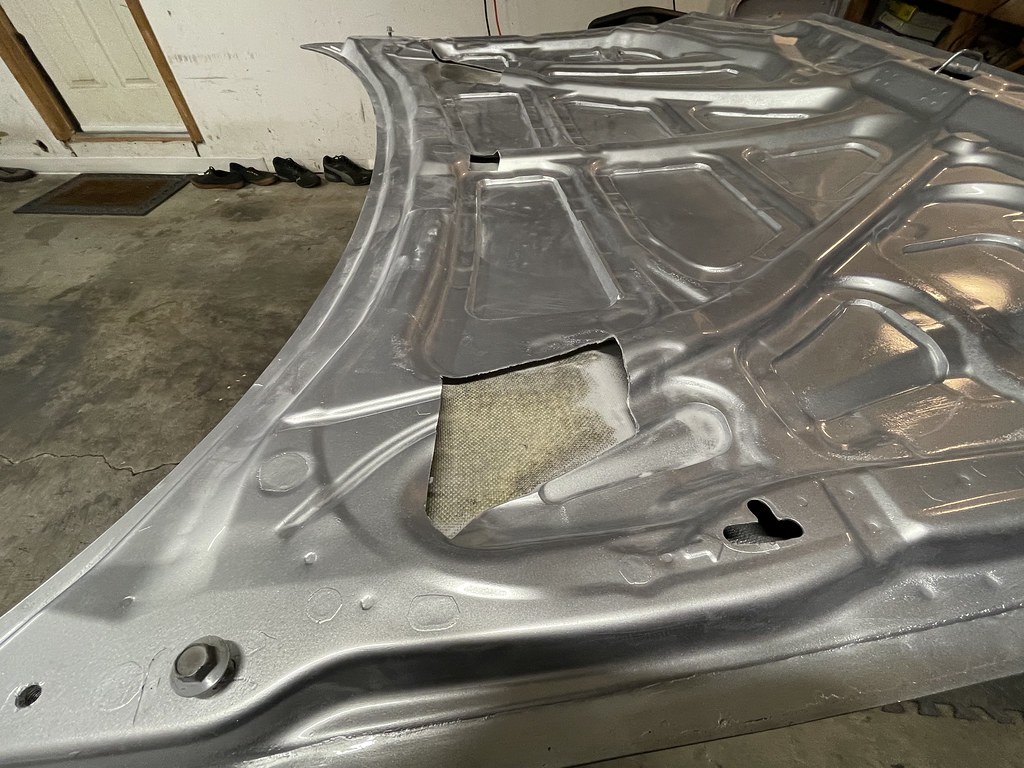
It took all of 12 minutes to trim through the fiberglass under panel and make room for the brace.
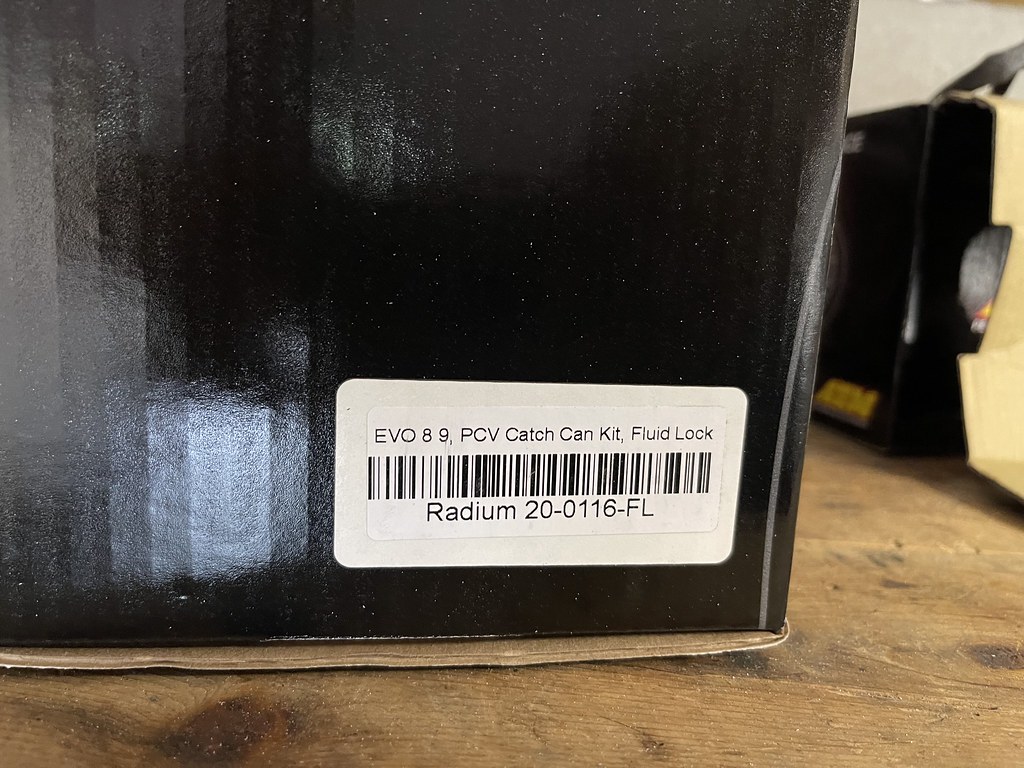
Next project was installing the Radium Catch Can Kit
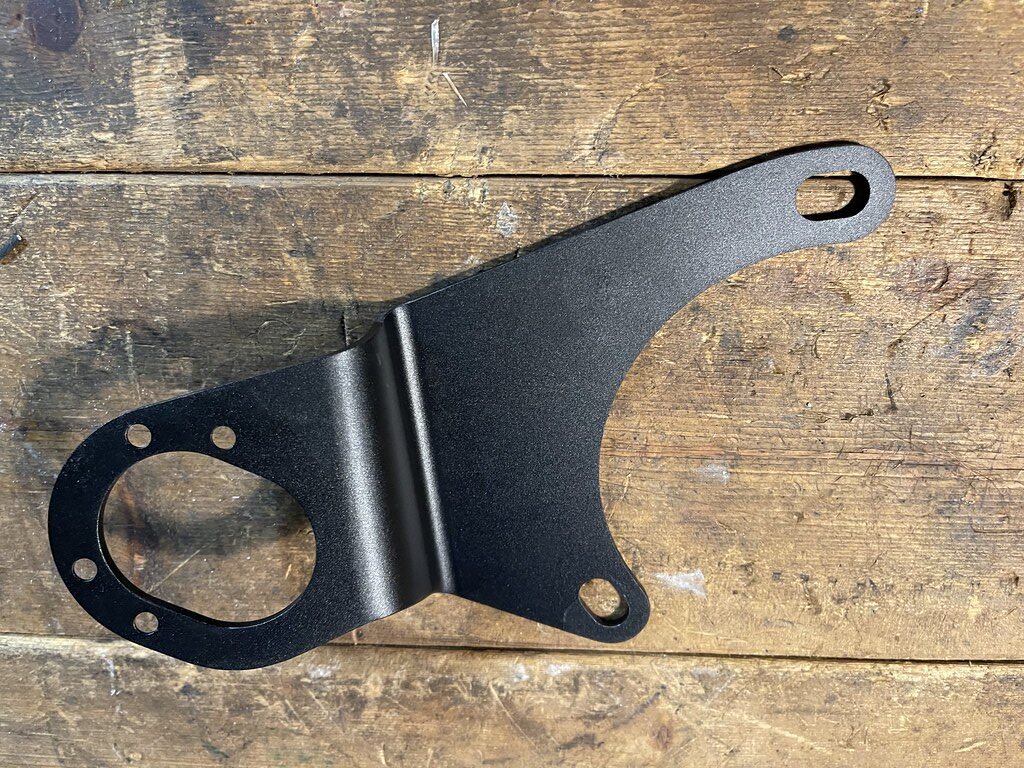
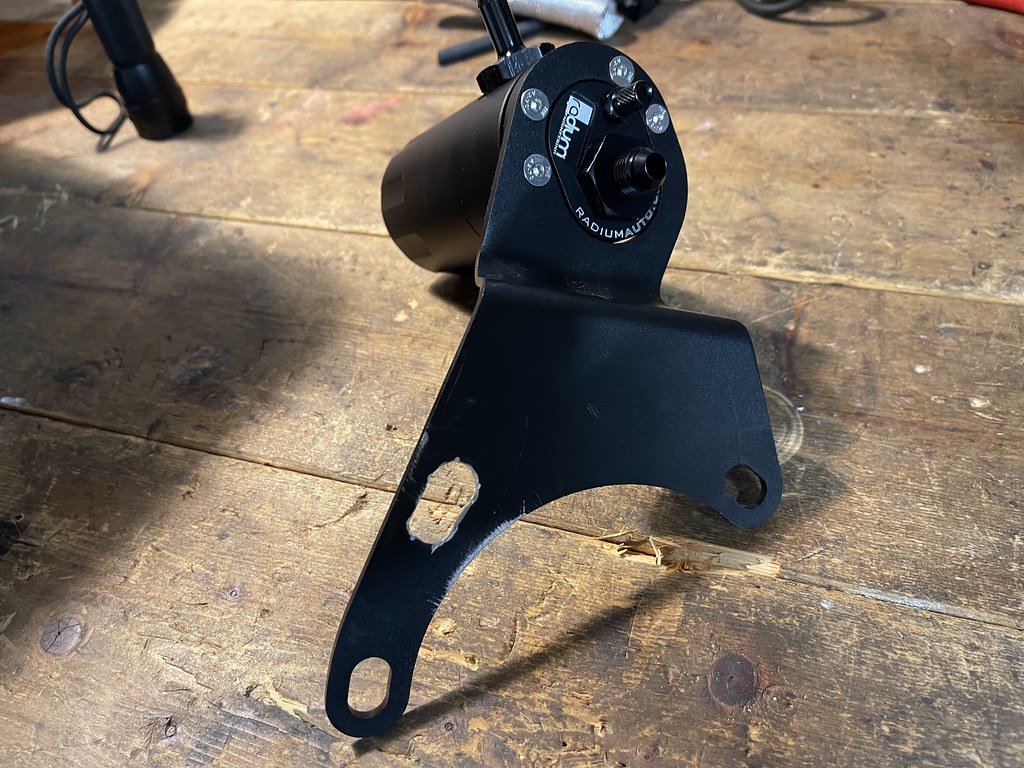
The Evo kit mounts on the strut tower, the only modification needed is to slot the inner hole to fit on the Protege strut tower.
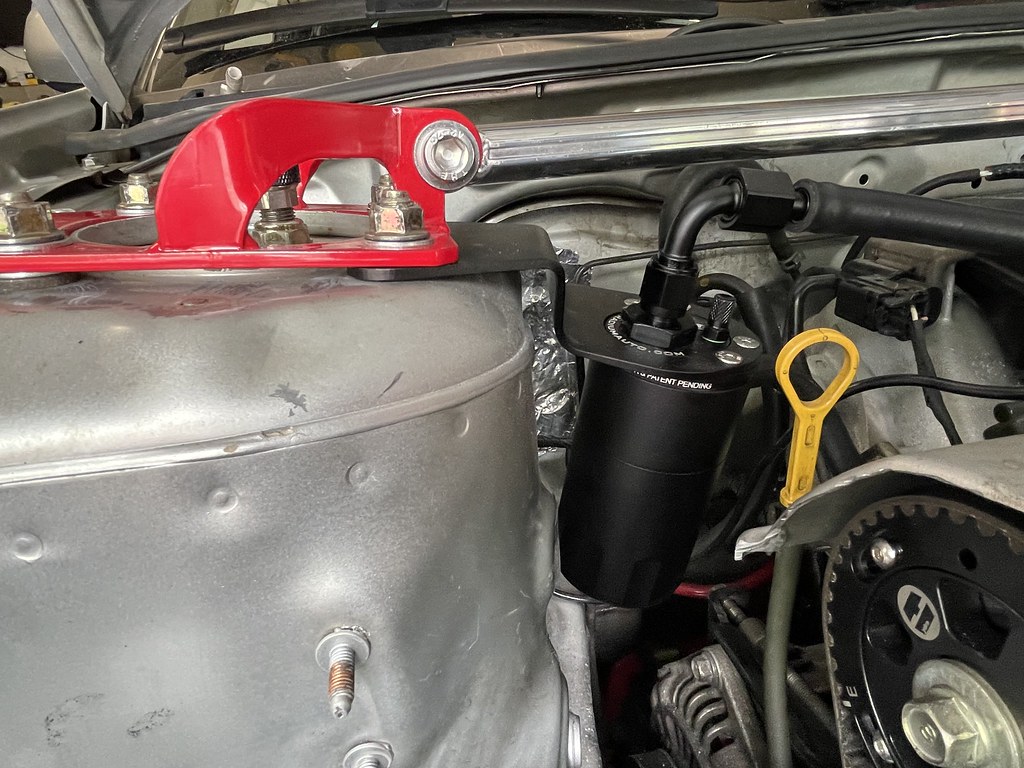
Catch Can mounted in place….
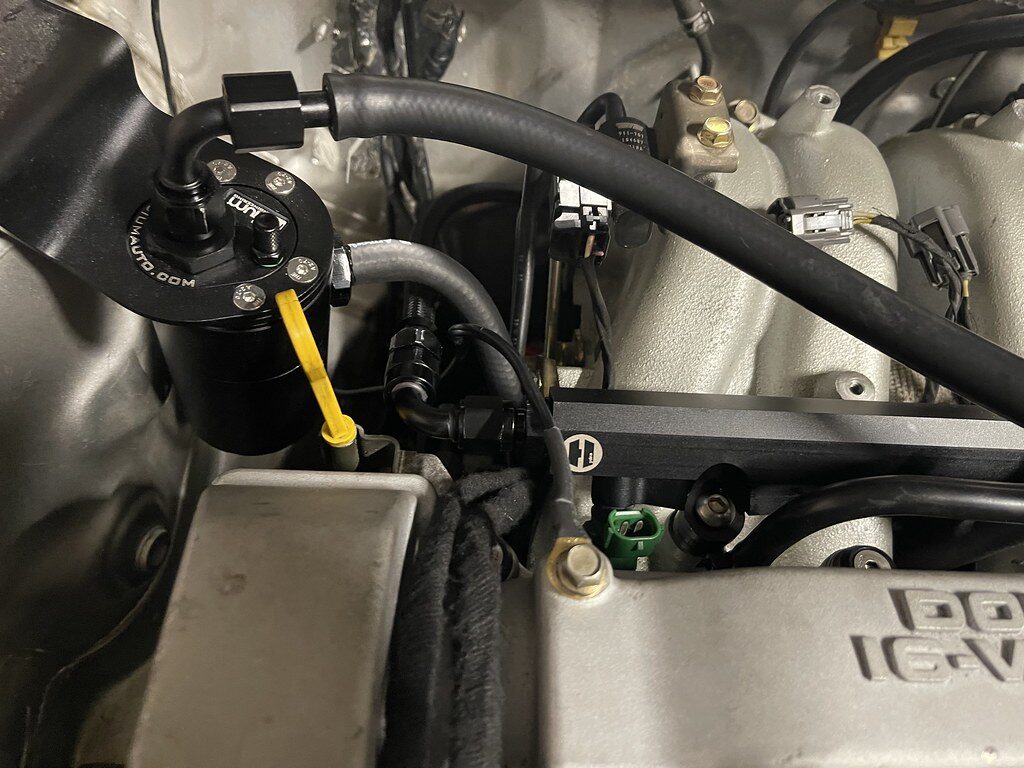
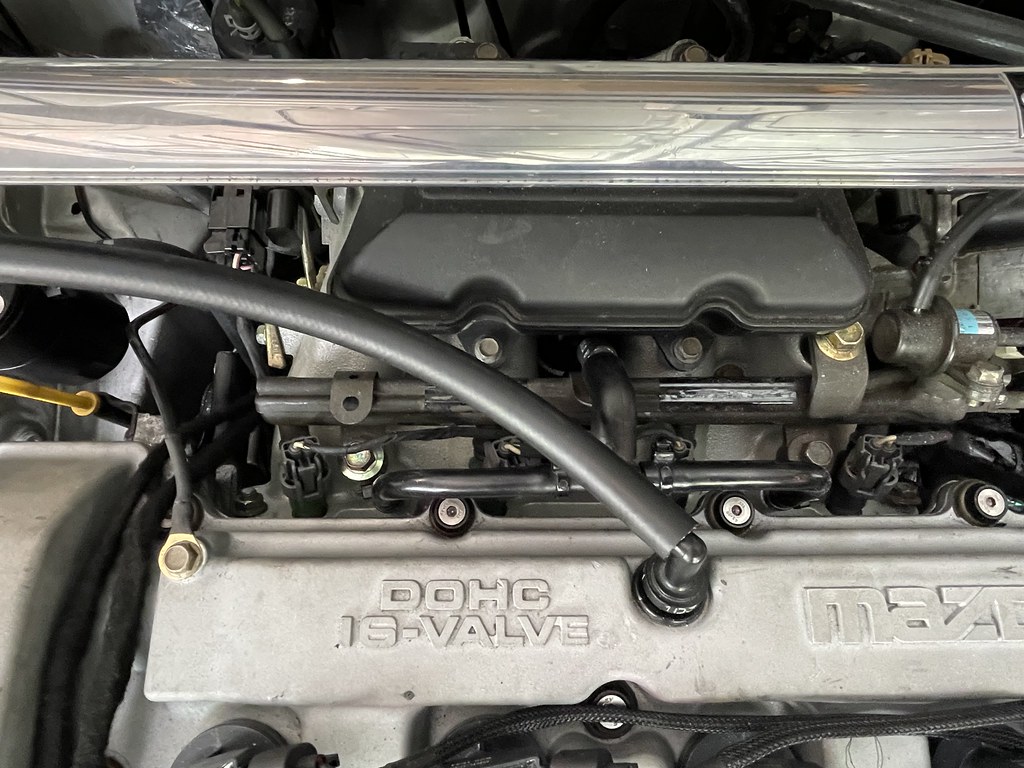
The top hose runs directly to the PCV valve. The other hose goes under the manifold and easily plumbs into the intake manifold elbow that feeds into the intake manifold. It may not be as a concern on my engine being na, but I did start to notice a bit of oil in the PCV elbow every so often.
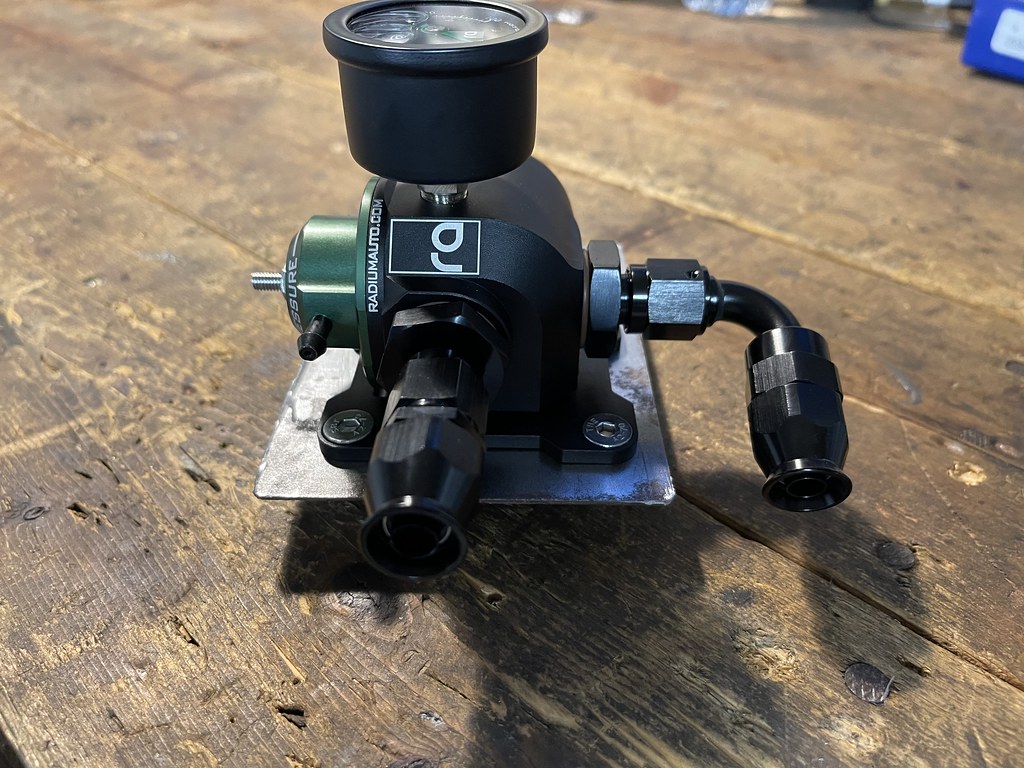
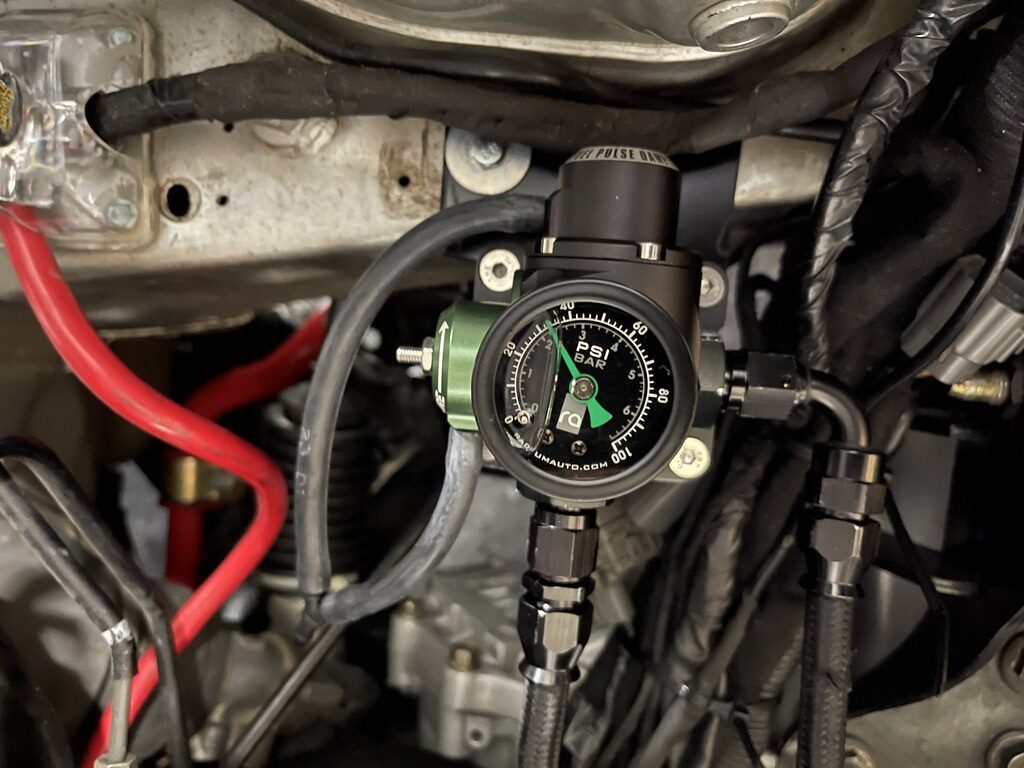
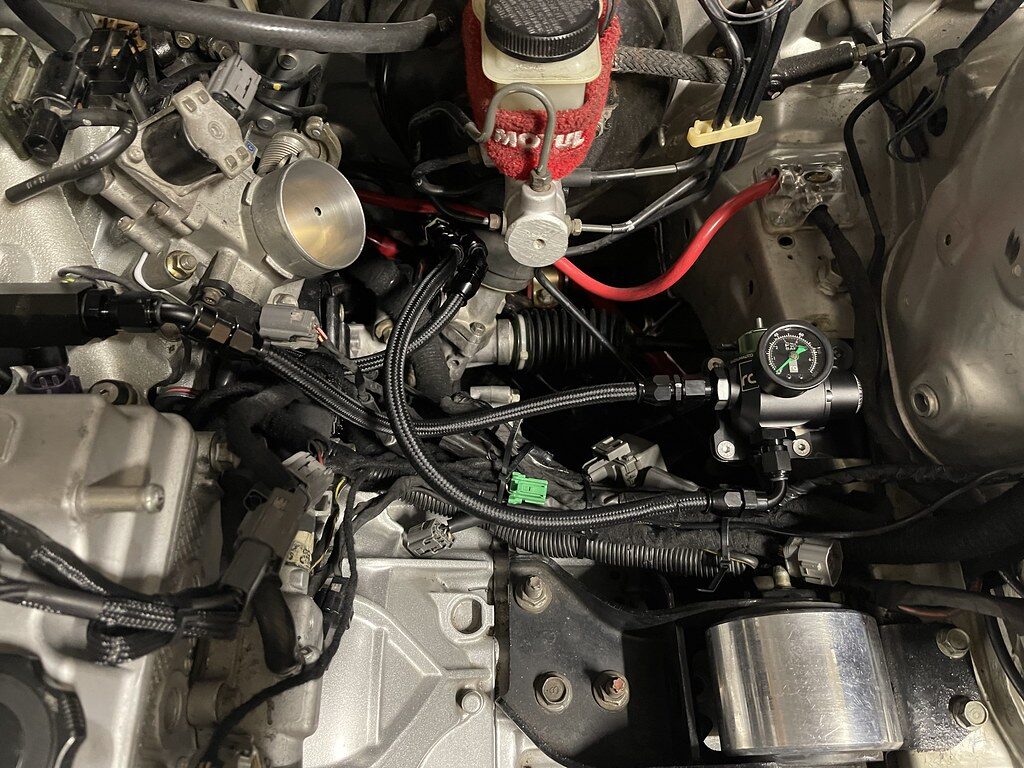
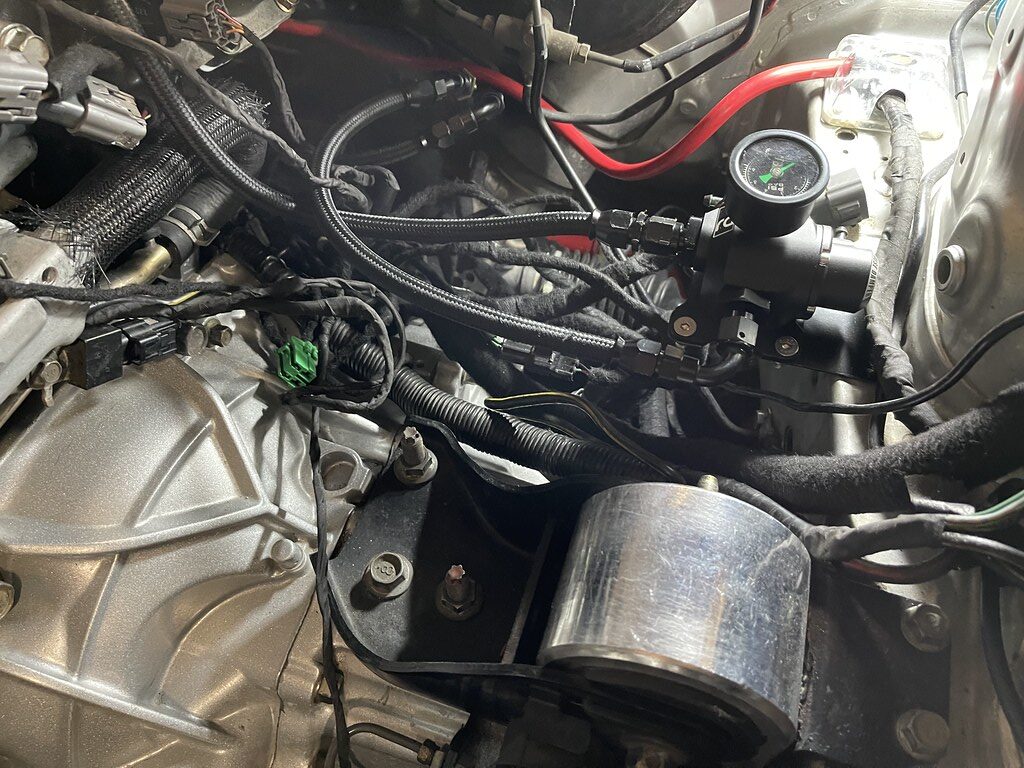
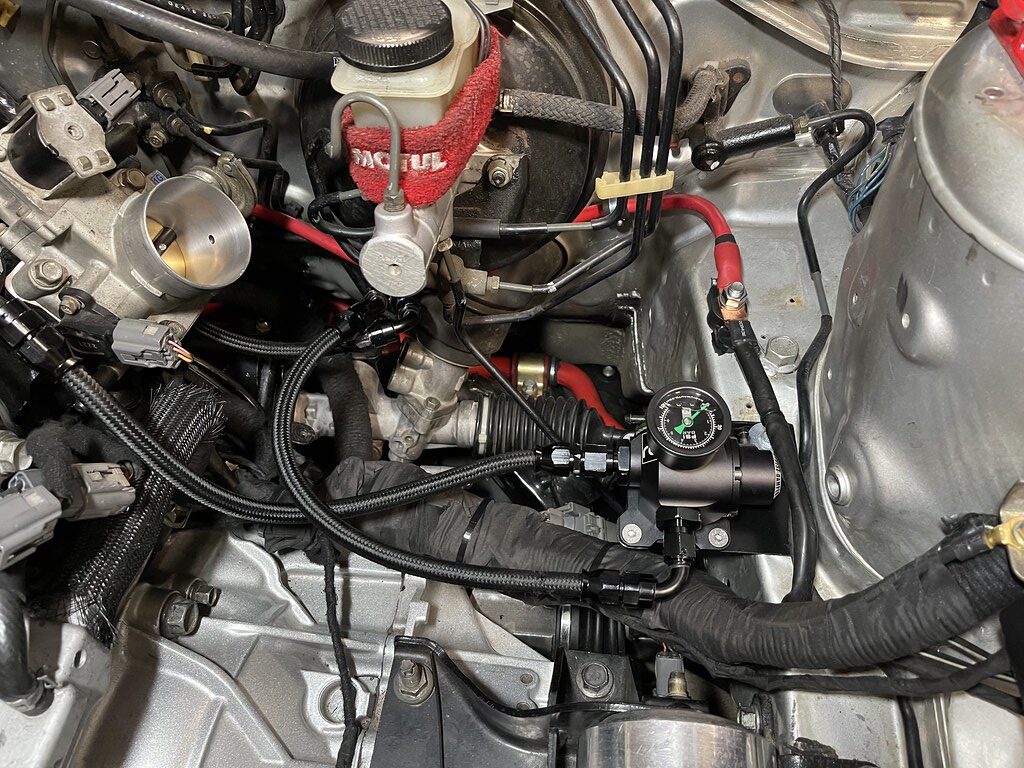
Now it was finally time to install the Radium Fuel Pressure / Damper combination kit, and the Hydra Motorsrports Fuel Rail .
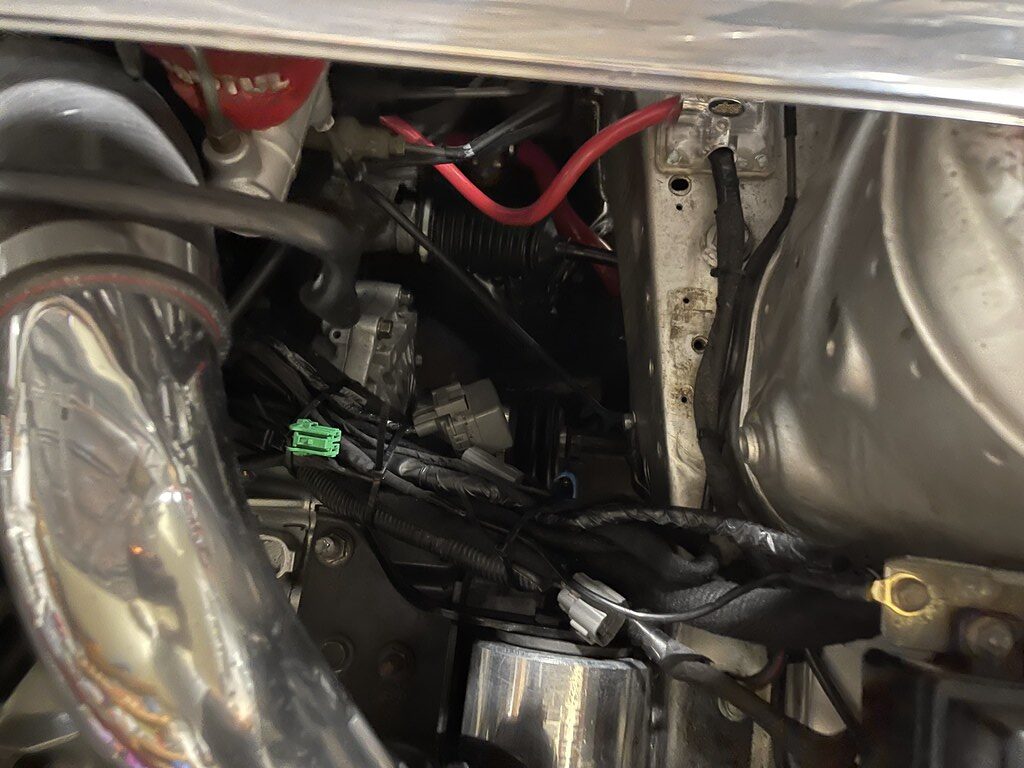
I didnt really have much room to mount it on the firewall, so I found a space under the passenger side normally where the battery would sit.
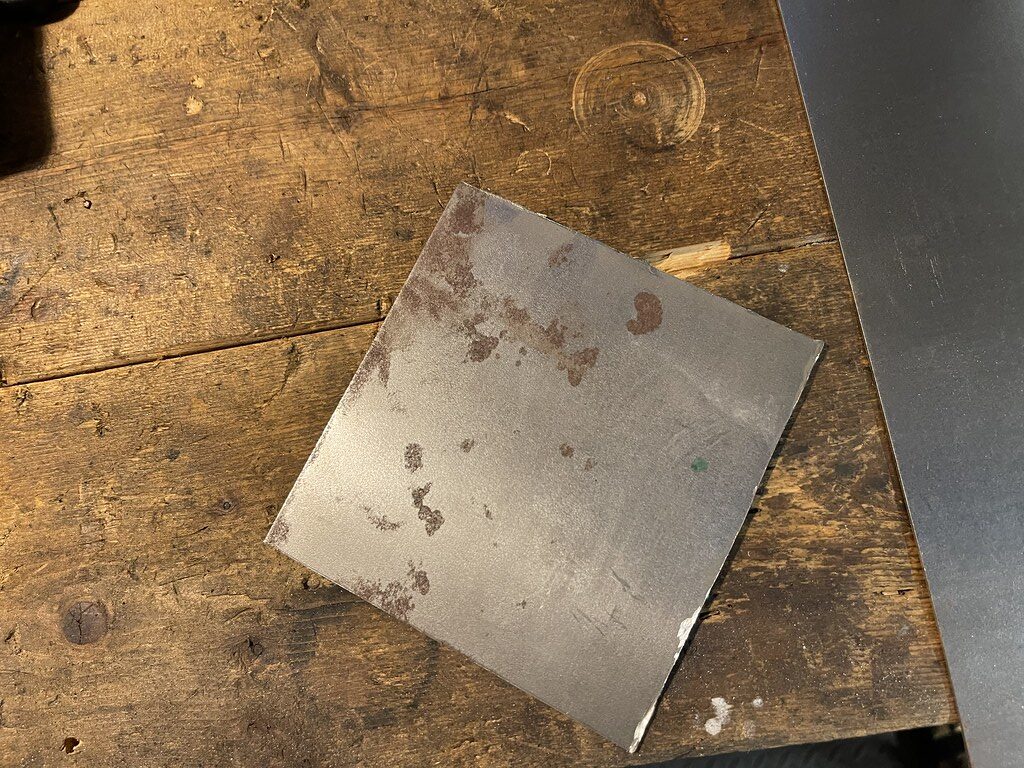
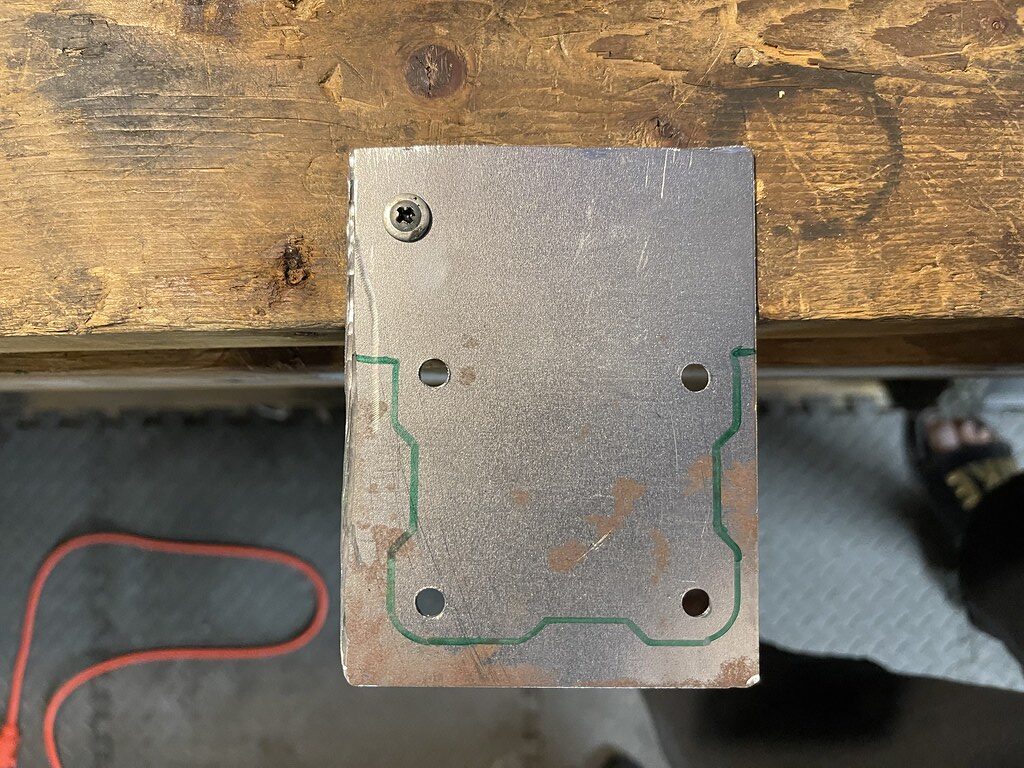
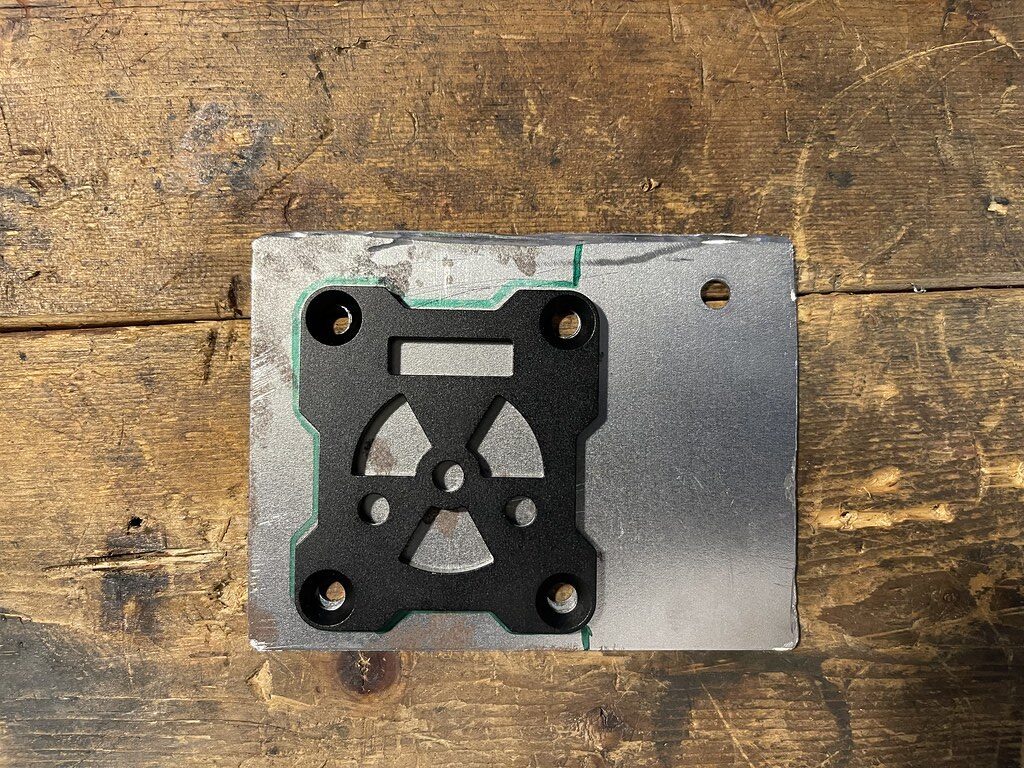
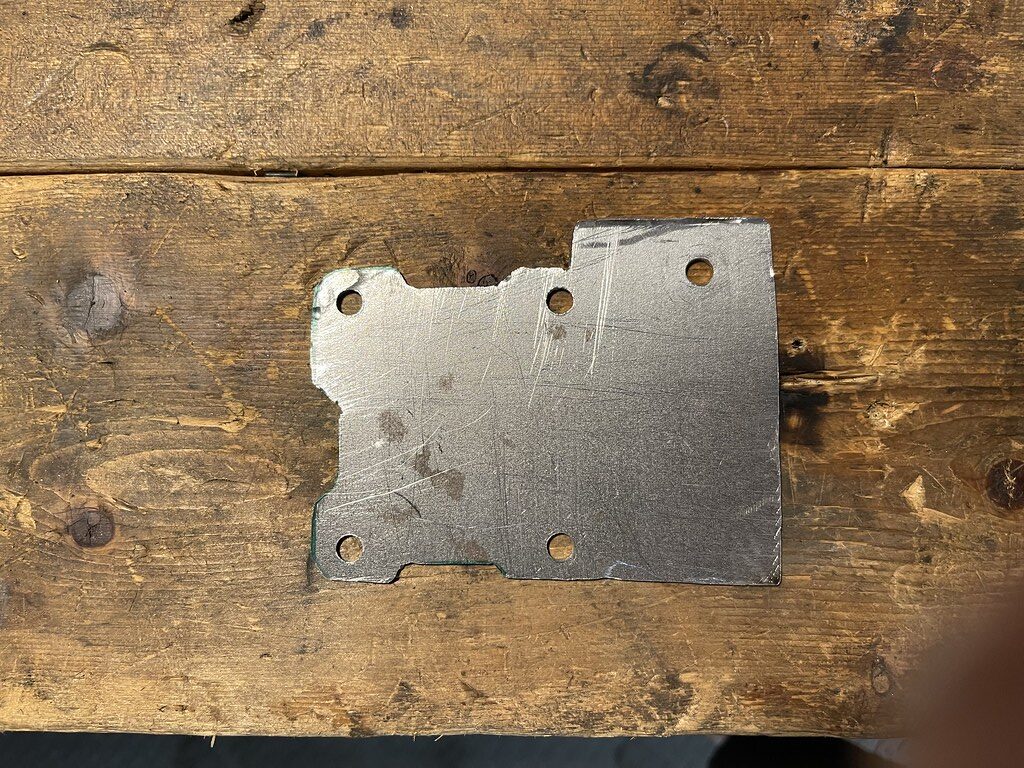
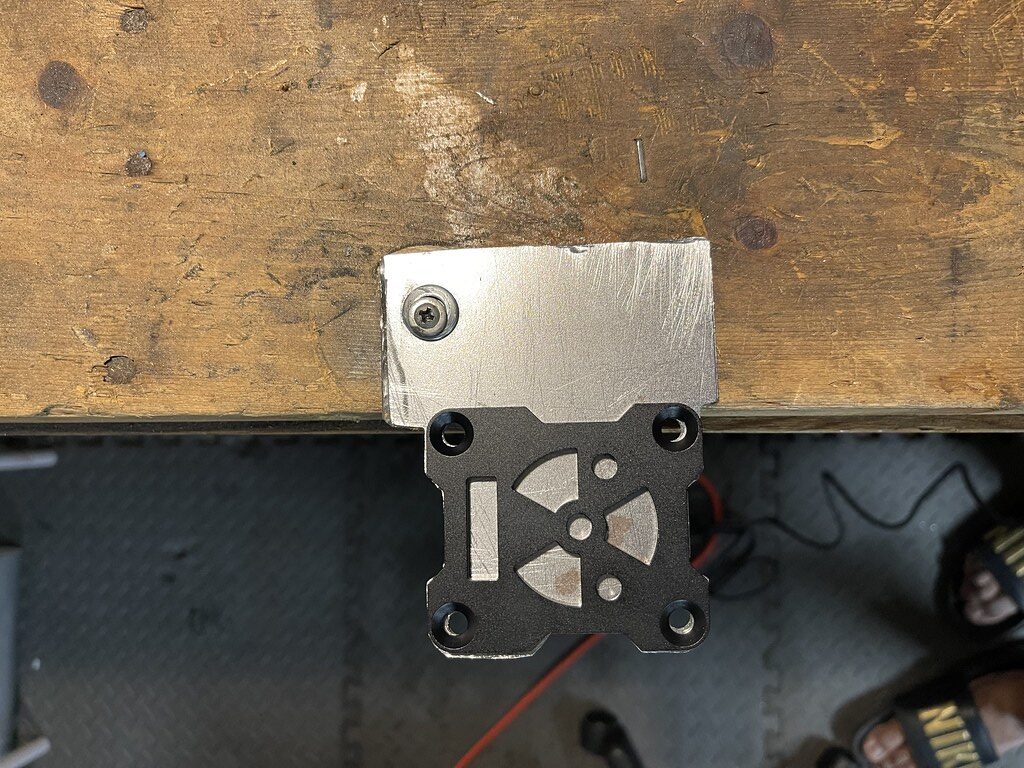
I found a piece of scrap metal and went to town on it making a plate to mount the FPR to. It was not perfect, but I did spend more time then I should have making it look nice, only to realize it probably never be seen. After this photo I cleaned up the sides and painted it so it would not rust.
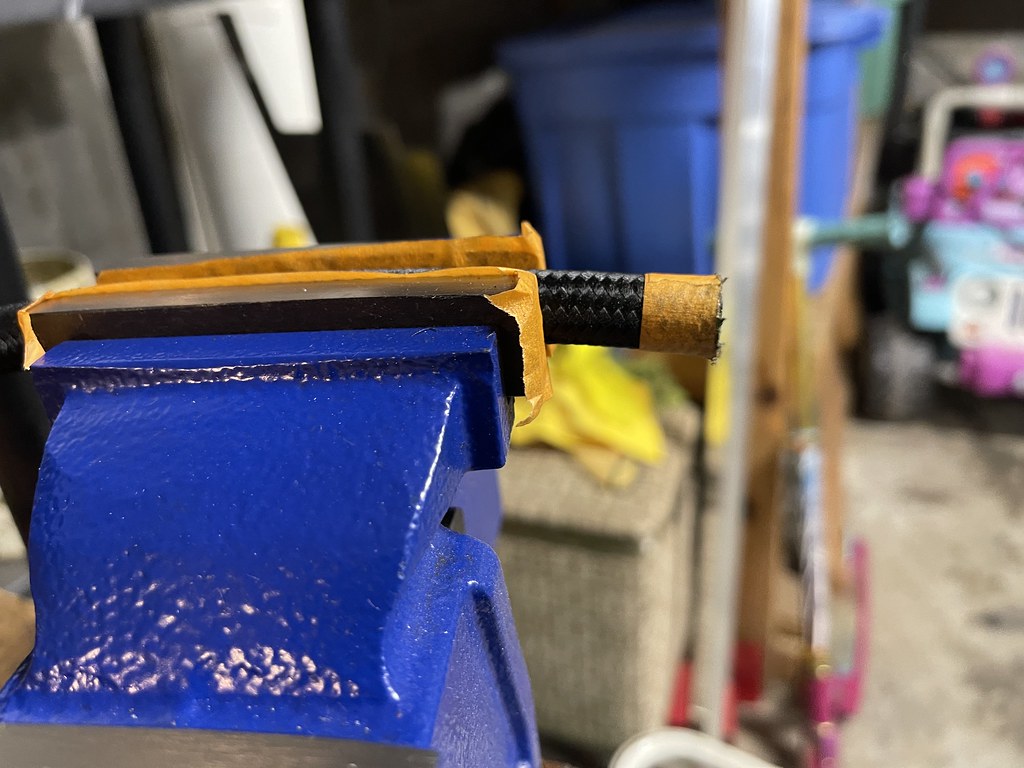
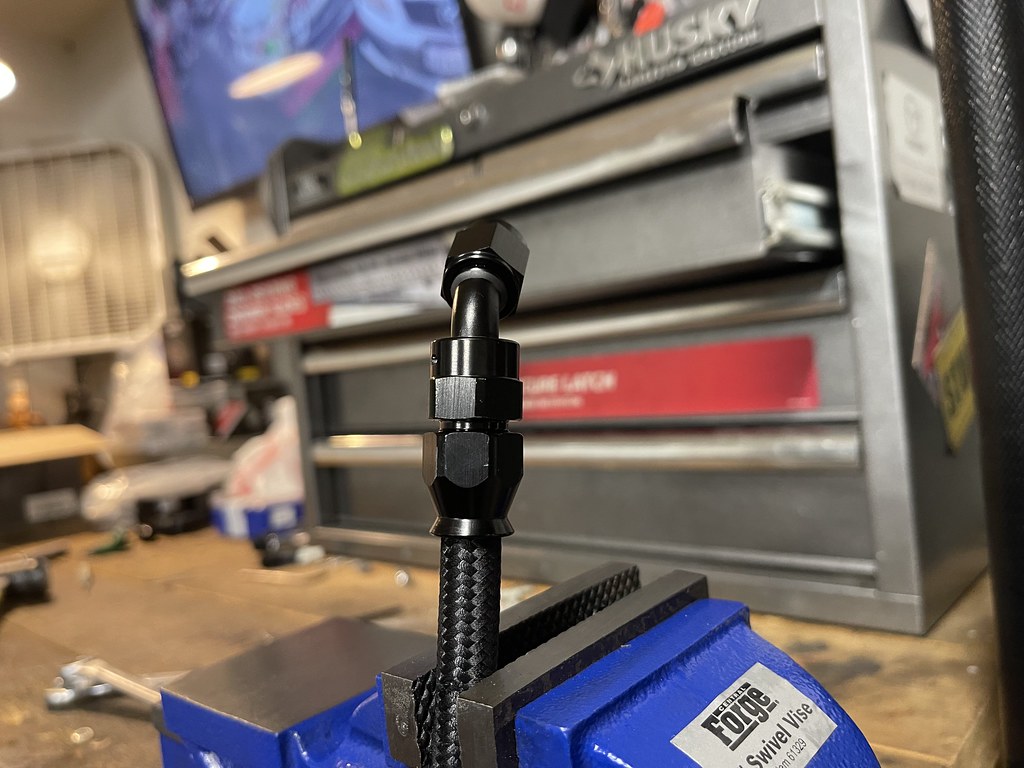
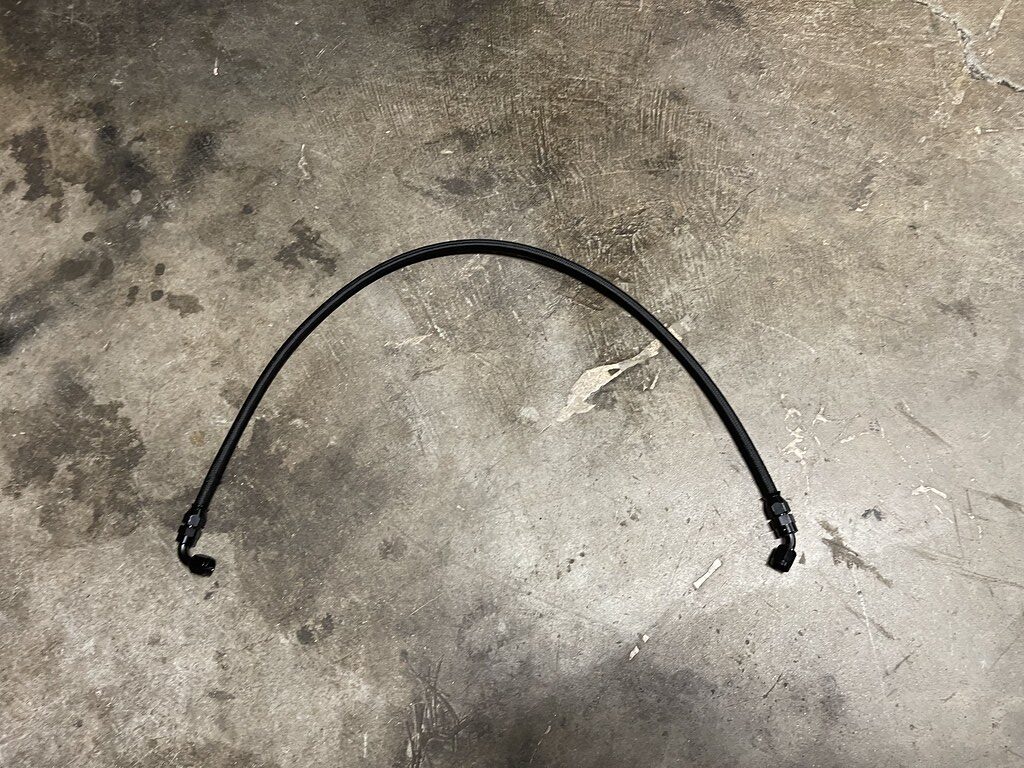
I had prepared myself for cutting these lines, by watching hours of you tube videos. It honestly was not as difficult as I anticipated, the only tool I really needed was the table mount clamp to hold the hose in place. I didnt have the proper wrench, and I messed up a few of the ends.
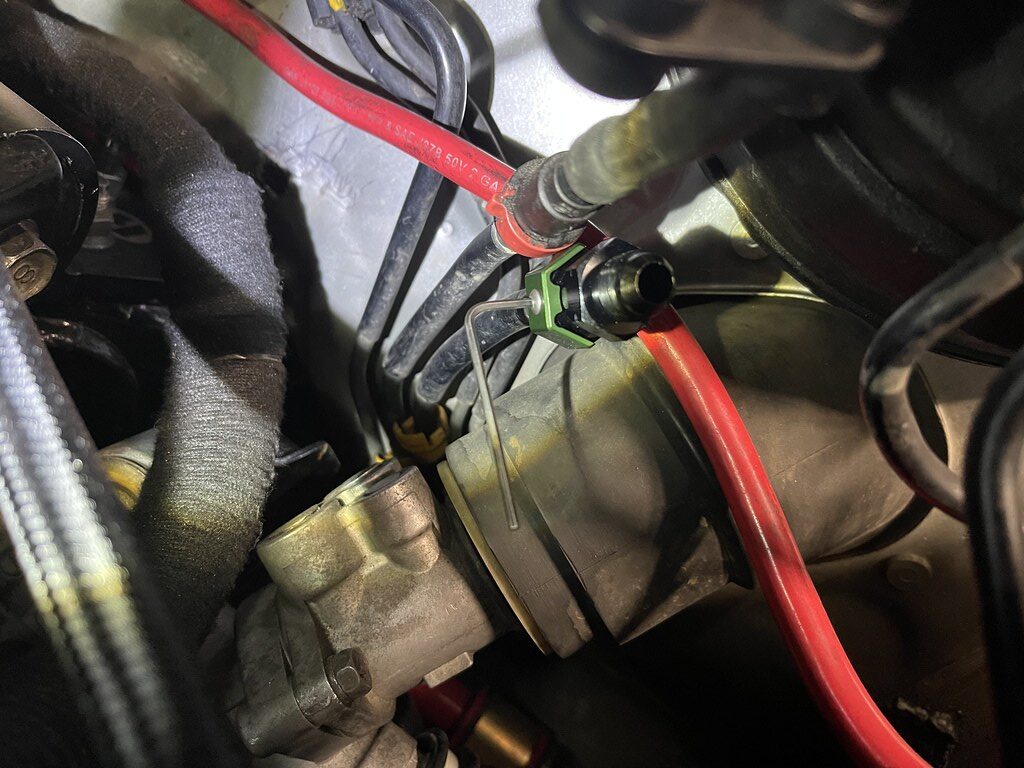
Quick release fitting attaced the OEM fuel feed and return lines. Install pretty simple and straight forward..
Installed and with only 2 leaks at the fuel gauge, and one on the feed line…
Leak free…
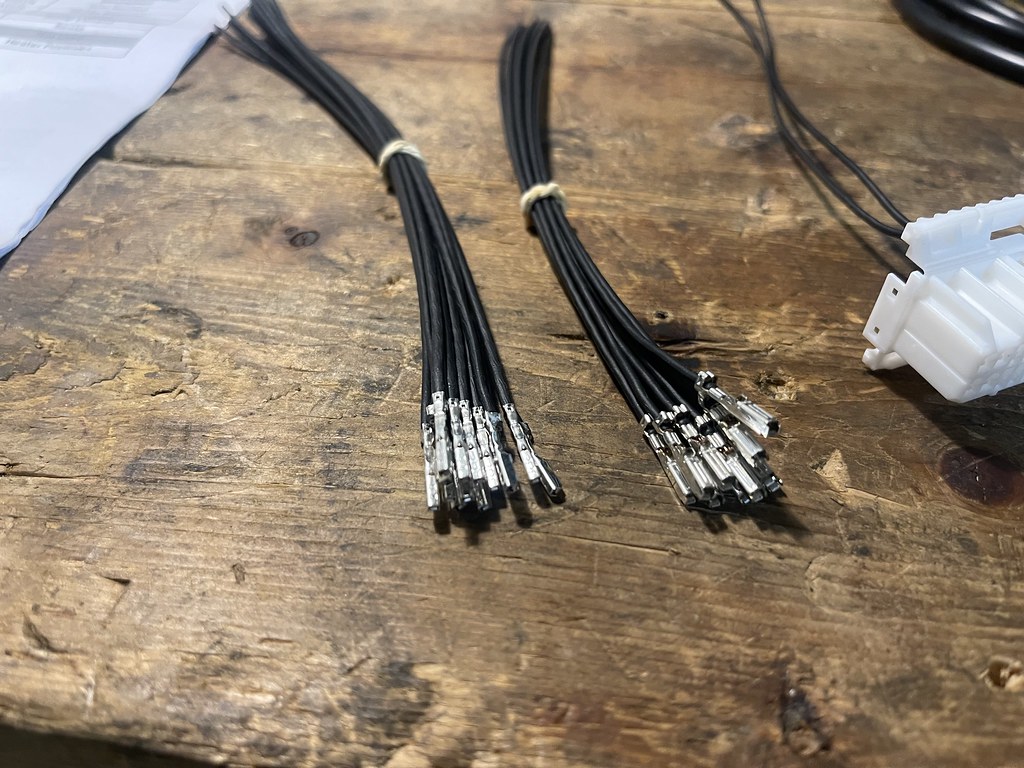
The next task was to clean up and get rid of some of the sensors no longer needed with the Megasquirt, and clean up this mess of wires..
First step was cleaning up the power harness, and cleaning up the starter and alternator harness. I also removed all sensors I no longer needed, and tucked them into one and wrapped it all up as shown.
Done for now, next step is to figure out some sort of permanent intake solution, and finally get these coilpacks mounted properly and get this crusty valve cover powder coated!