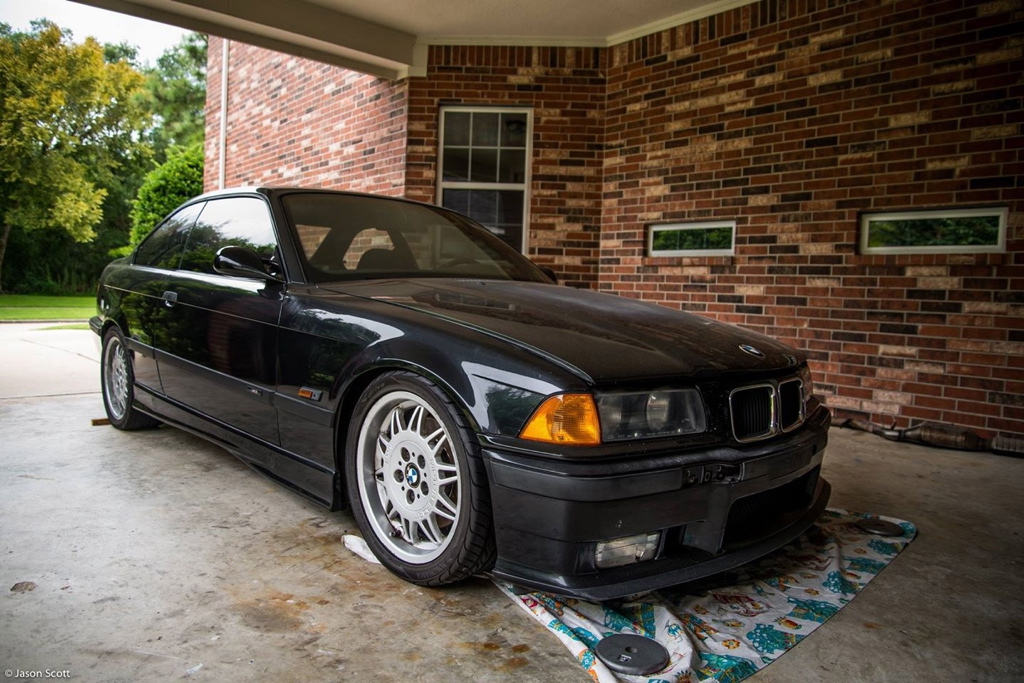
Project Third Times a Charm?: Laying the Ground Work
Following the generic maintenance phase of the E36 build, it was time to finally start collecting and installing some aftermarket goodies. If you haven’t seen part 1 of the build please visit the following link:
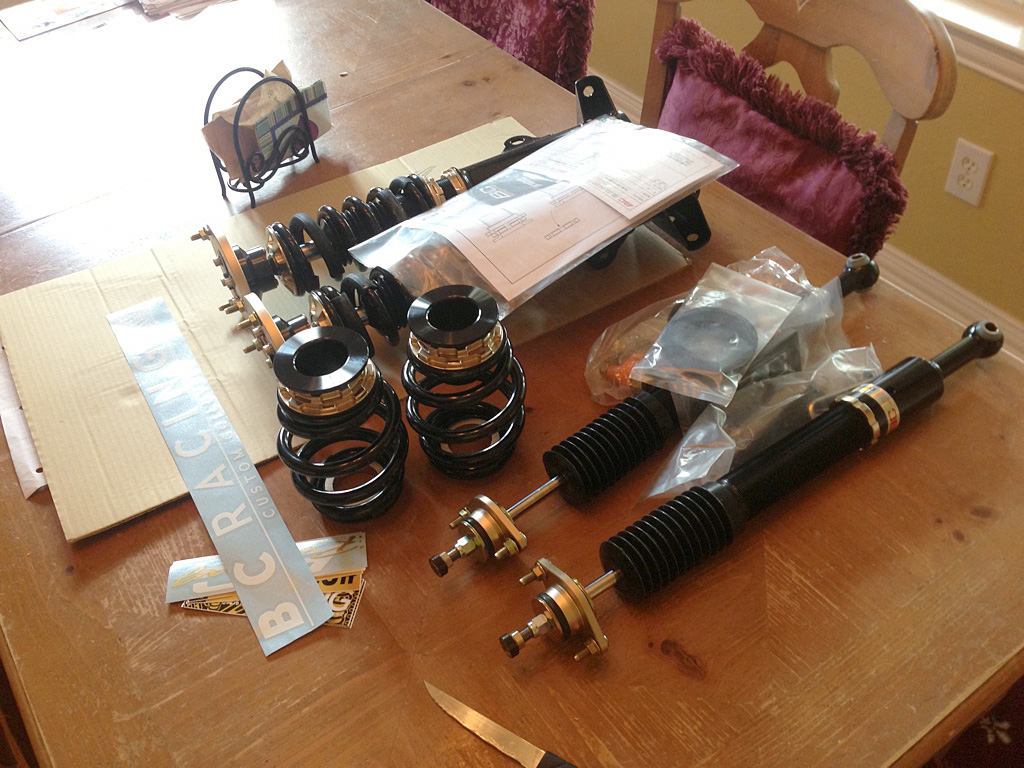
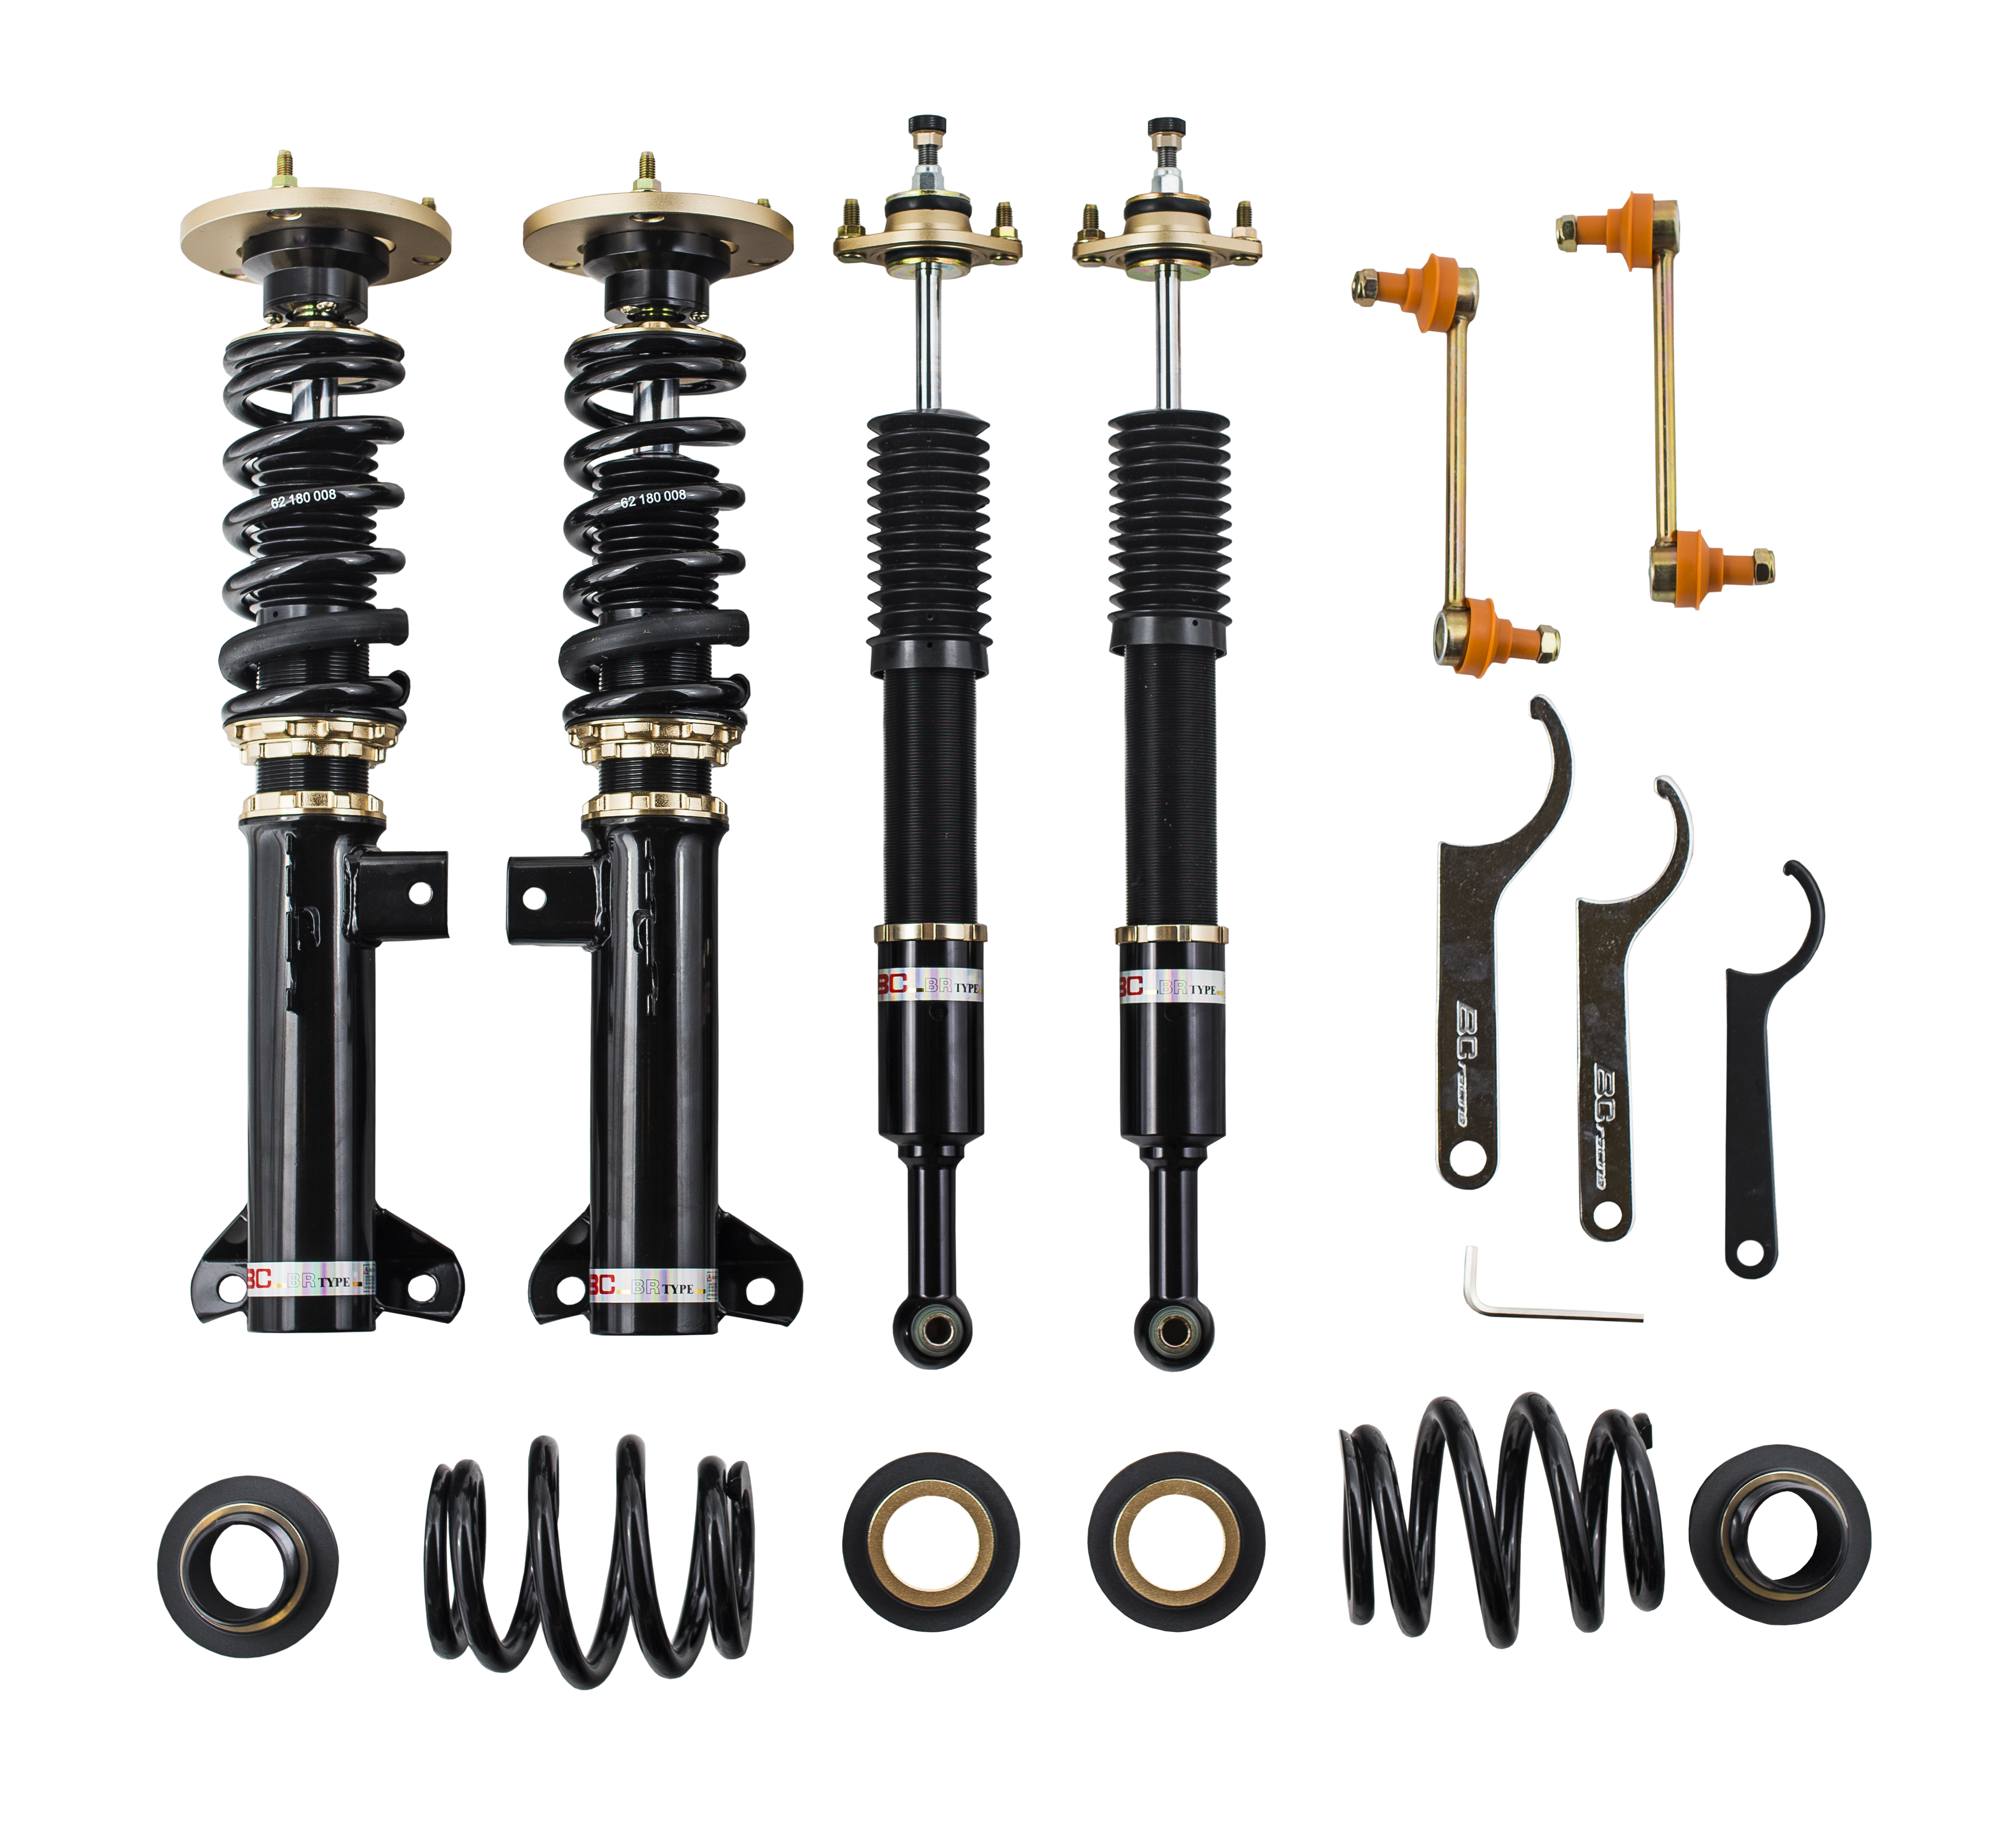
Step 1 was to hit up our good friends at BC racing to get a set of coil overs for the E36. I ended up getting a set of the BR’s as a starting point with the plan of eventually swapping them out for their higher tier systems. If you’re in the market for coil overs definitely hit them up! They’re a great group of people to work with.
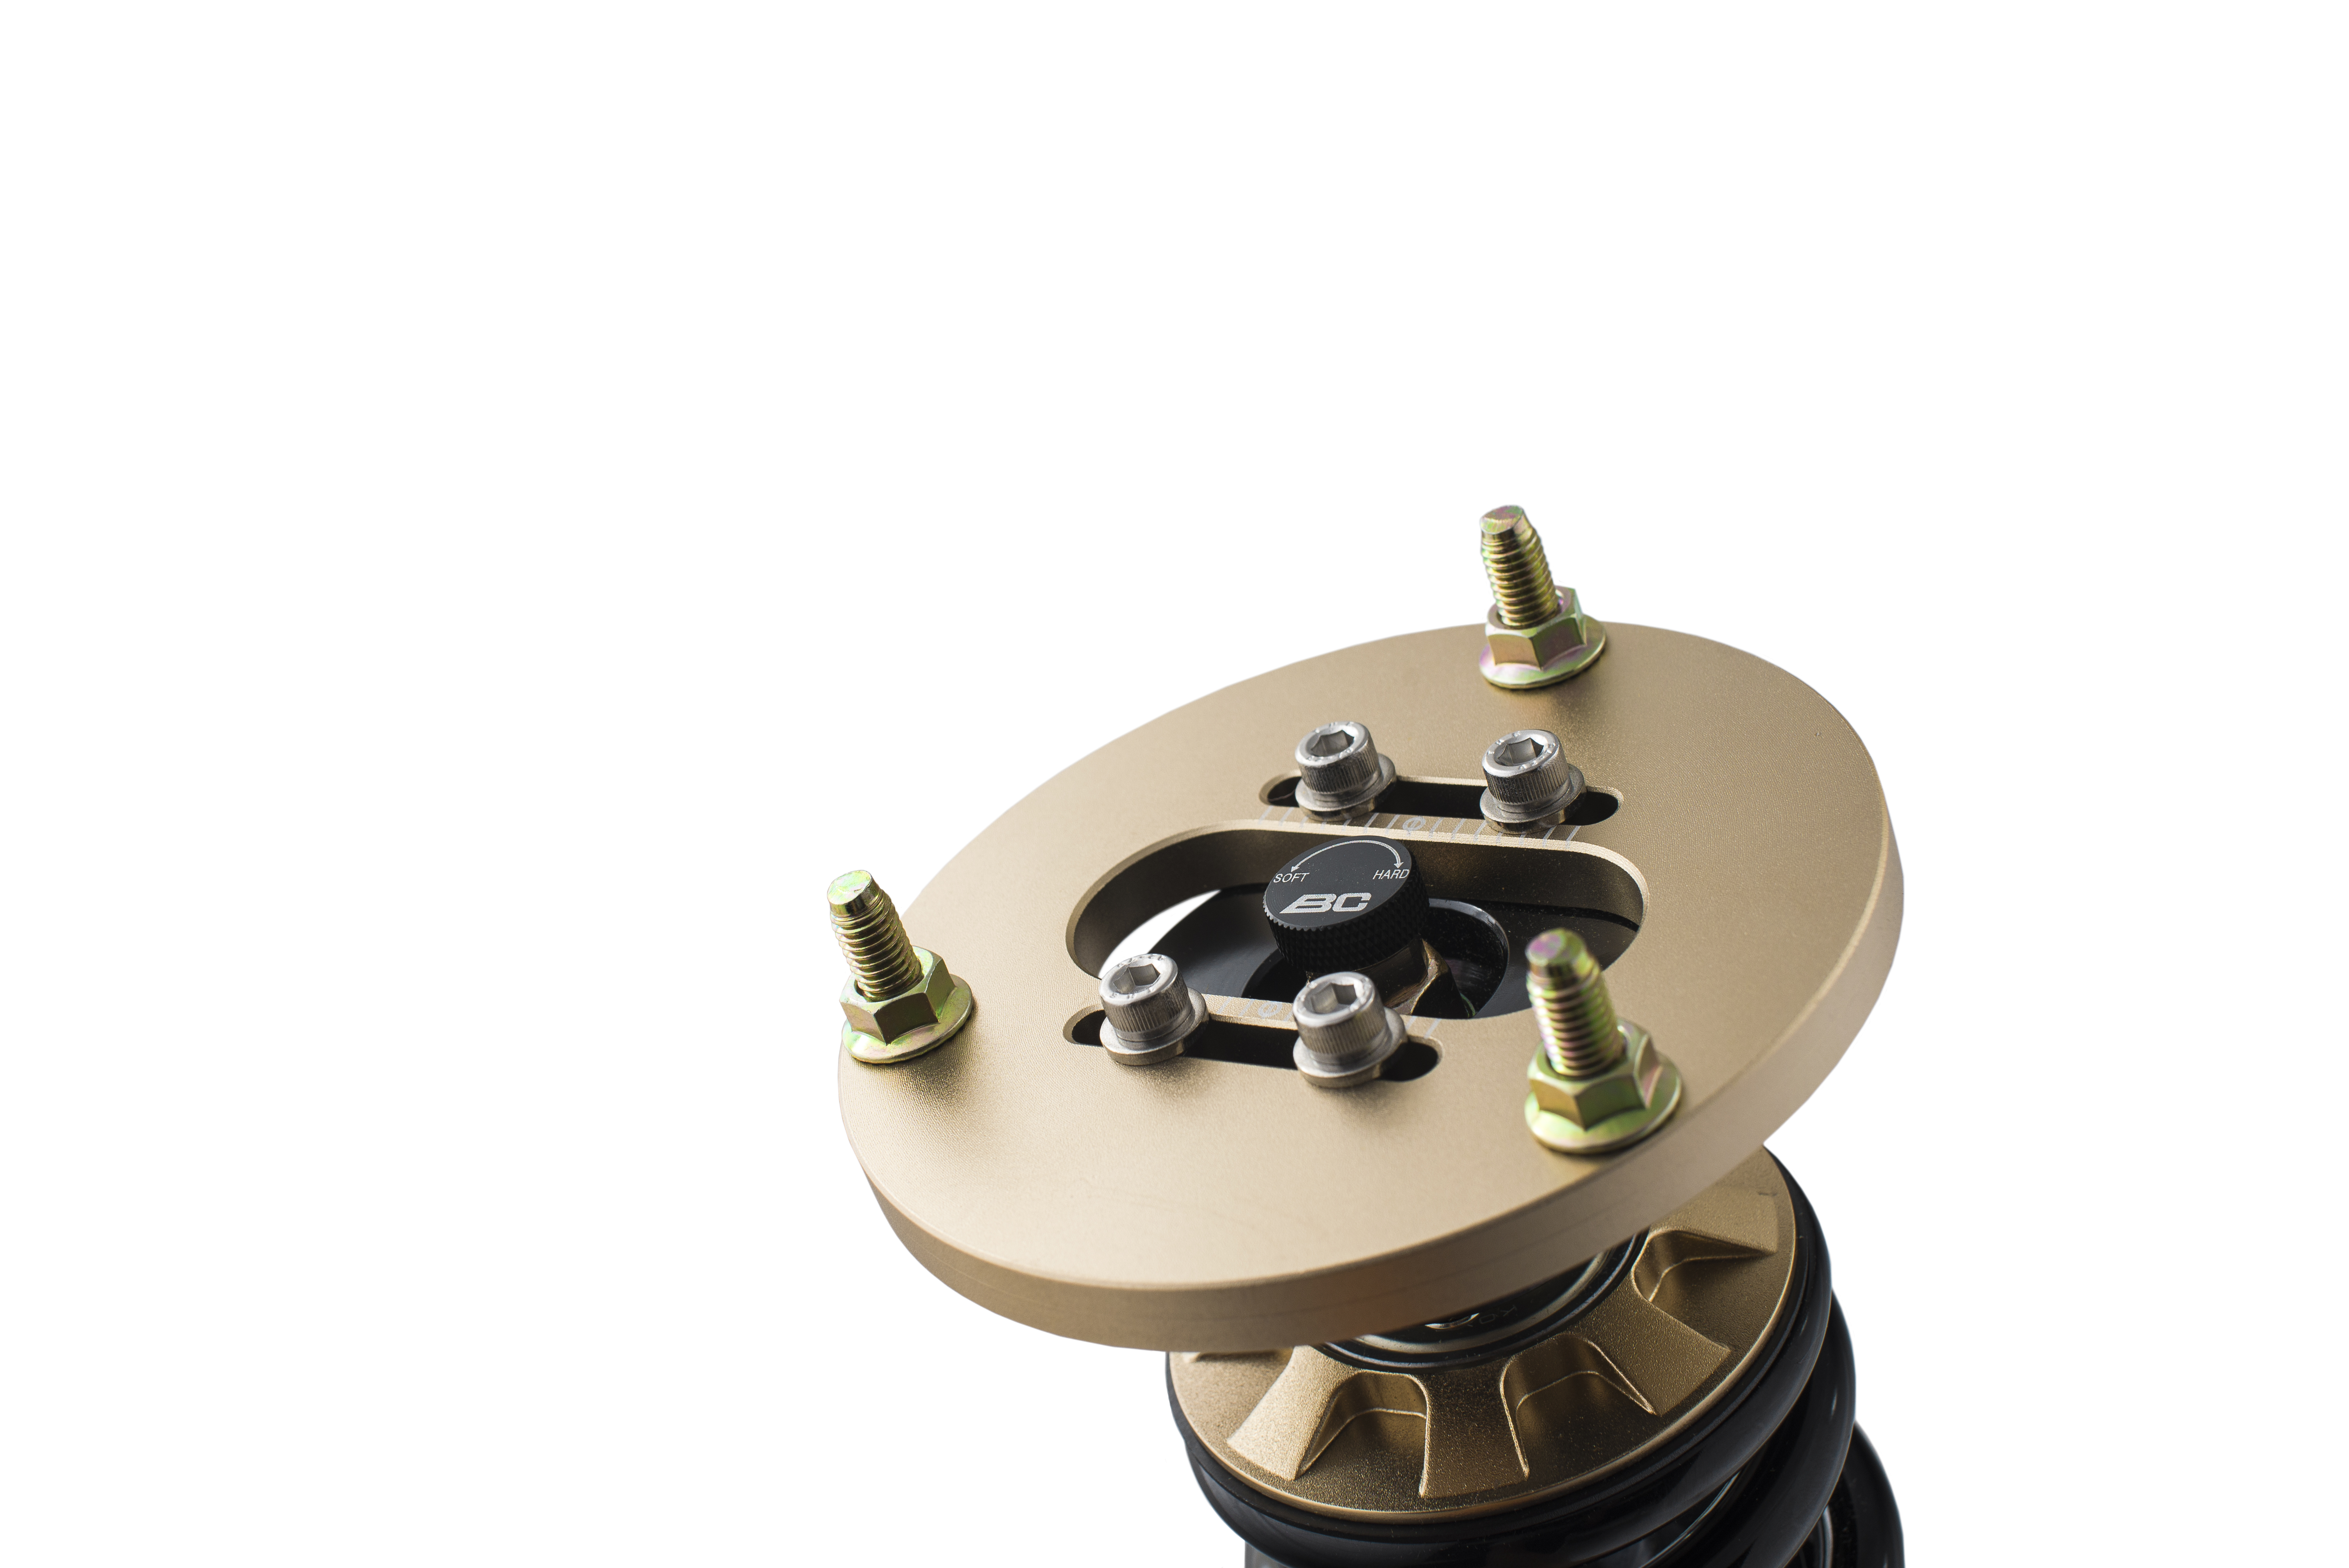
I ended up doing some product photos as well, I think they turned out pretty good overall.. but thats not why you’re here.
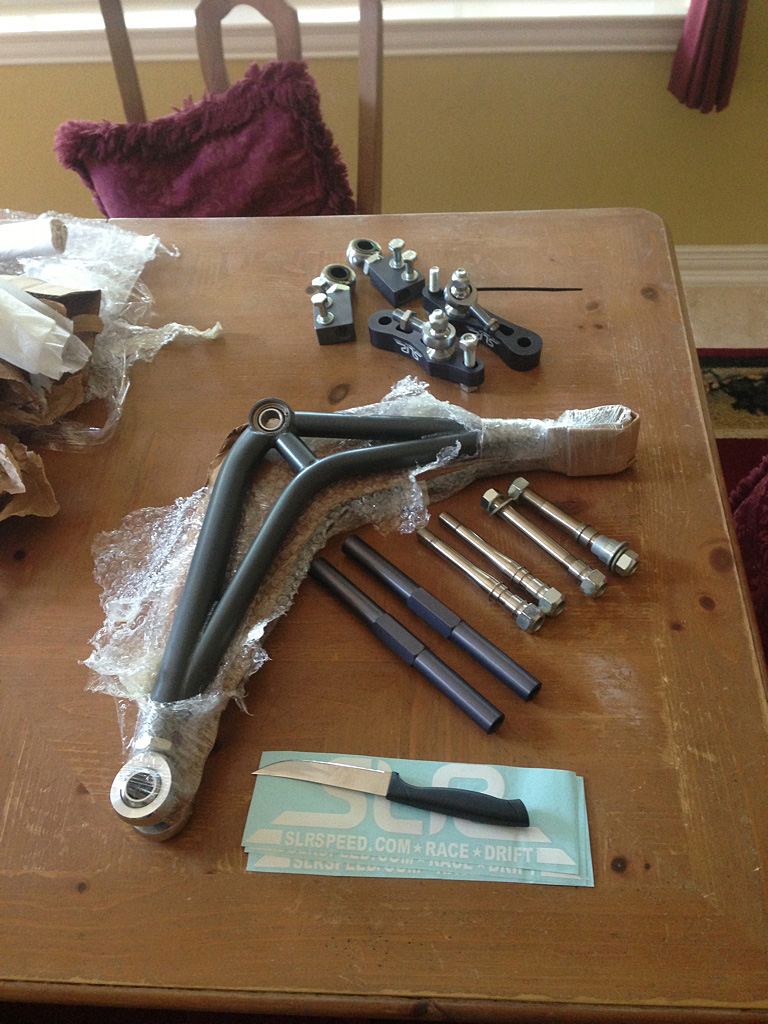
To complement the new BC racing coils I got in contact with SLR speed and got one of their fully adjustable angle kits. This specific set also had the adjustable heims on the end of the tubular arms. Some of the added benefits are the roll center correction, bump steer correction, adjustable ackerman, and the silly amount of additional angle.
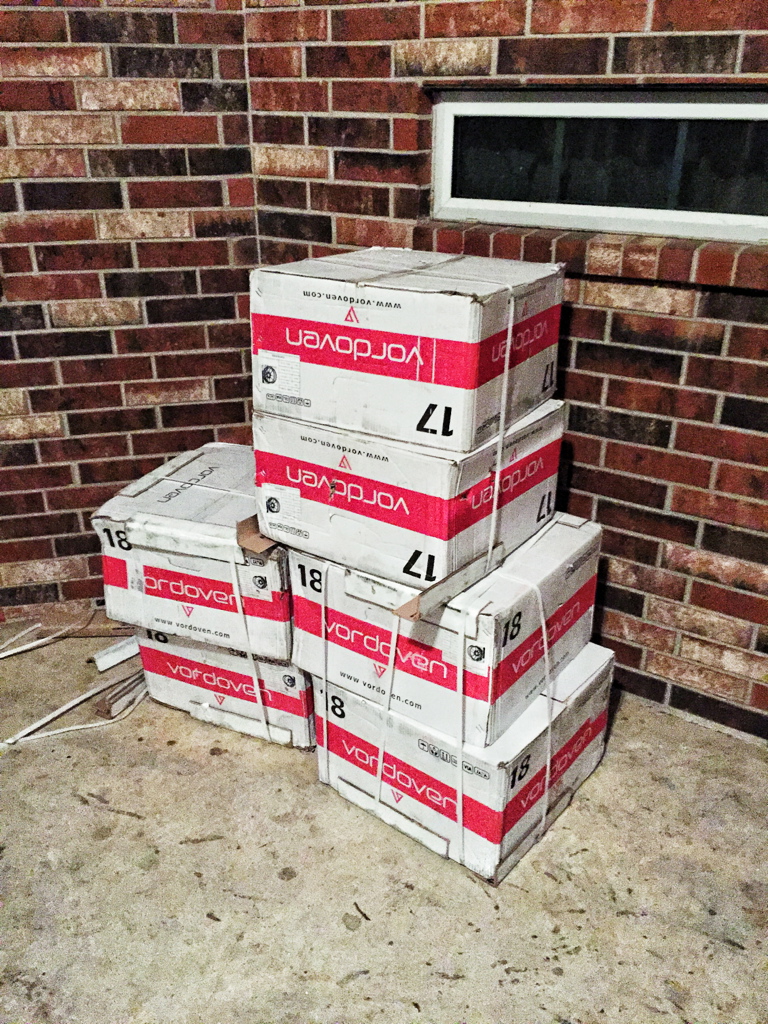
Some big boxes came in containing some round thingys…
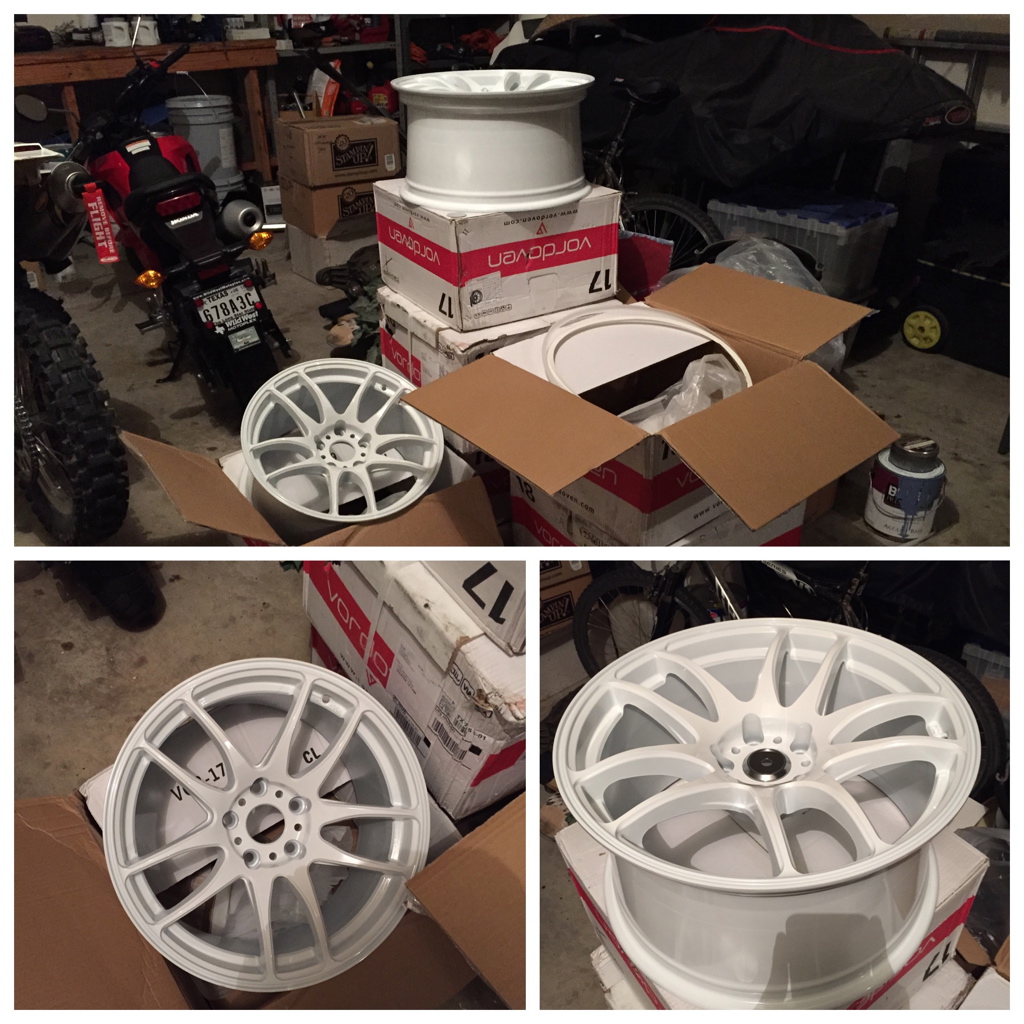
I know i’ll probably get some “hate” or “flak” for buying replica wheels but at the end of the day they’re going to get ate up on a tire machine numerous times throughout a year. So I would rather have some cheaper wheels for drift spares than a nice set.
I ended up getting 17×9’s for the front and four 18×9.5’s for the rear. They will eventually get wrapped in 235/40/17’s and 265/35/18’s.

Due to the fact the wheels are 114.3×5 I had some adapters made that were dual hub centric for the car.
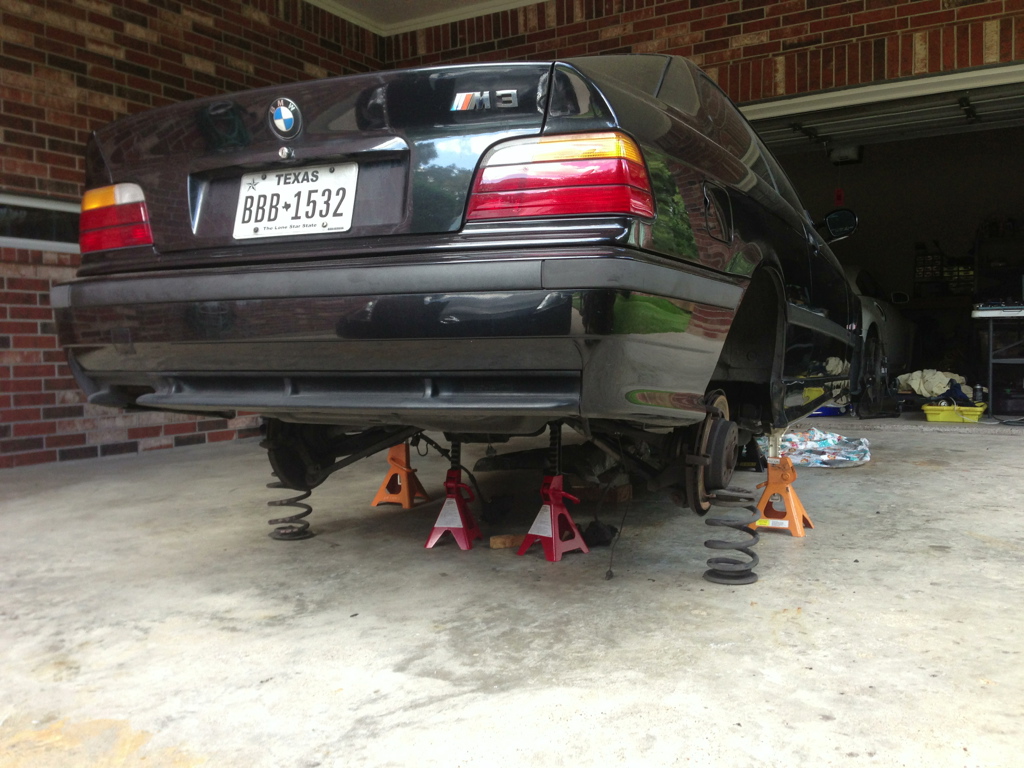
Step one for all these new parts was to drop the rear subframe, so I could pull out the diff, all the old bushings, and old suspension components. Pulling the subframe was a lot more time consuming than I would have liked because of some of the seized bolts subframe bolts.
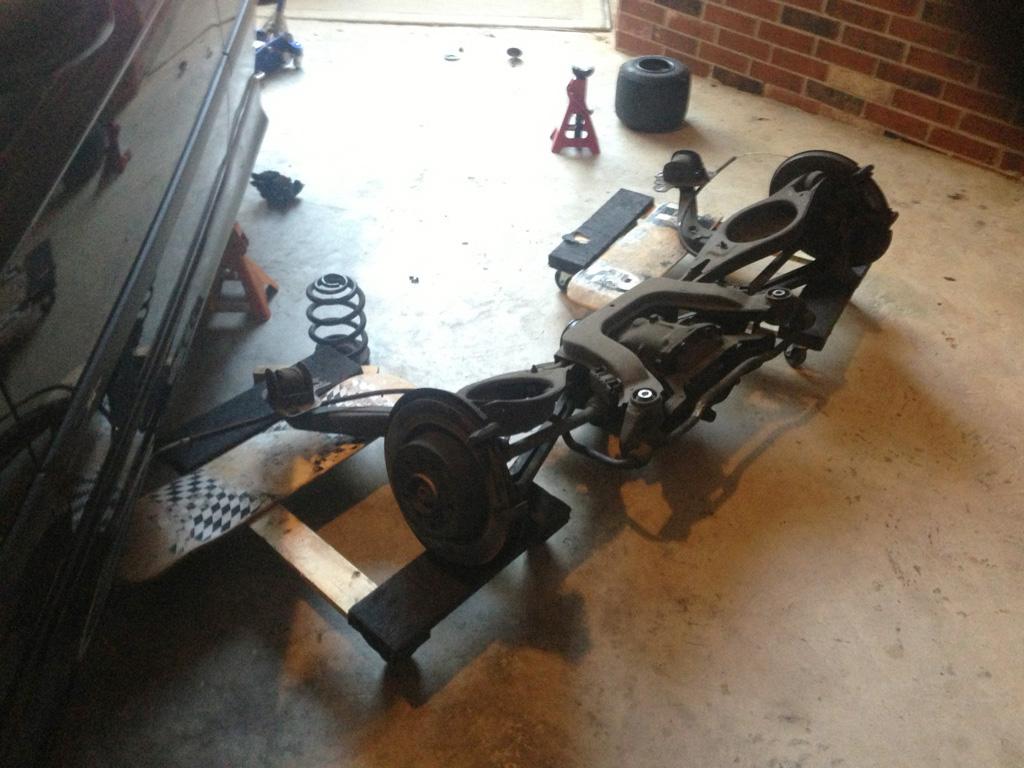
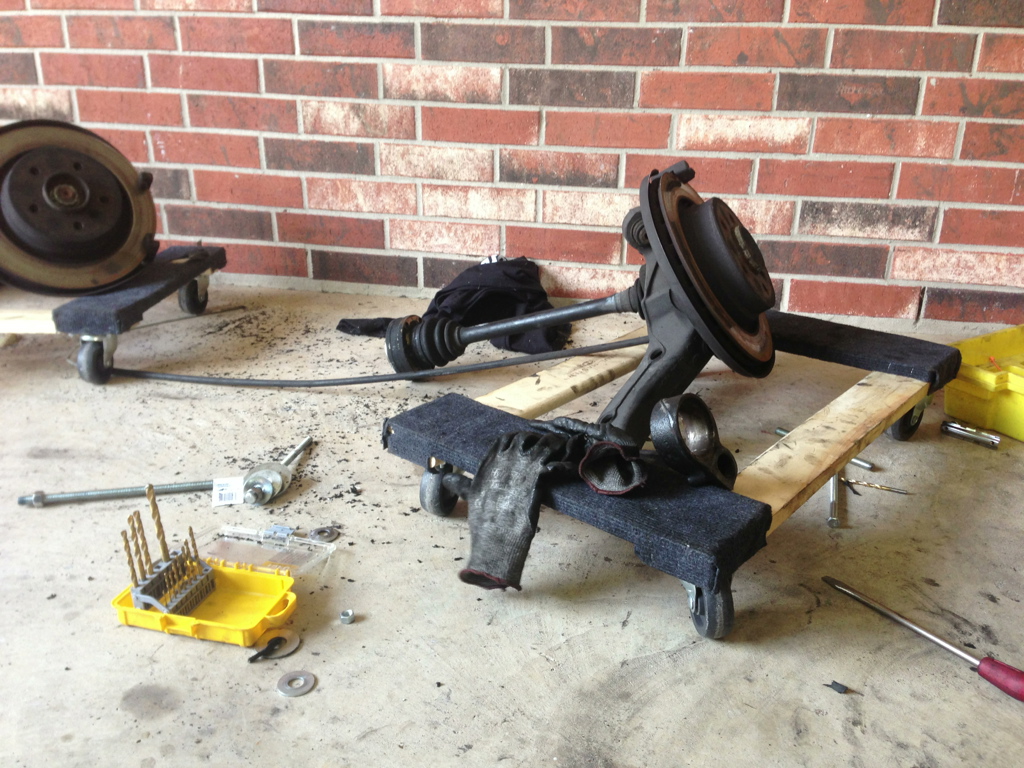
Once the rear end was dropped, I separated the rear trailing arms from the subframe and proceeded to pull/hammer out the old rtab bushing. It was a time consuming process considering I dont have press..
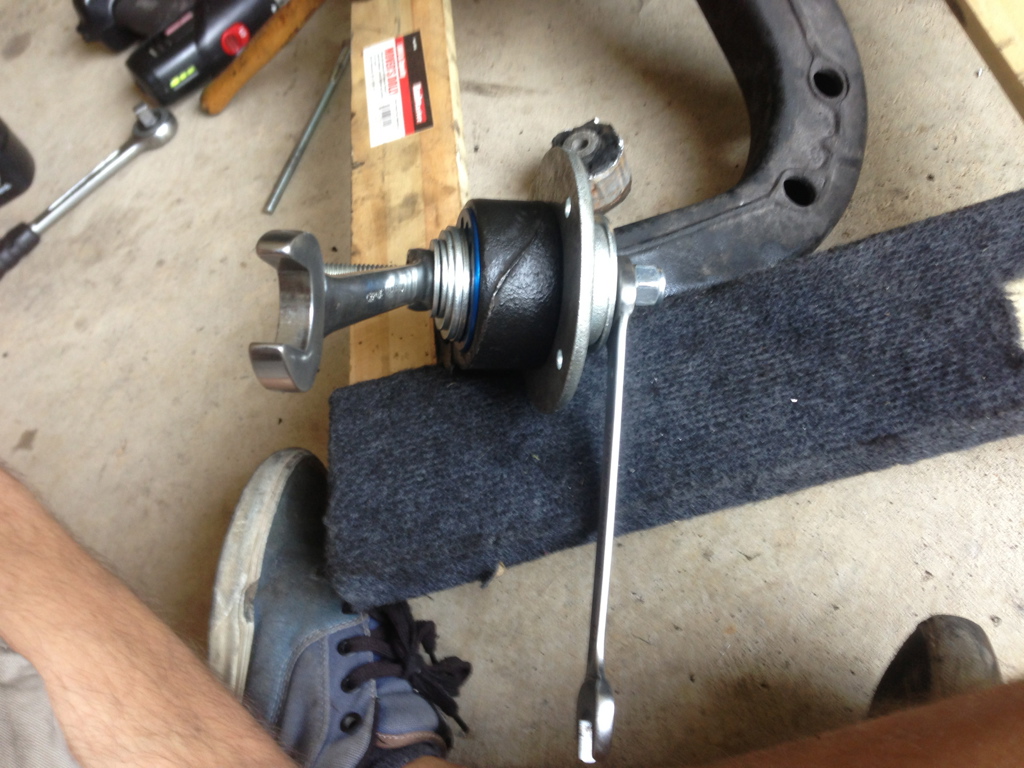
Due to not having a press, I had to make a ghetto bushing puller. It consisted of a threaded rod, some washers, pipe flange, and two wrenches. It worked out pretty well considering the situation haha..
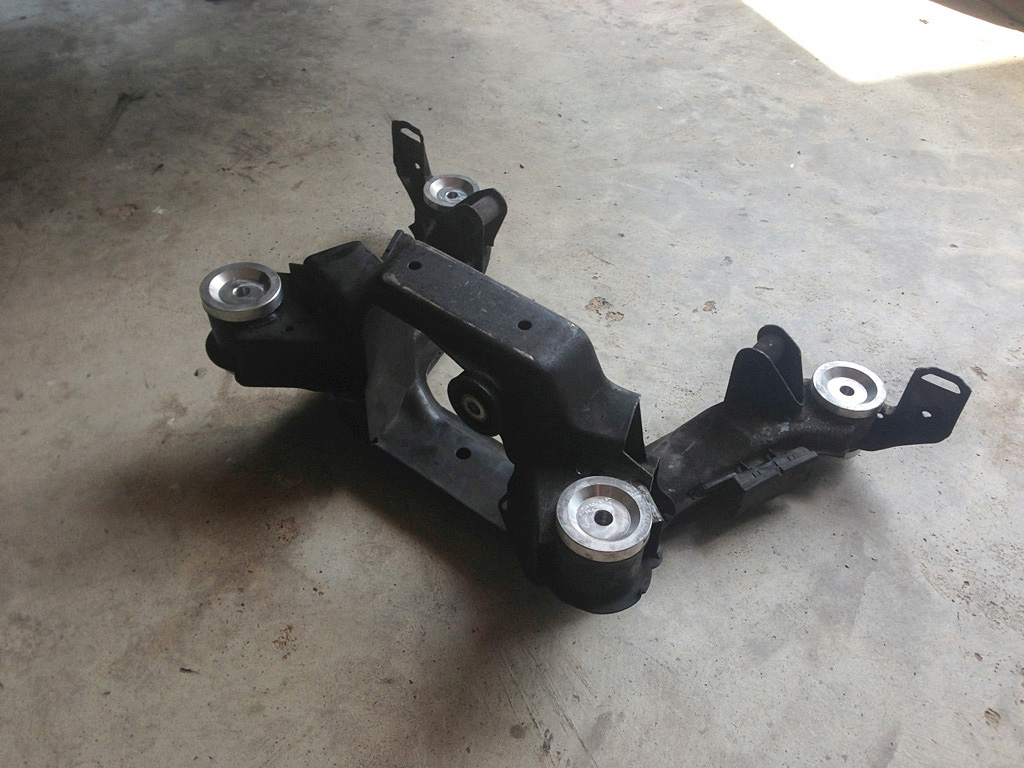
Then I brought the rear subframe over to a close by shop and pressed the bushings in because it was substantially easier than that silly homemade contraption I made haha..
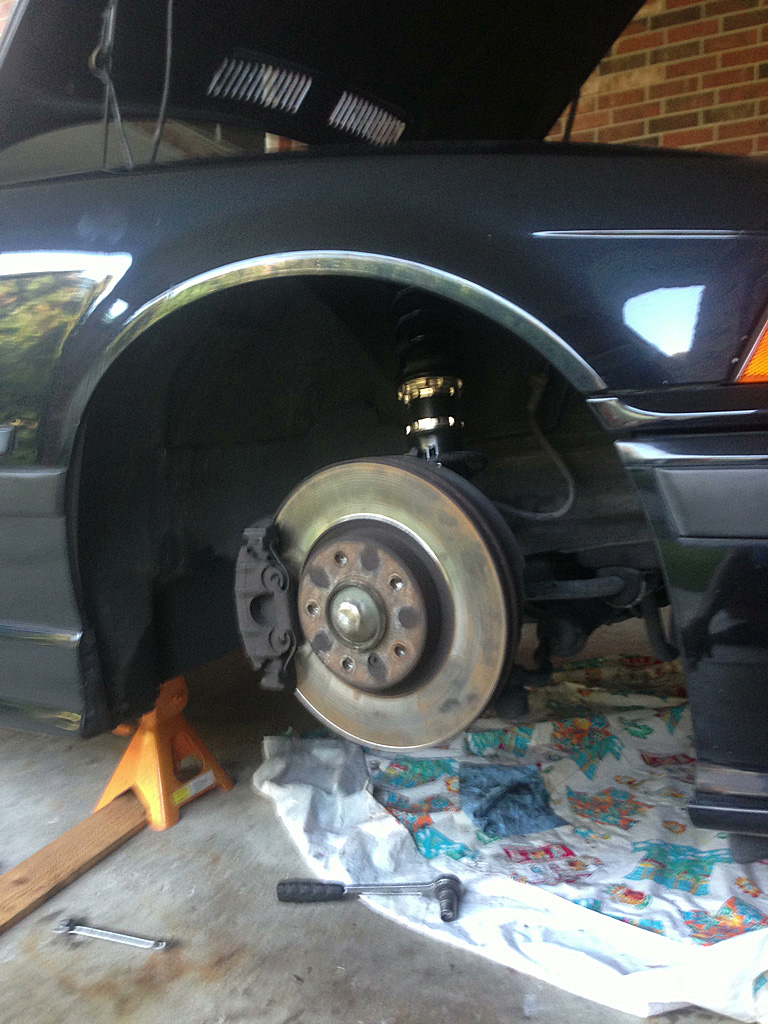
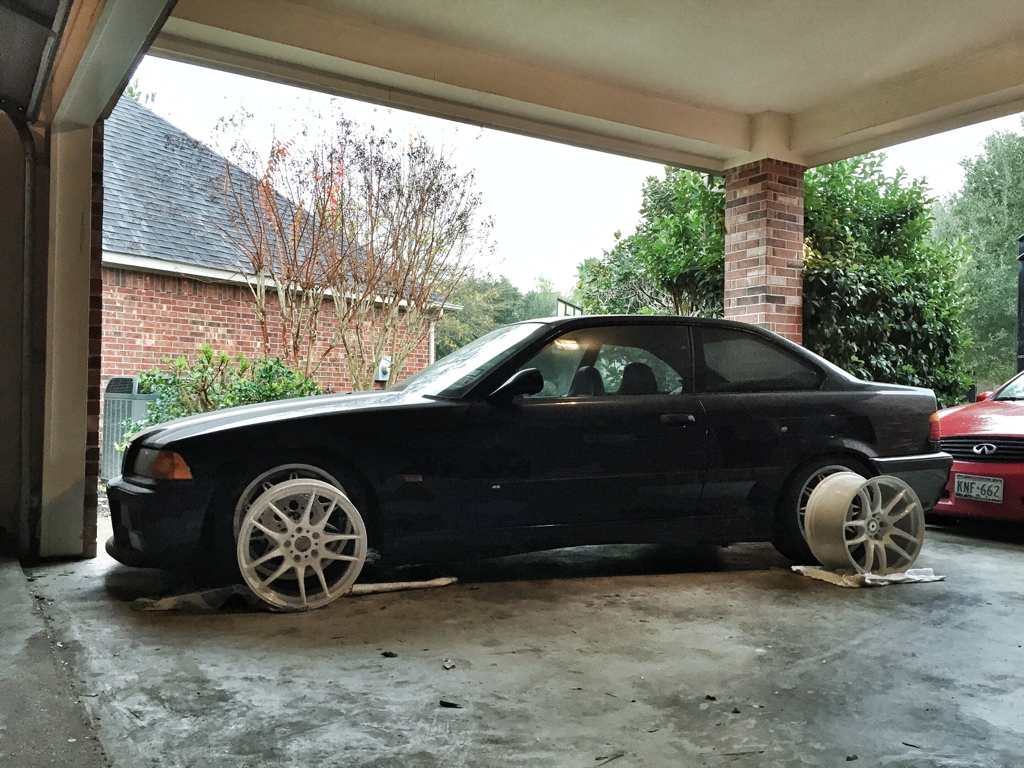
Following completing the rear end bushings, I threw the coilovers in and moved over to the front of the car to get the rest of the coilovers installed so I could get it back on the ground and drivable again.
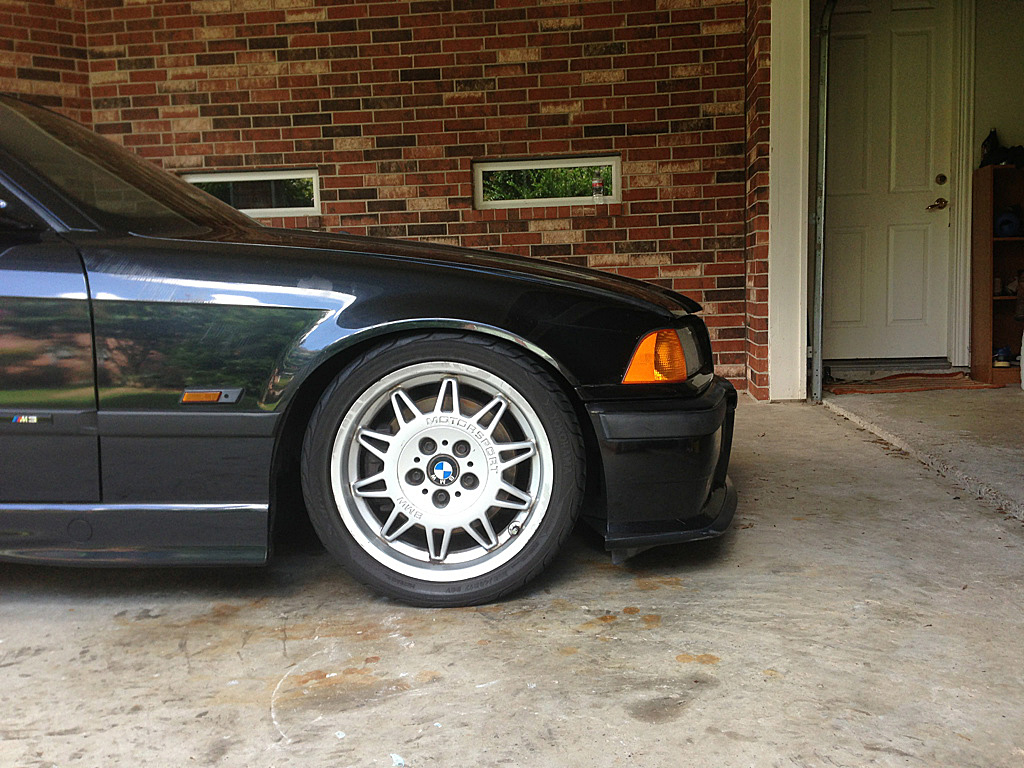
This was the final ride height for now until I get the other wheels and SLR on the car. In the next update you can look forward to the install of the SLR, new steering rack, and a couple other items that I think you will all like.
Thanks for reading part two of this build! You can follow my instagram accounts here: