
Mazda Protege 5 Track car project : Repairs and damage control..
I have been delaying and wasting a lot of time on other things during the winter. And I completely forgot about the repairs that I needed to get done before getting back on track.
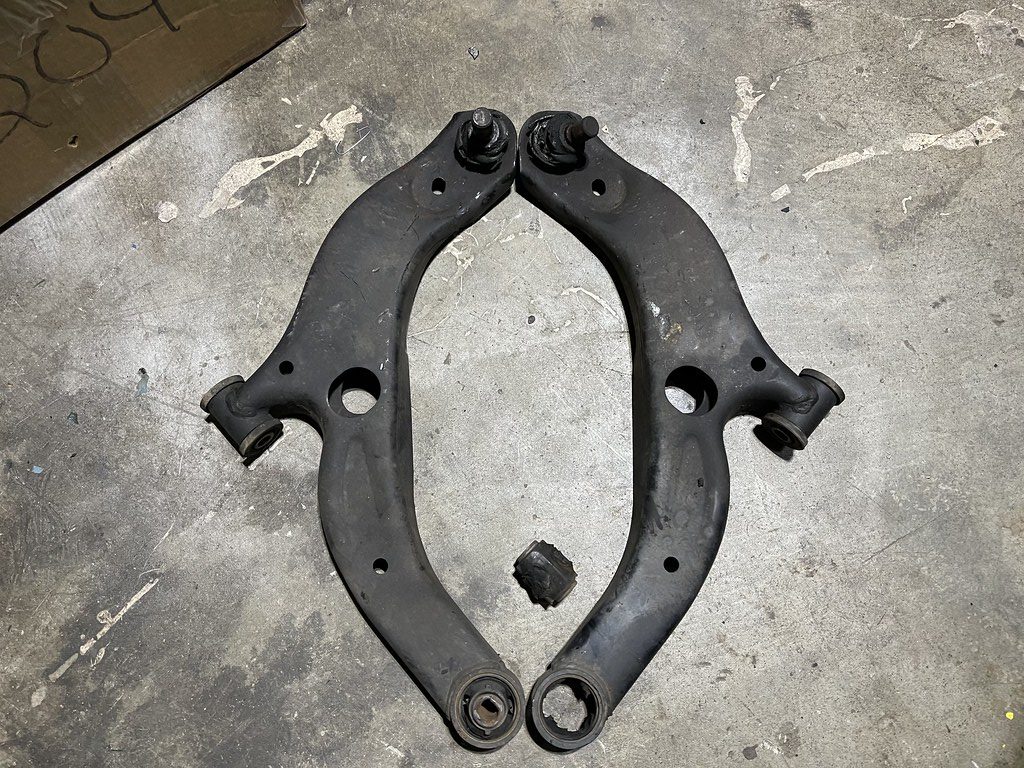
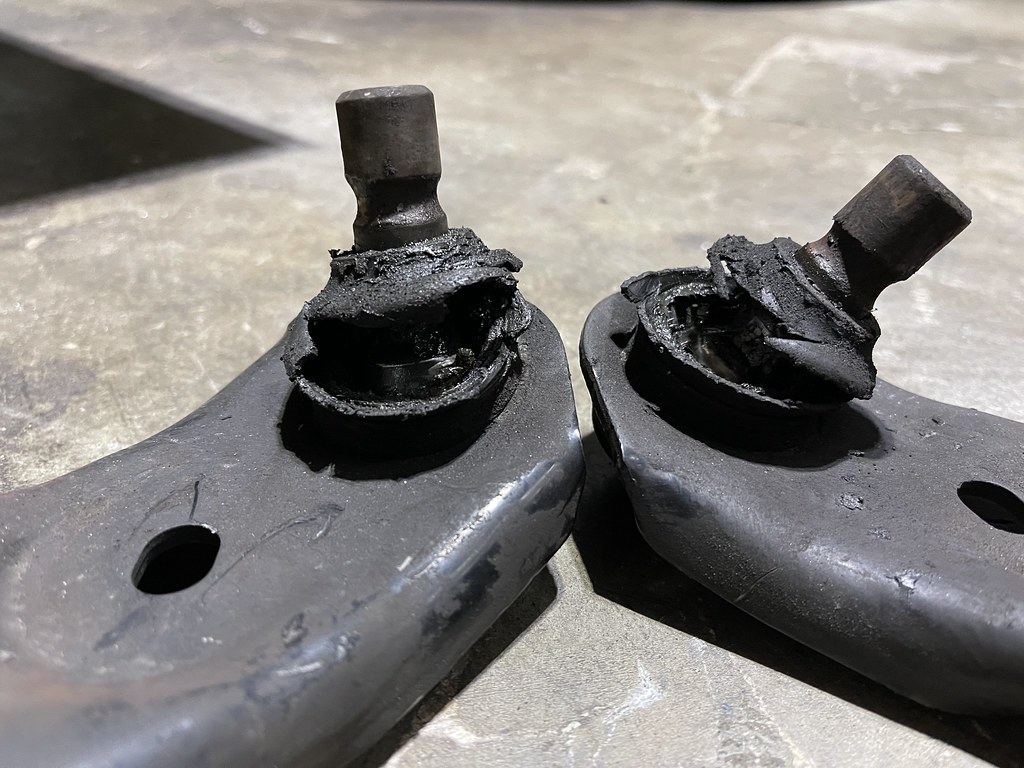
One of the reasons I did not make it to the Barber Motorsports event last year was because of these ball joints. They look to be still stock, and after 300k miles and 19 years they were done.
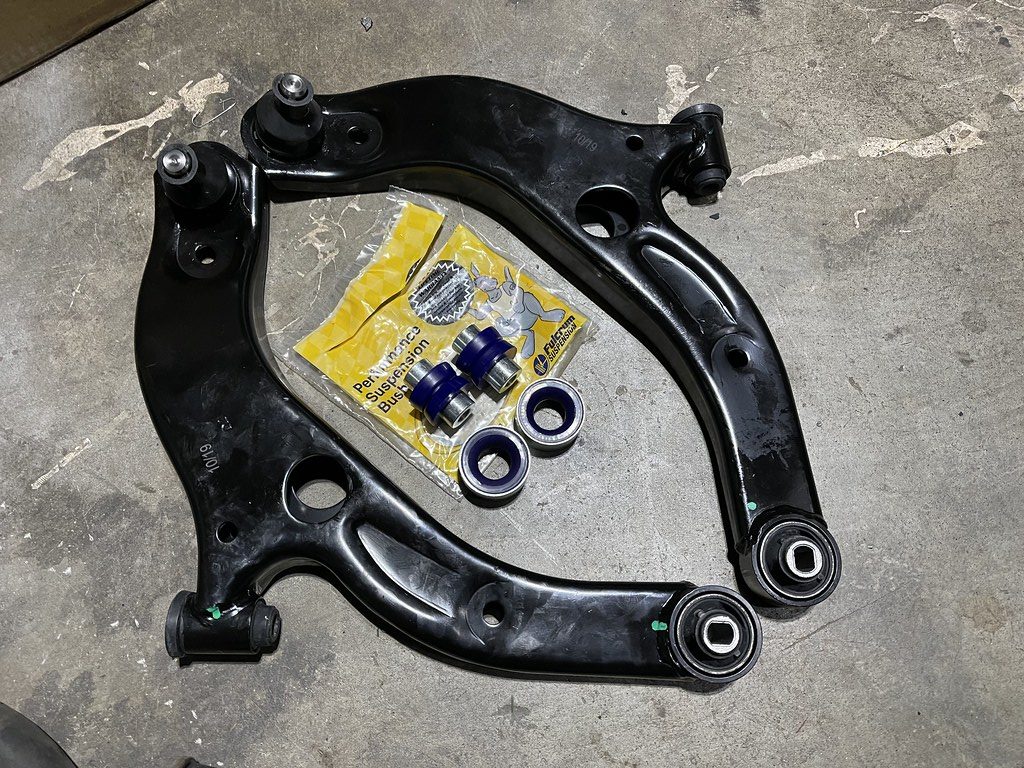
Originally I looked into getting the Hardrace arms, but time and availability were not on my side. So I got new complete arms, and a set of Super Pro Rear Arm Bushings. 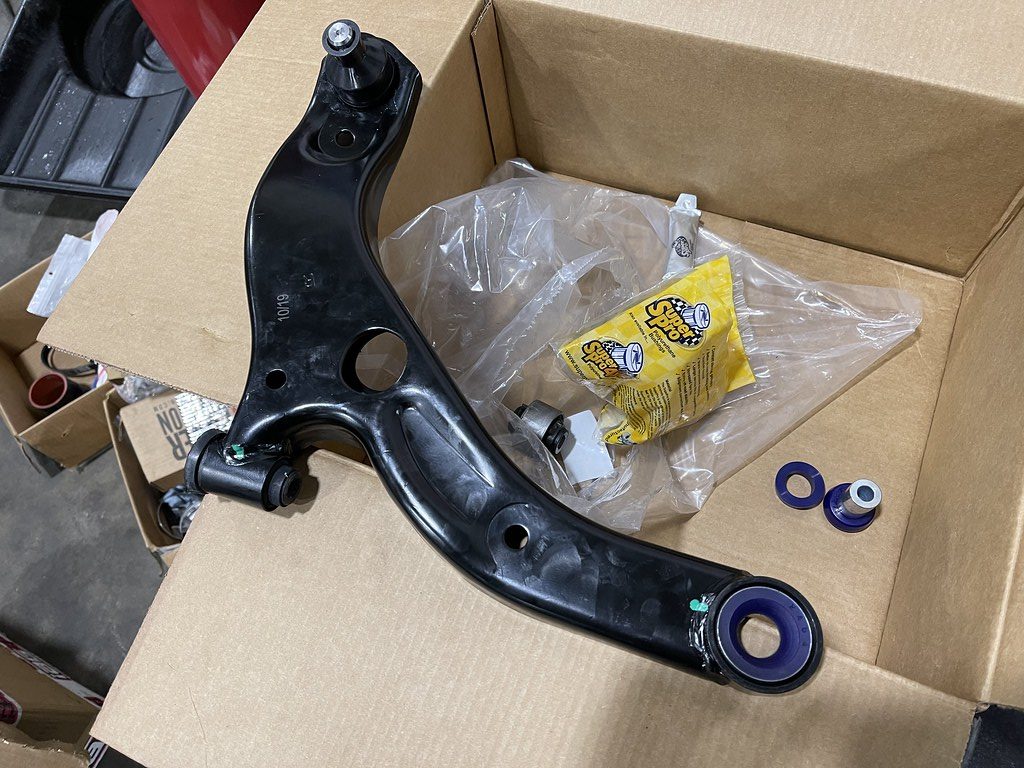
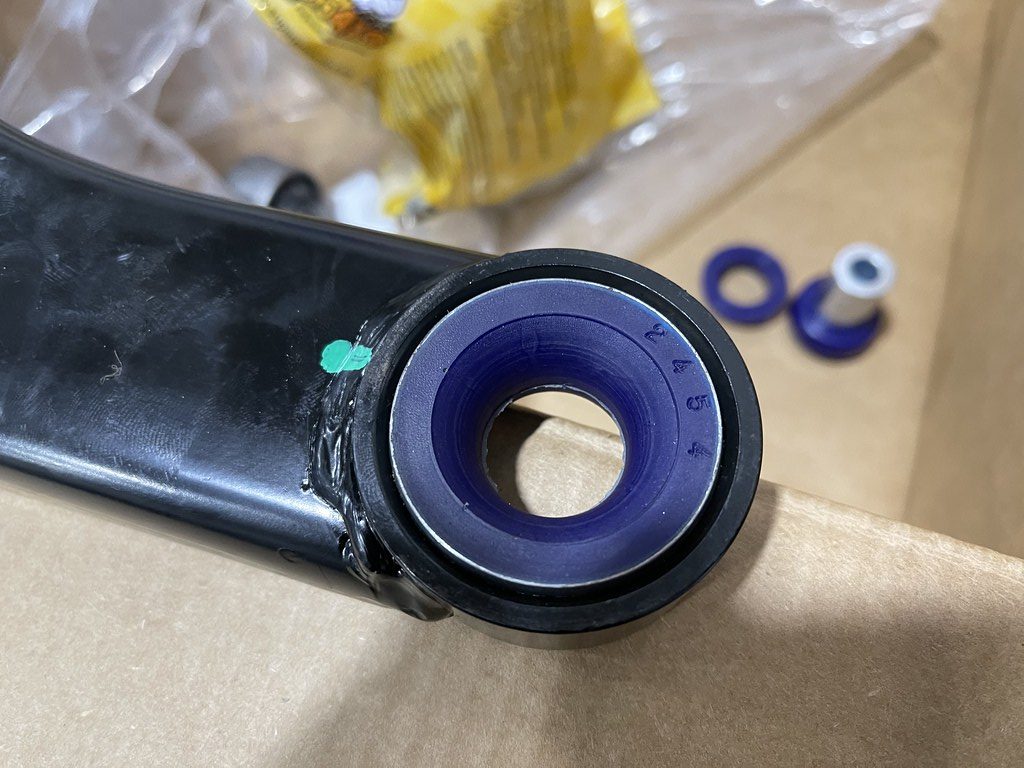
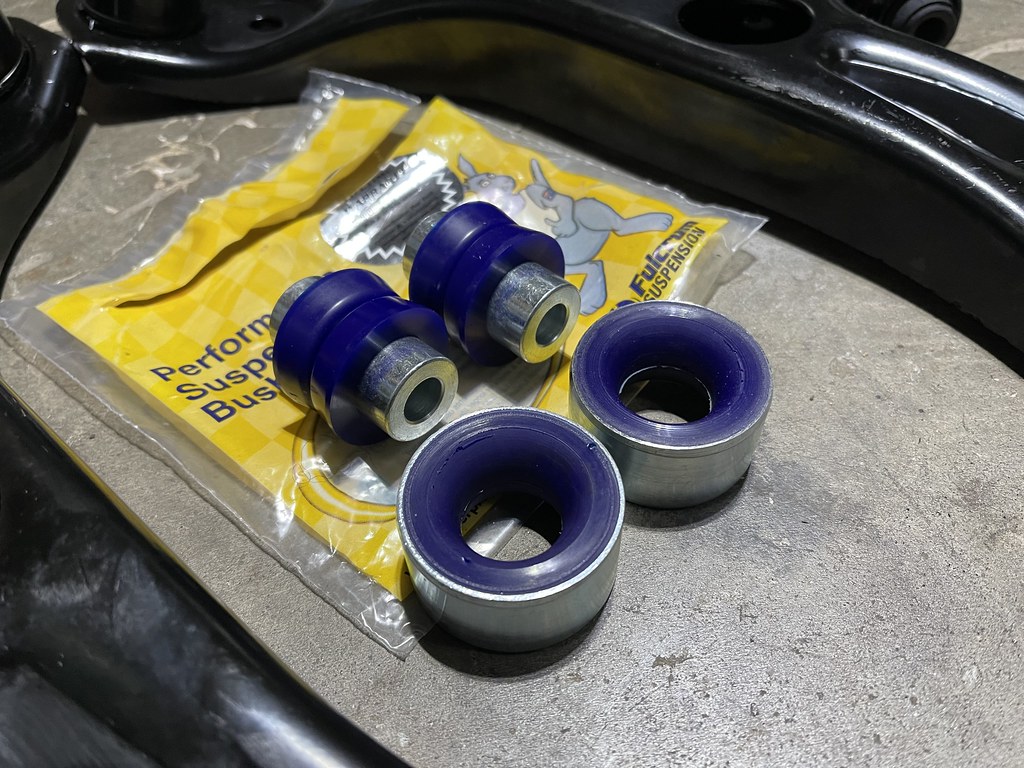
This job is impossible to do with out the use of a press. Once you press out the old bearing, you simply press in the new one.
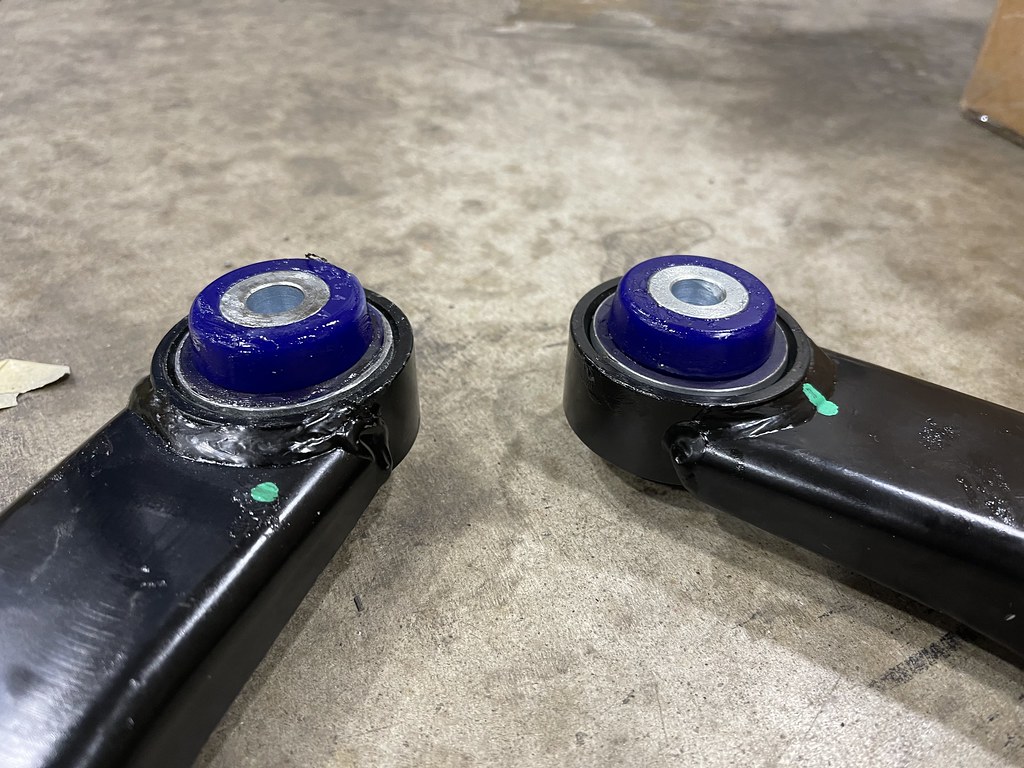
And insert the new inserts and ends into the bushing..
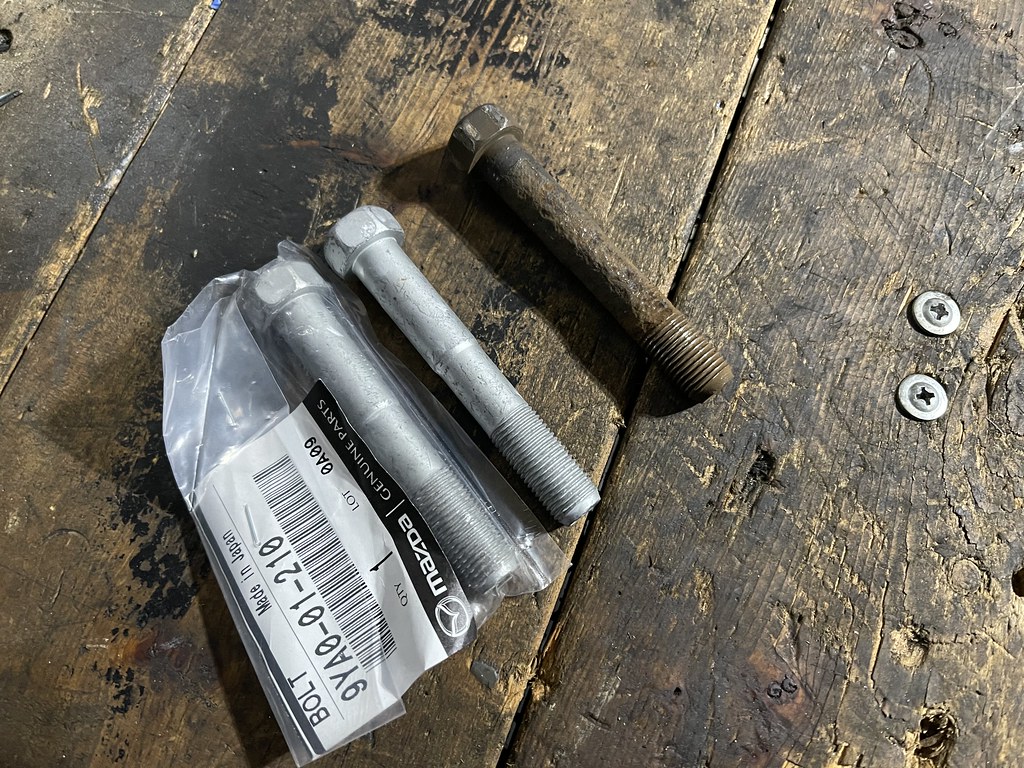
Also while removing the control arm, I noticed how corroded and pitted the old bolt was when I removed it. There was no way I could put that back in, no need in risking failure over a $7 bolt.
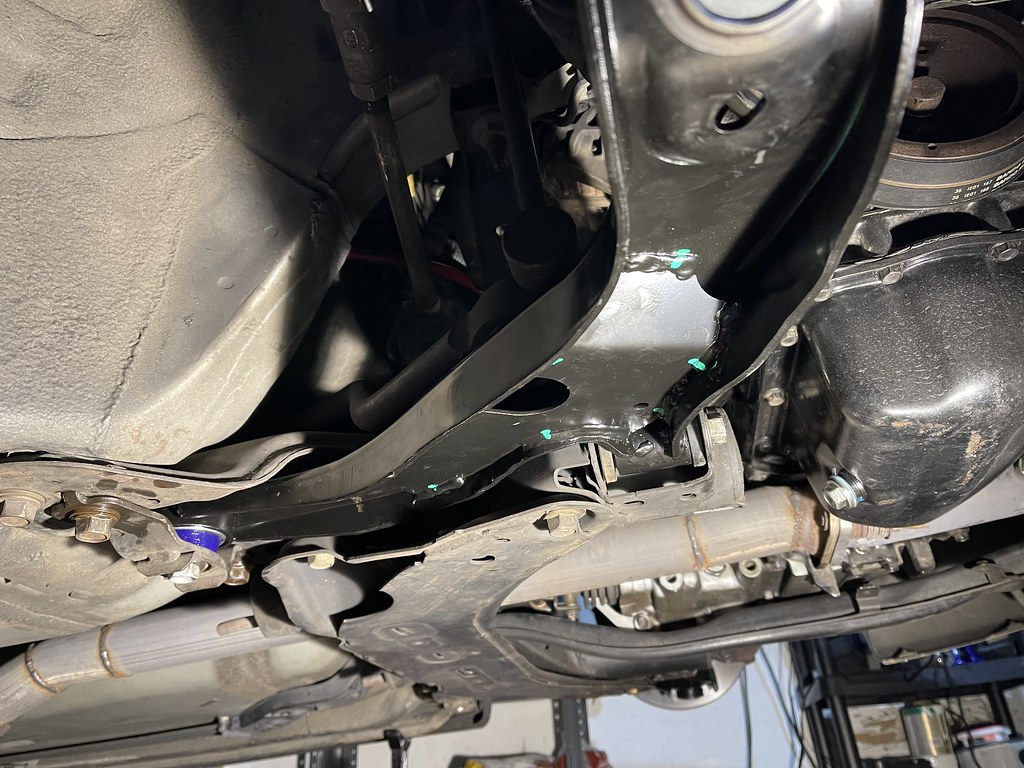
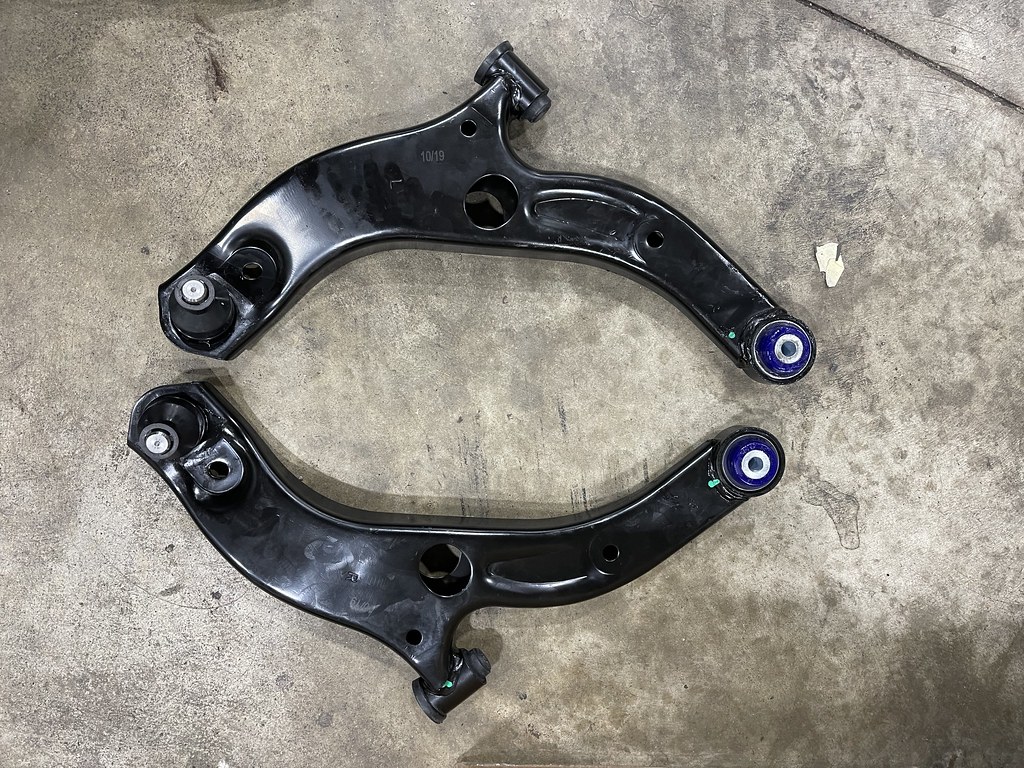
New arm w/ bushings installed…
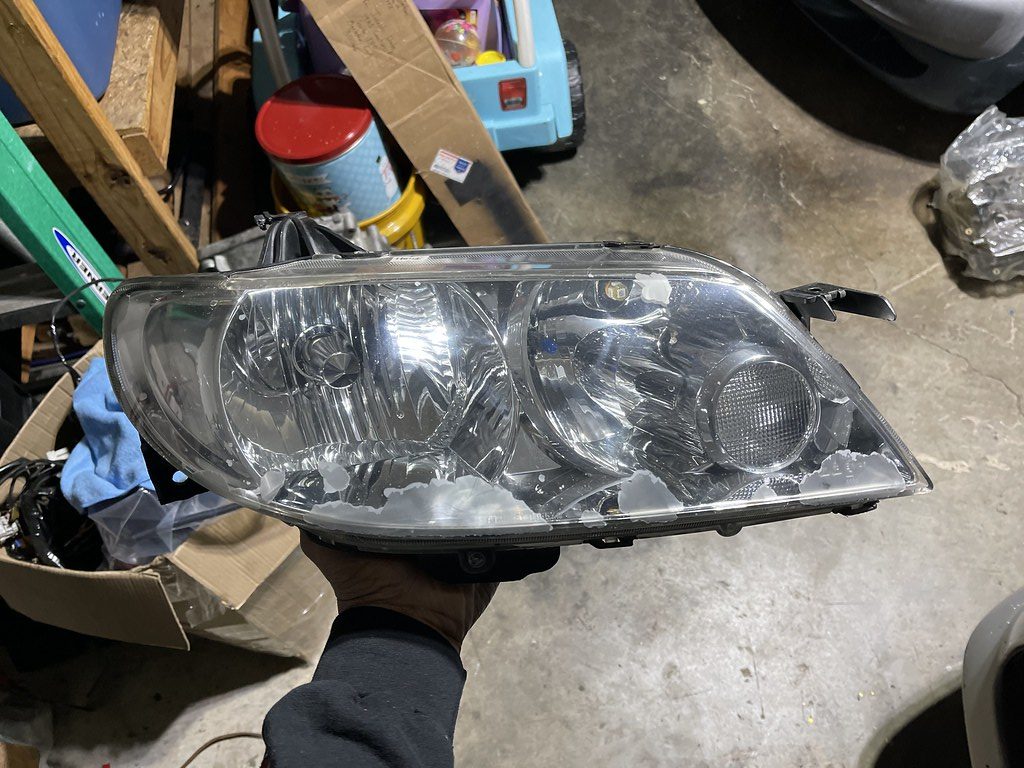
I had these headlights in last season, but they started to peel and look pretty rough.
I had a second set of Mazdaspeed Protege headlights from years ago that needed some attention, so I tried my hand at polishing them..
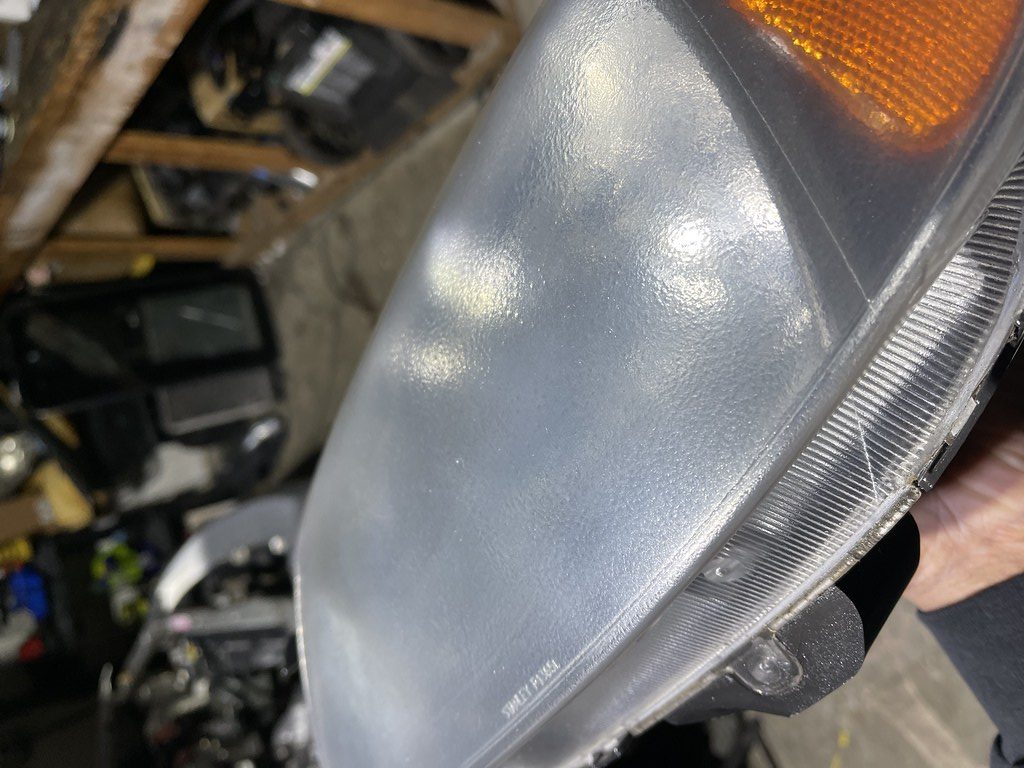
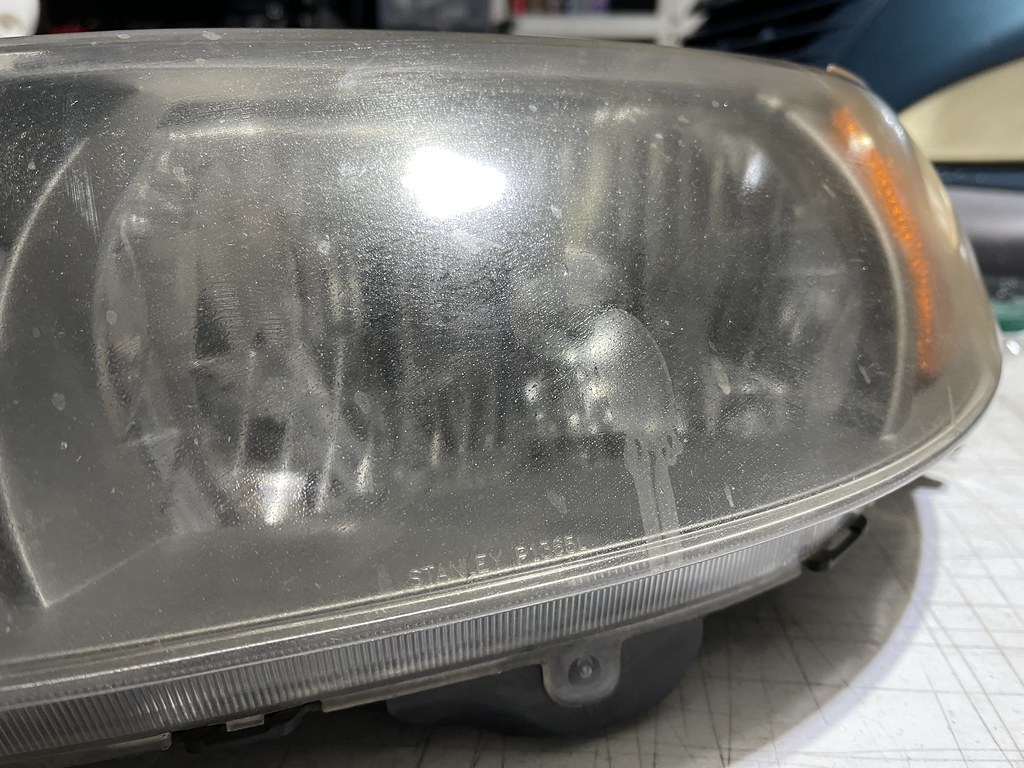
After buffing them, and attempting to clear coat them this was the result. Some sort of matte , smoked transparent wrinkle finish. It was terrible…
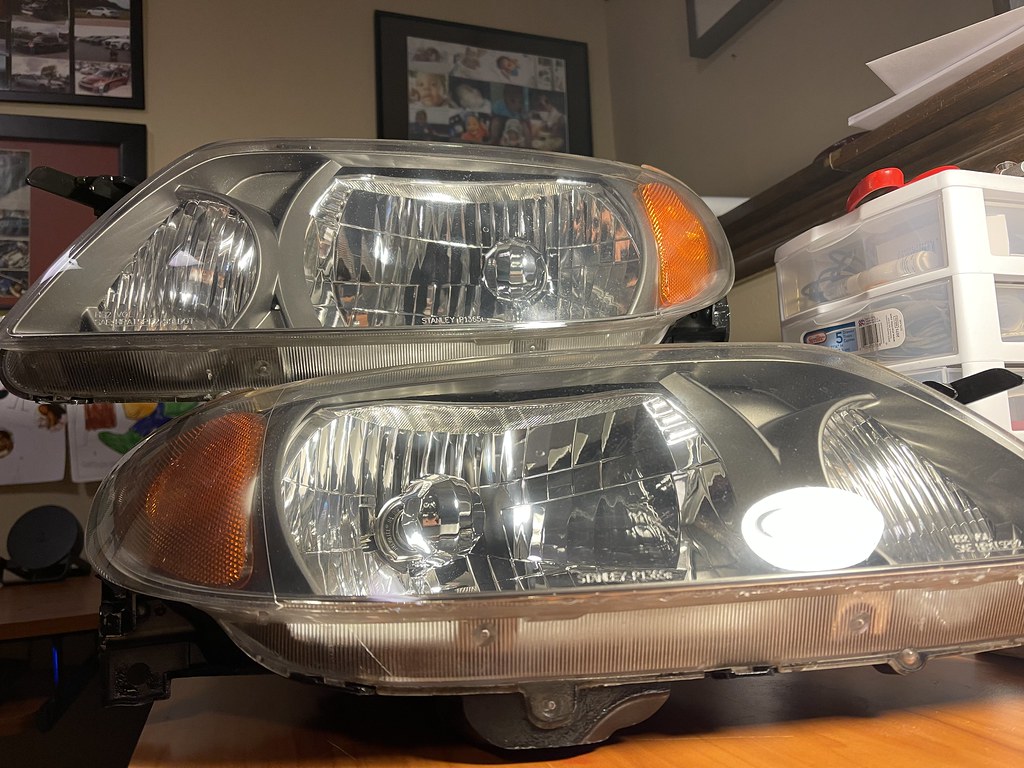
I reached out to a professional (Alex Perrucci ) , and had them do it for me, and the results were a million times better!
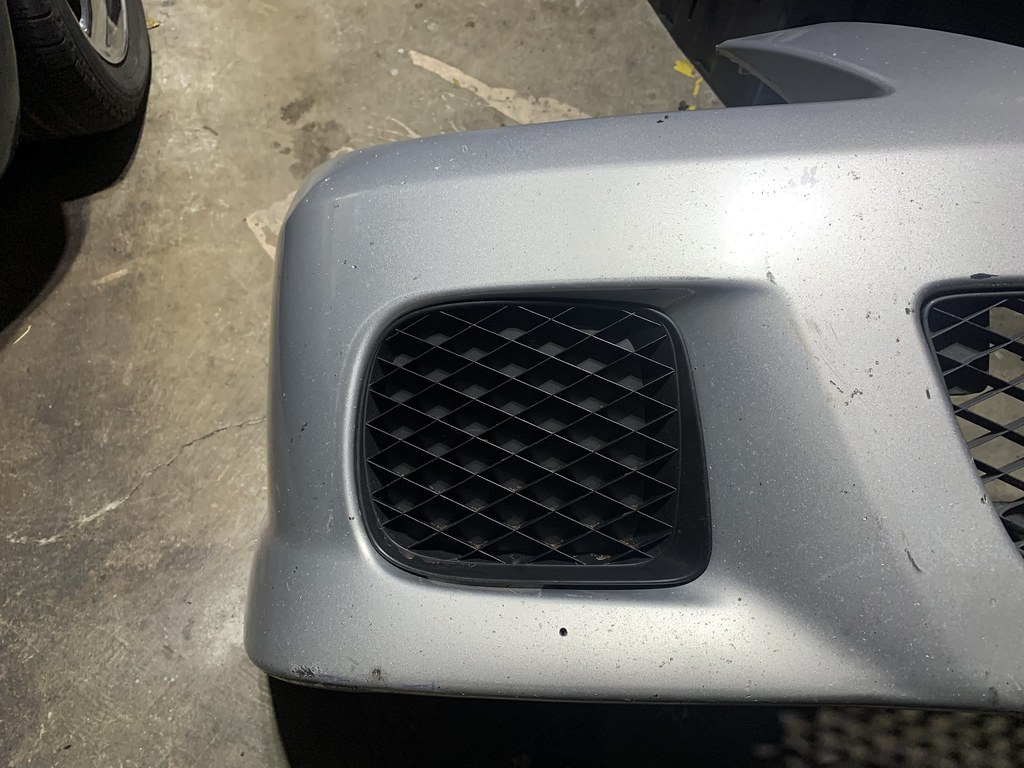
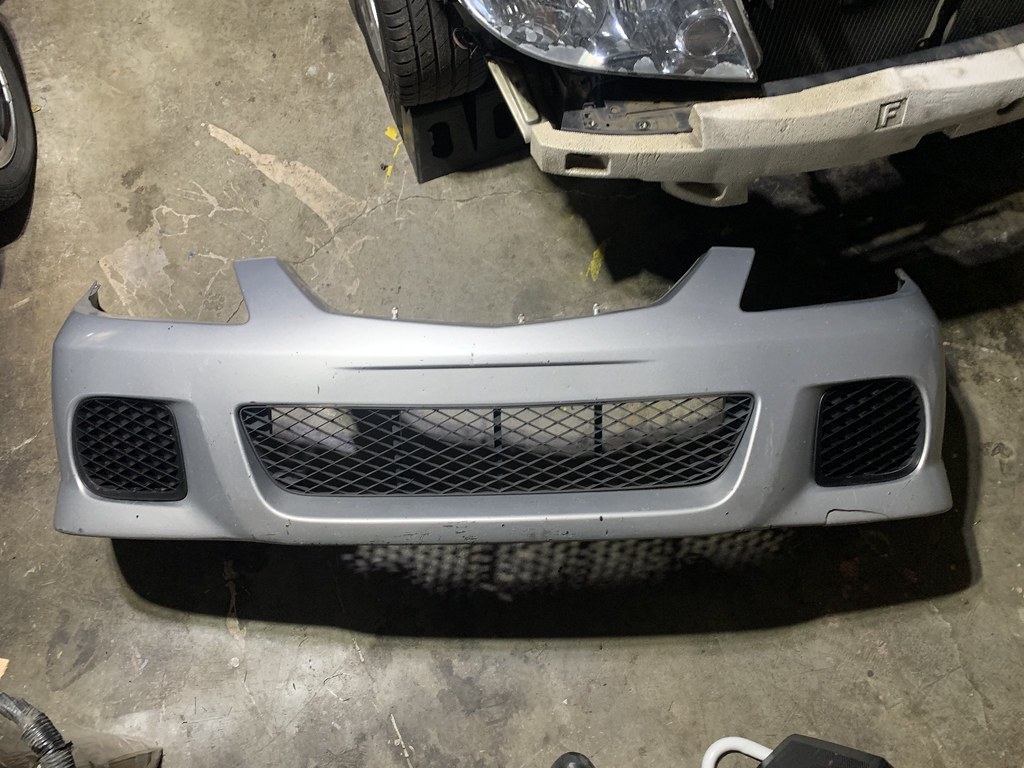 I also decided to remove the Mazdaspeed Protege front lip off the car. It looks good visually, but I wanted to try something simple with the front end. So I sourced a set of the foglight deletes, and removed the front lip.
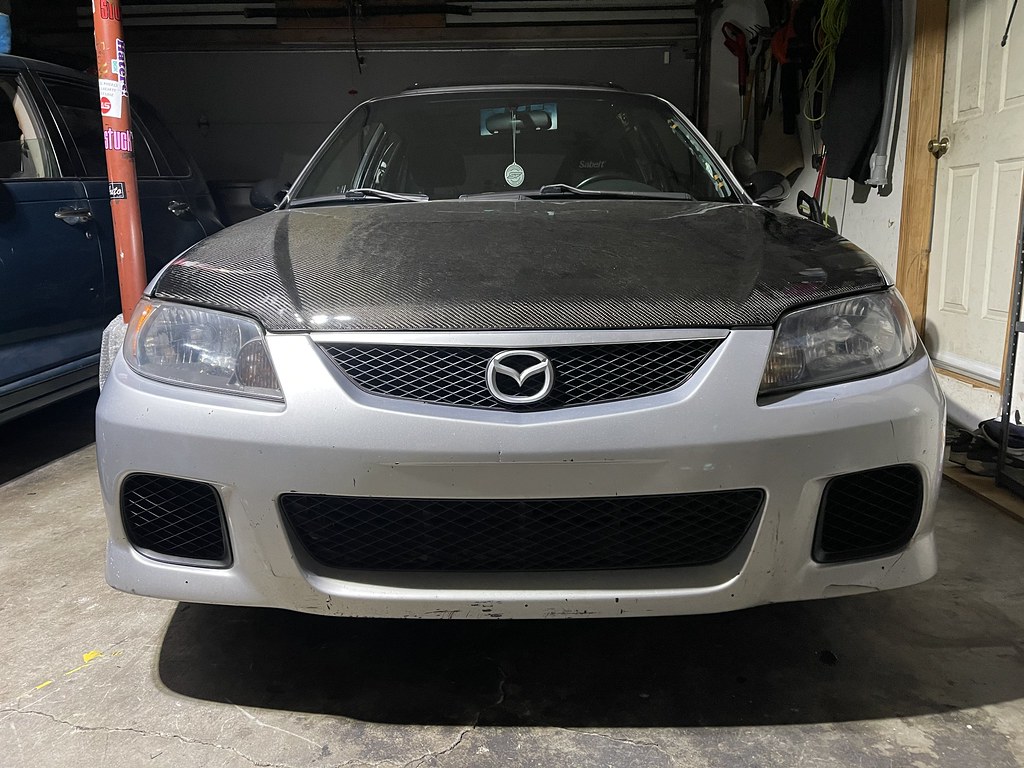
Personally I like the look of the P5 bumper with the foglight deletes. But I am sure no normal person would ever notice the change. Granted my intake filter is directly behind the drive side, something I may address later.
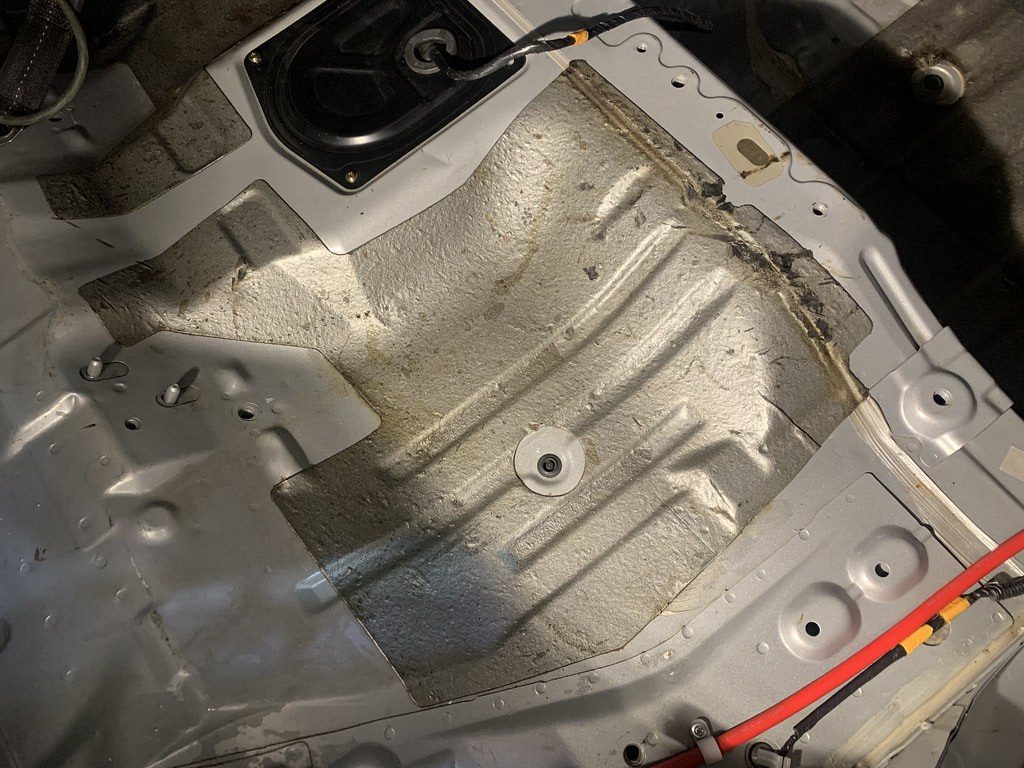
I had always heard about using dry ice to remove sound deadening. So I finally decided to give a try with all hopes of it not working. Or being way more trouble then its worth.

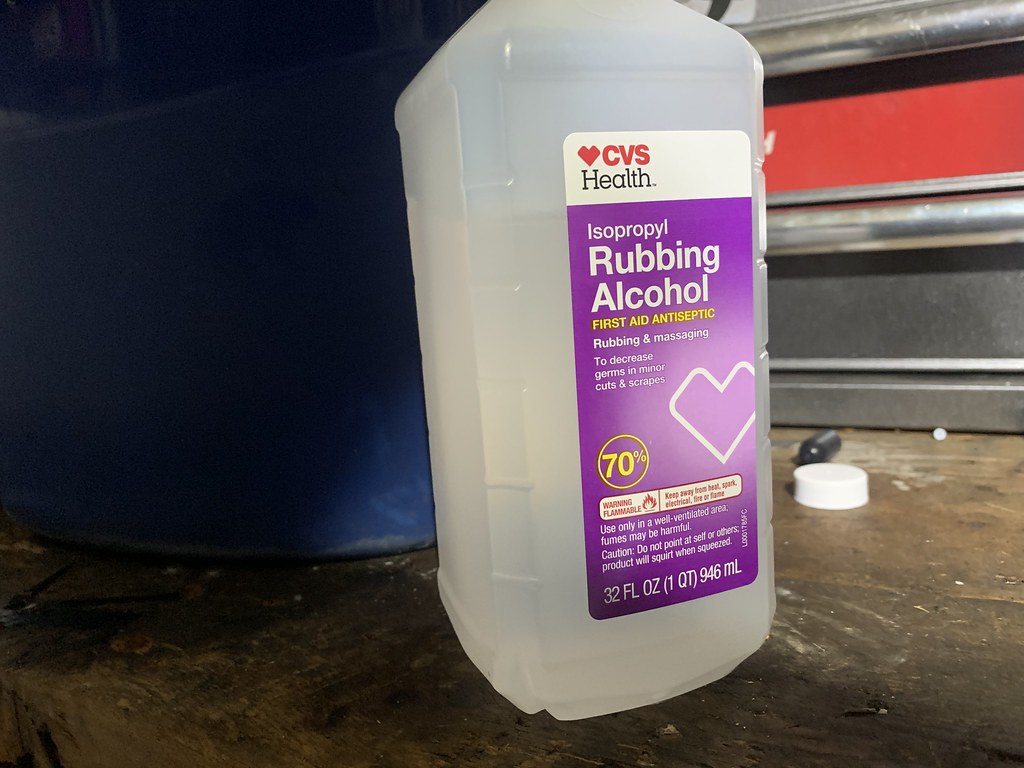
Start off with dry ice, broken up in a bucket. Then you pour in the rubbing alcohol to make it last a little longer and help it spread….
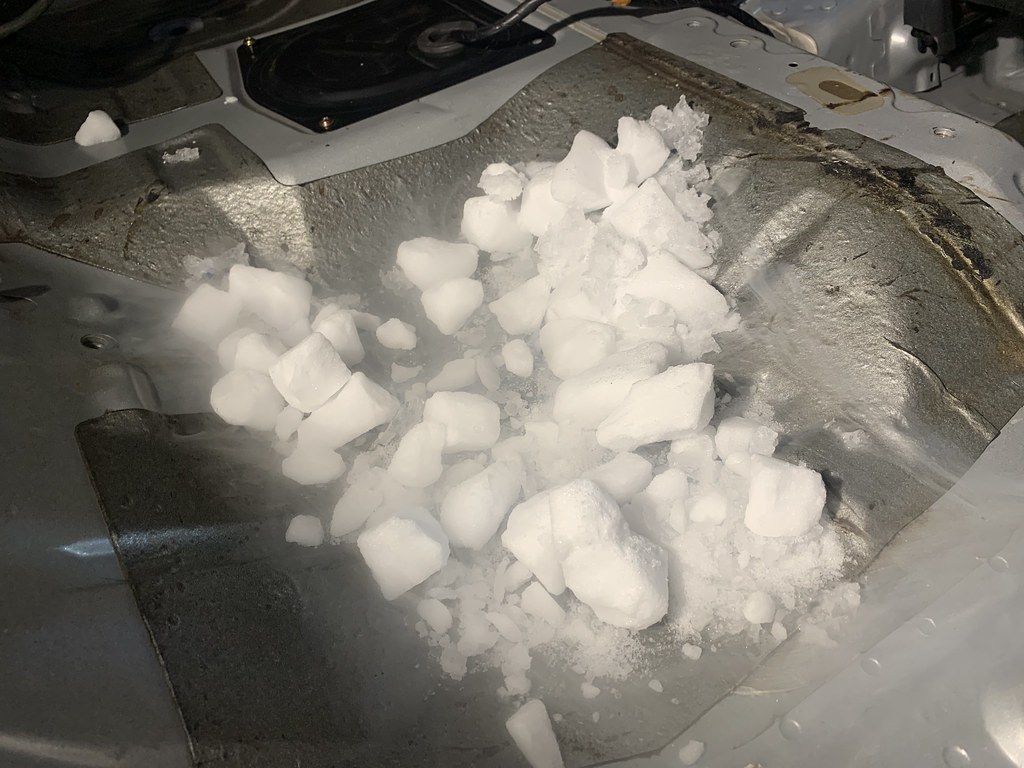
Pour it on the material, and wait….
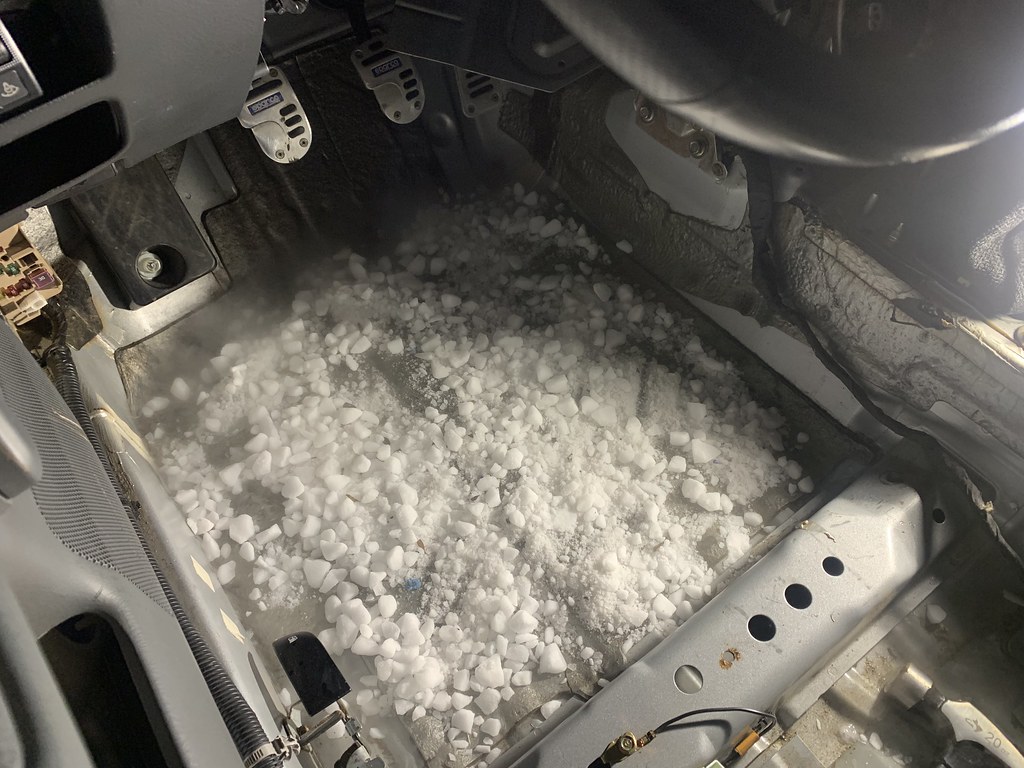
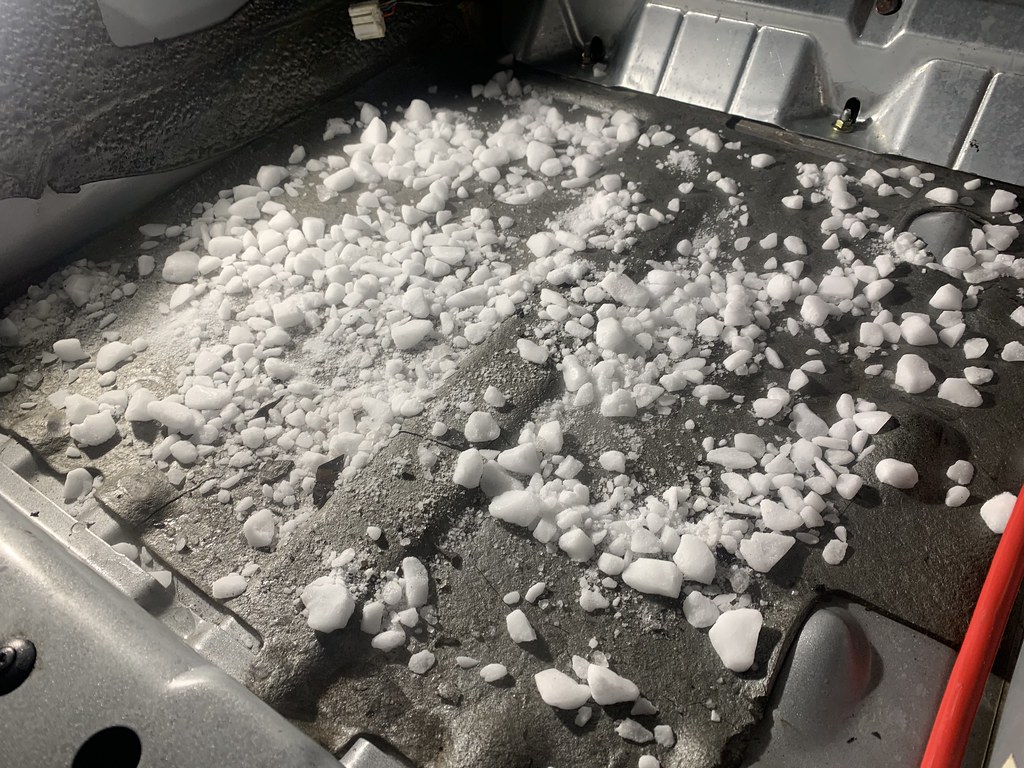
You will hear it crackle and pop, which is the glue coming apart from the panels.
Once it starts to crackle, you take a flat head or a scrapper of some sort, and it will lift on its own. Some pieces may need to be tapped with a hammer, to help break some pieces loose.
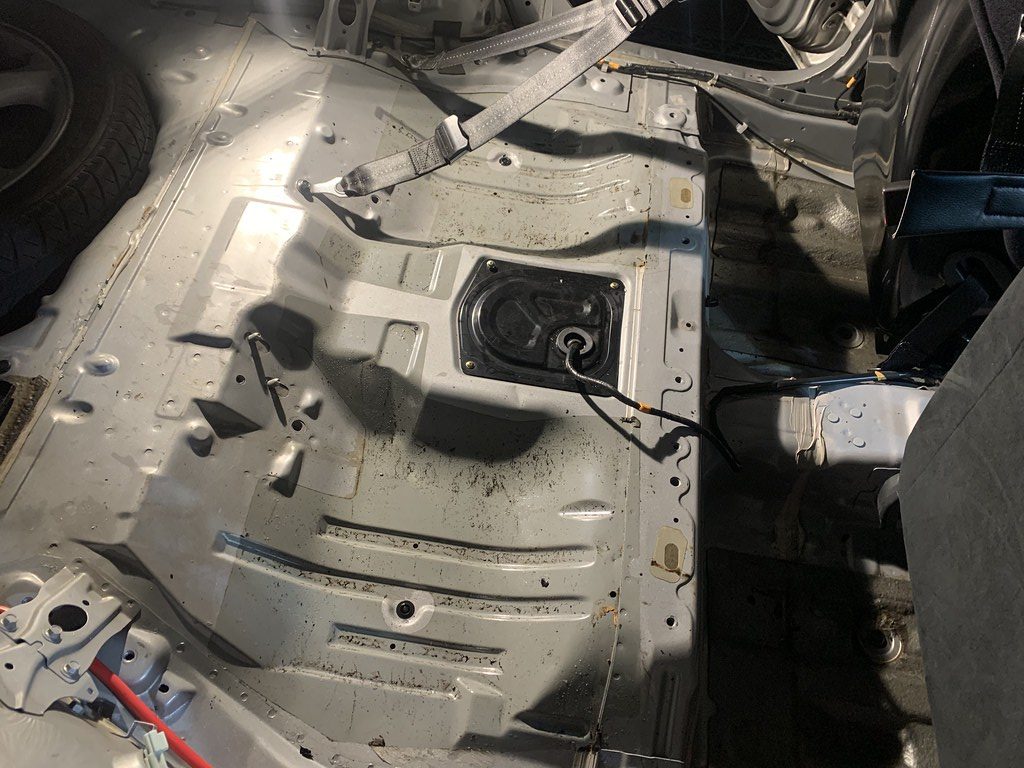
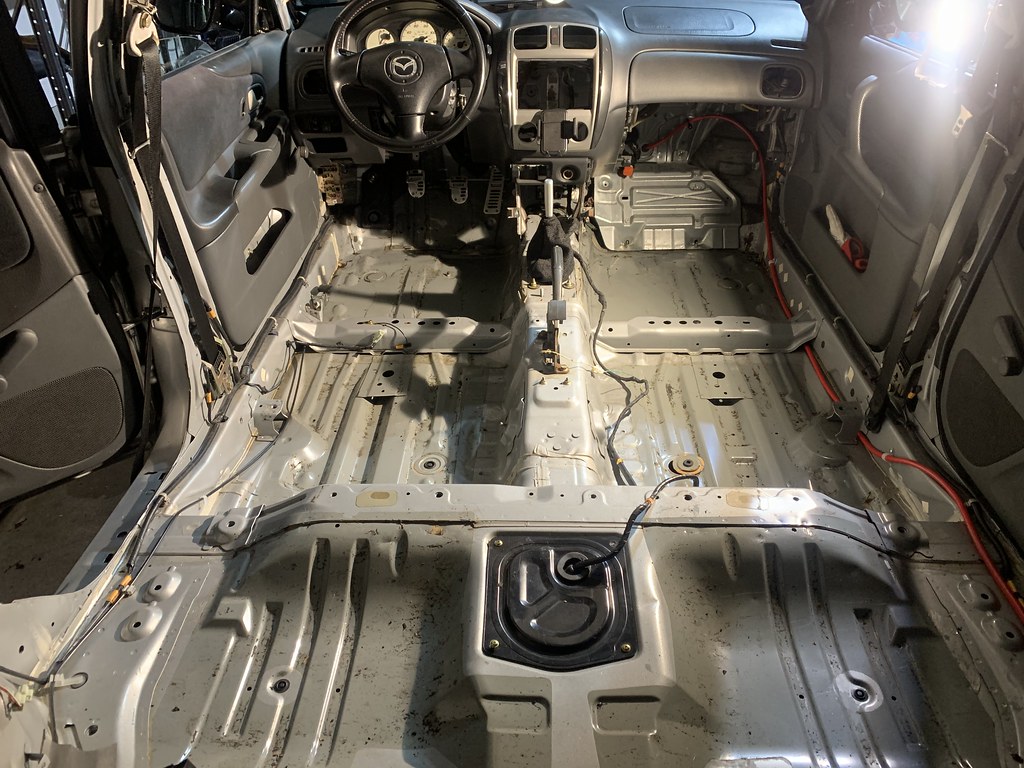
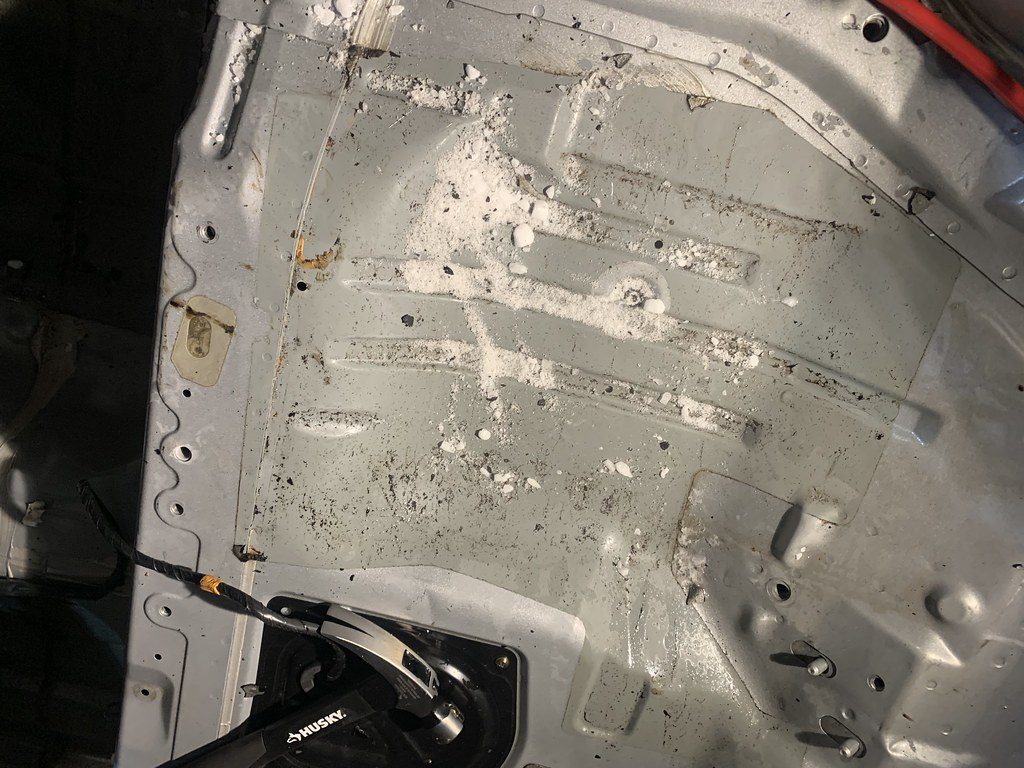
I used about 3lbs worth of dry ice to do all of my interior. There will be some residue left, but you can use mineral spirits to clean it up and make look clean.
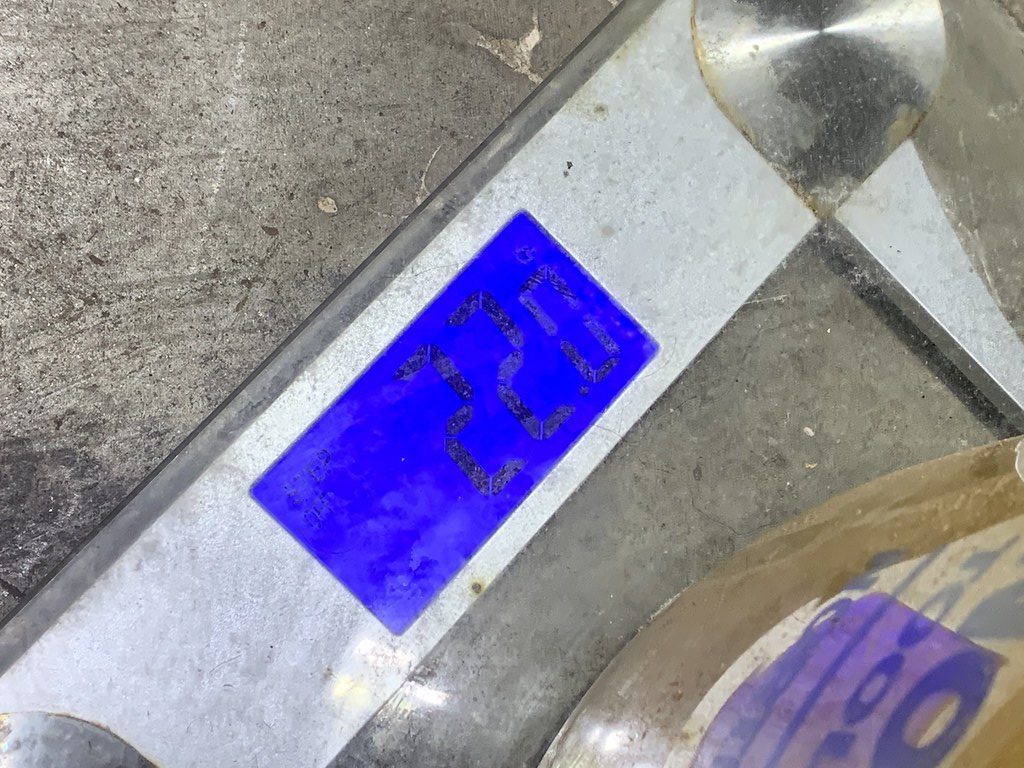
It took all of a hour and a half and $30 to shave off 22 lbs.
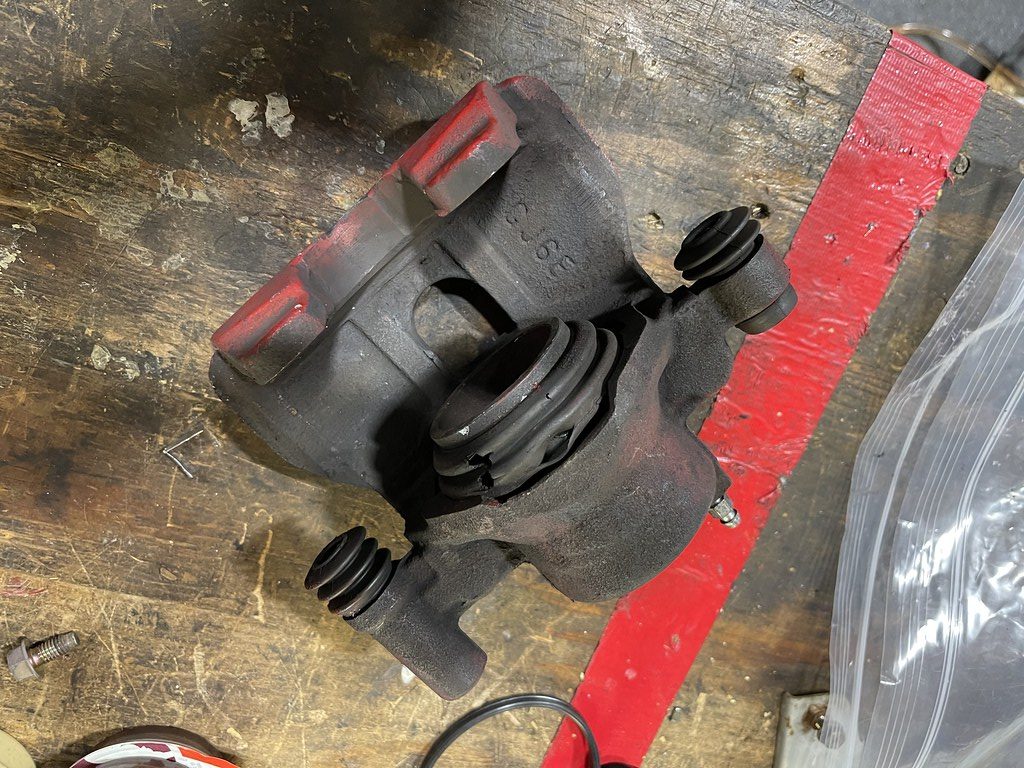
Next project was to rebuild my brake calipers. The front calipers are from a 2004 Mazda 6 that I sourced from my local pull a part. I always had a issue with the car pulling heavy to the right on initial braking. But I never really got into correcting it, because once after a few hard stops it would stop.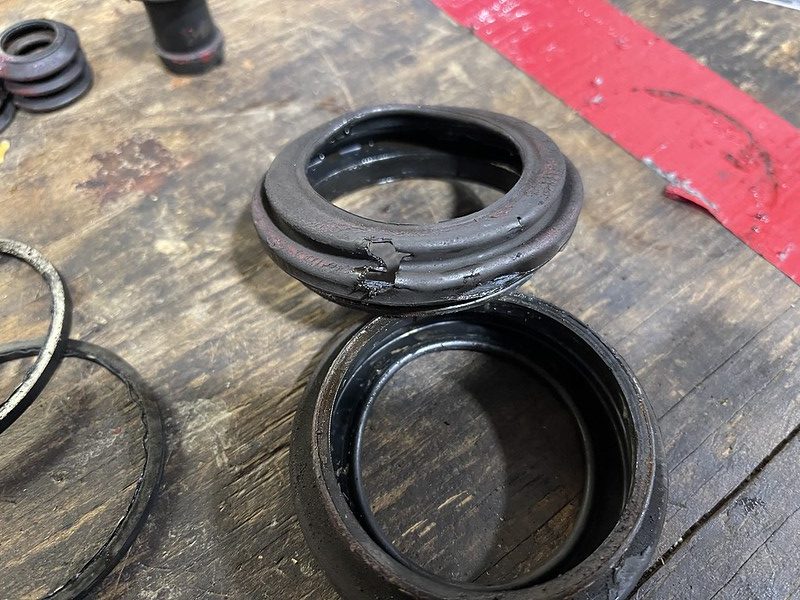
Boots removed..
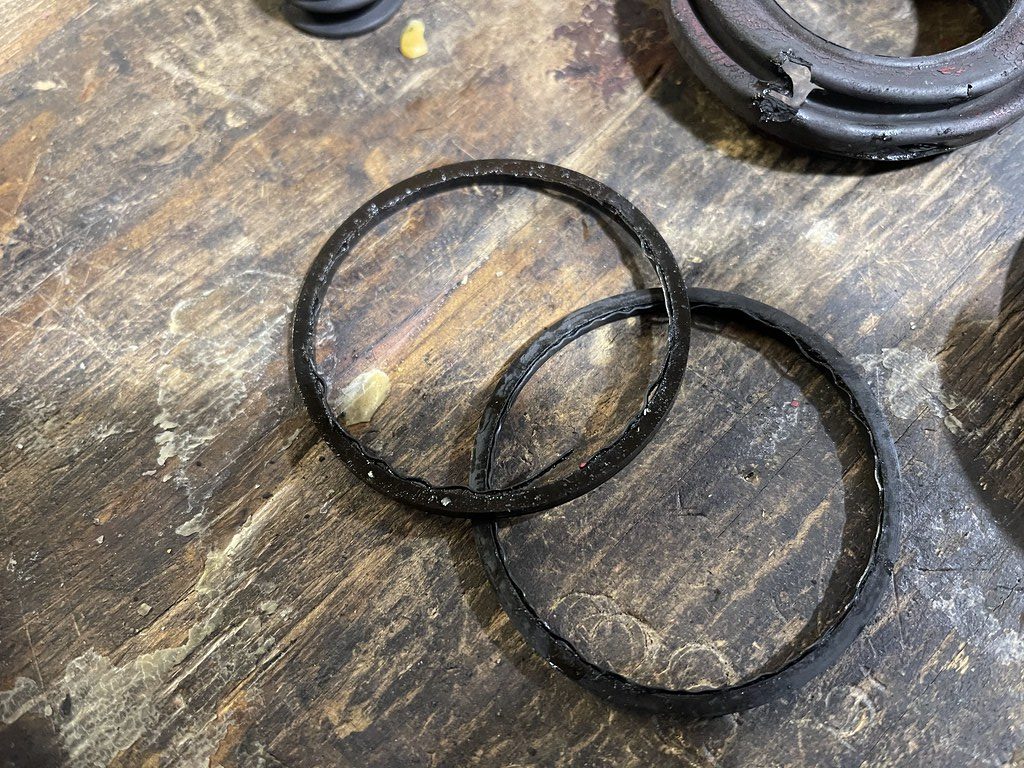
The most important part of the calipers is the piston seals that pretty much the heart and soul of the braking system. And clearly you can see the that they are worn and not sealing to their best ability.

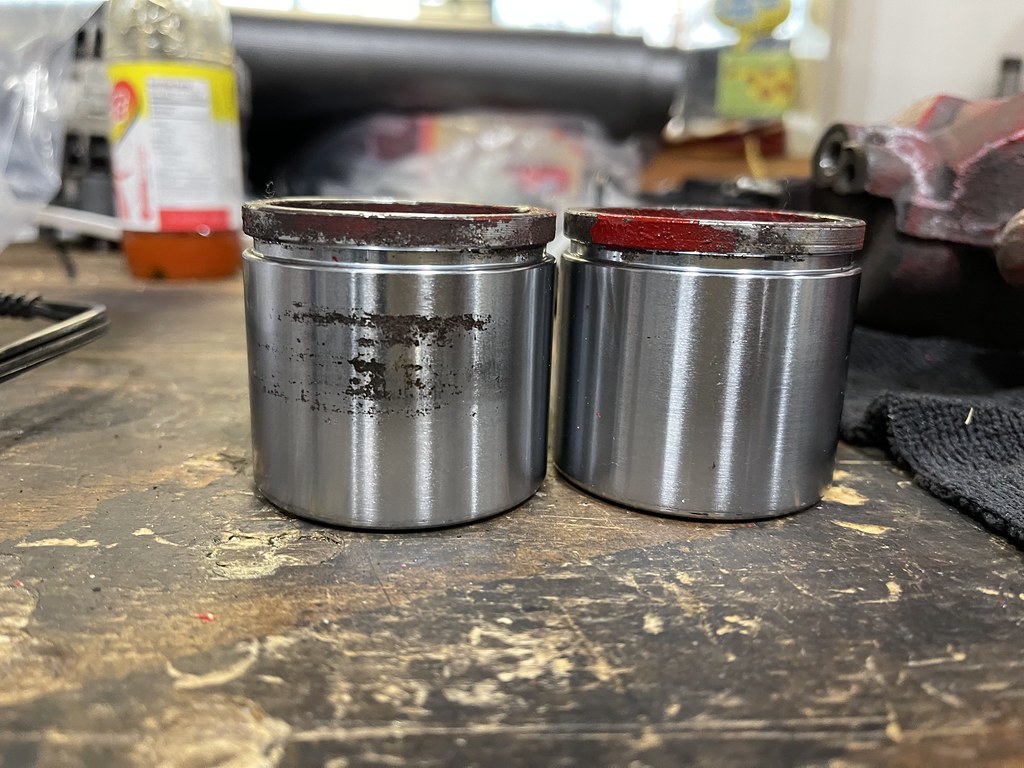
I removed the caliper pistons and cleaned them and found a good bit of corrosion on the driver side. Which would explain why the car would pull so hard right during the initial brake.
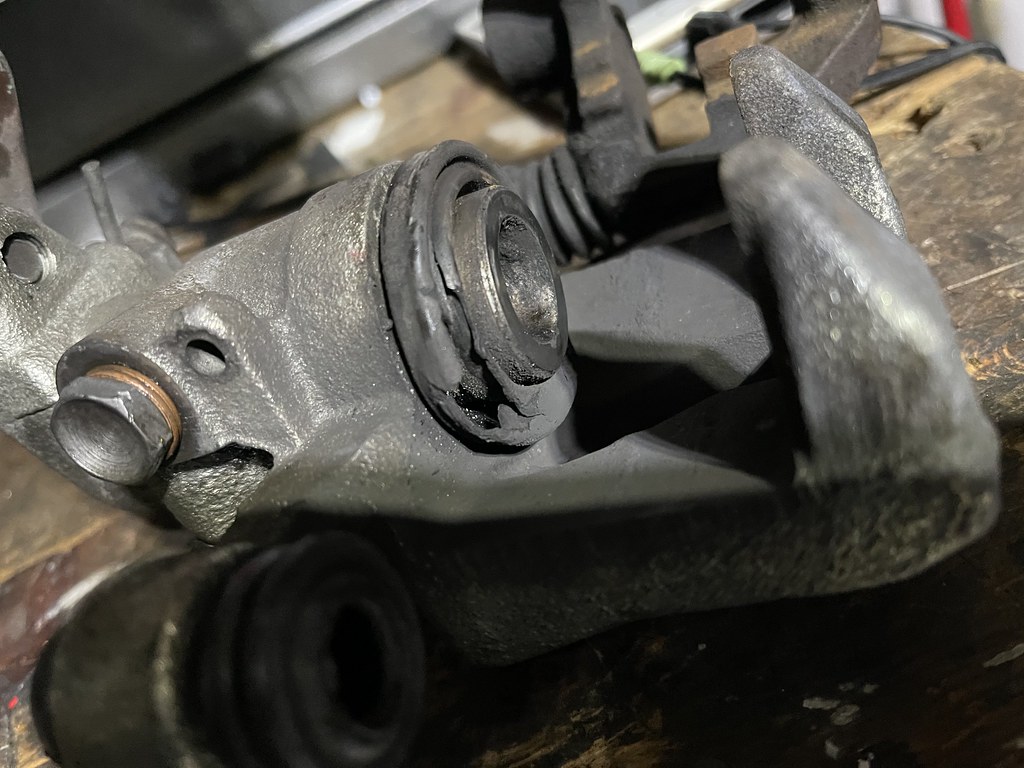
The rear calipers have always been a problem on this car. And its obvious why, the rear boots were hard as a rock to touch, and obviously not keeping the internals clean.
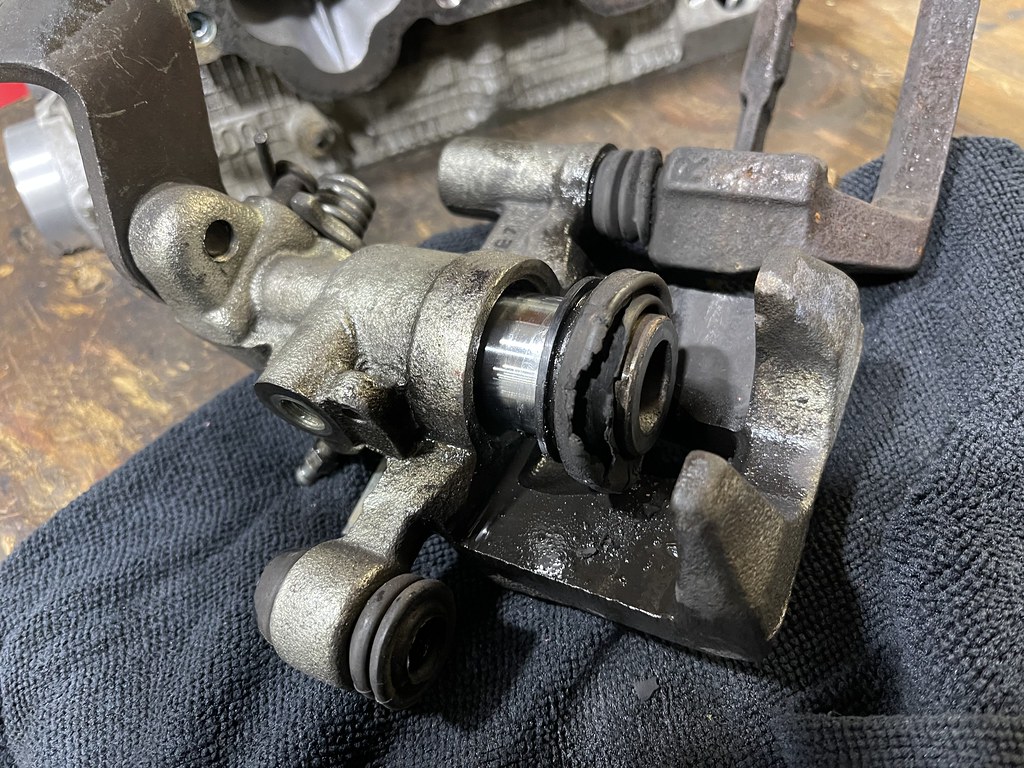
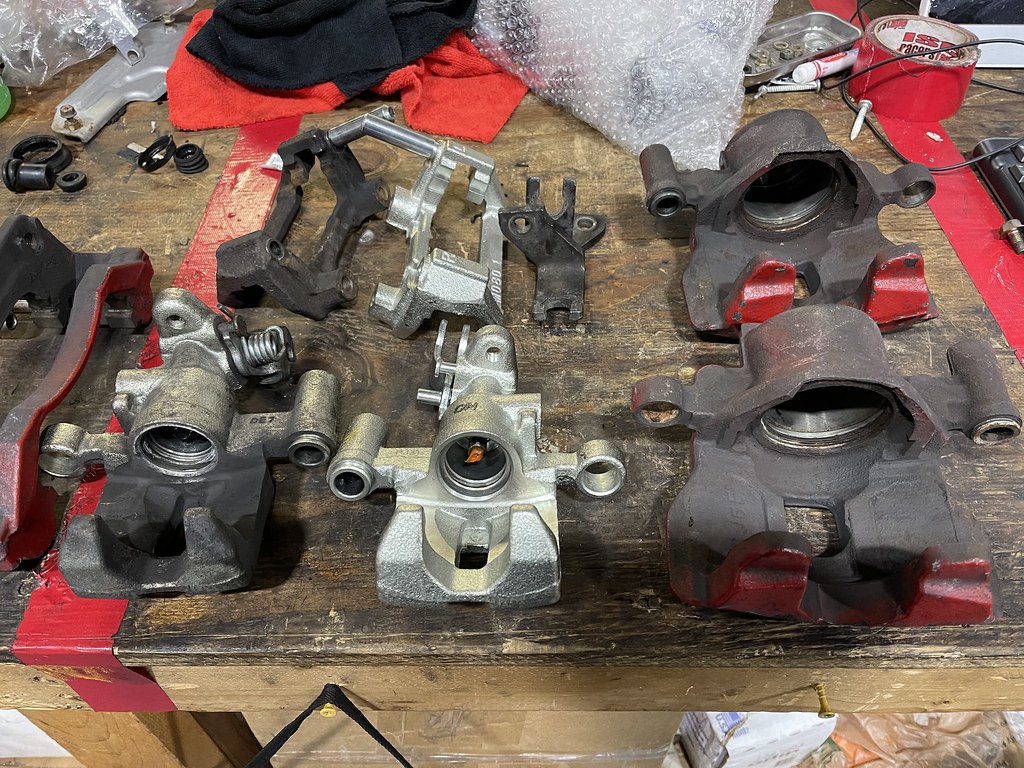
When I took apart the driver rear, one of the sliders for the caliper was stuck , and I decided to just replace it. But another issue that will prevent the car from braking properly. At this time I will be taking the time to get them powder coated and completely rebuild..
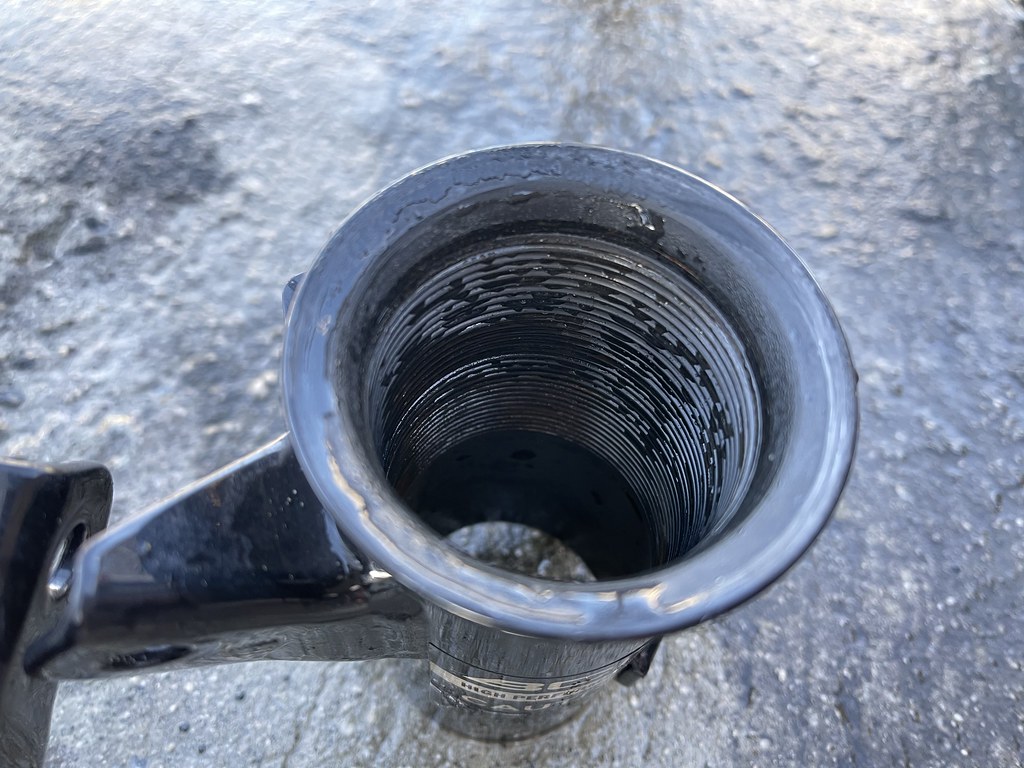
While the calipers were apart, I took this time to take clean the threads on the coilovers. Ive owned a few sets of coilovers and no matter brand there is a chance of dirt grime and something being stuck in the threads and seizing the adjustment rings..
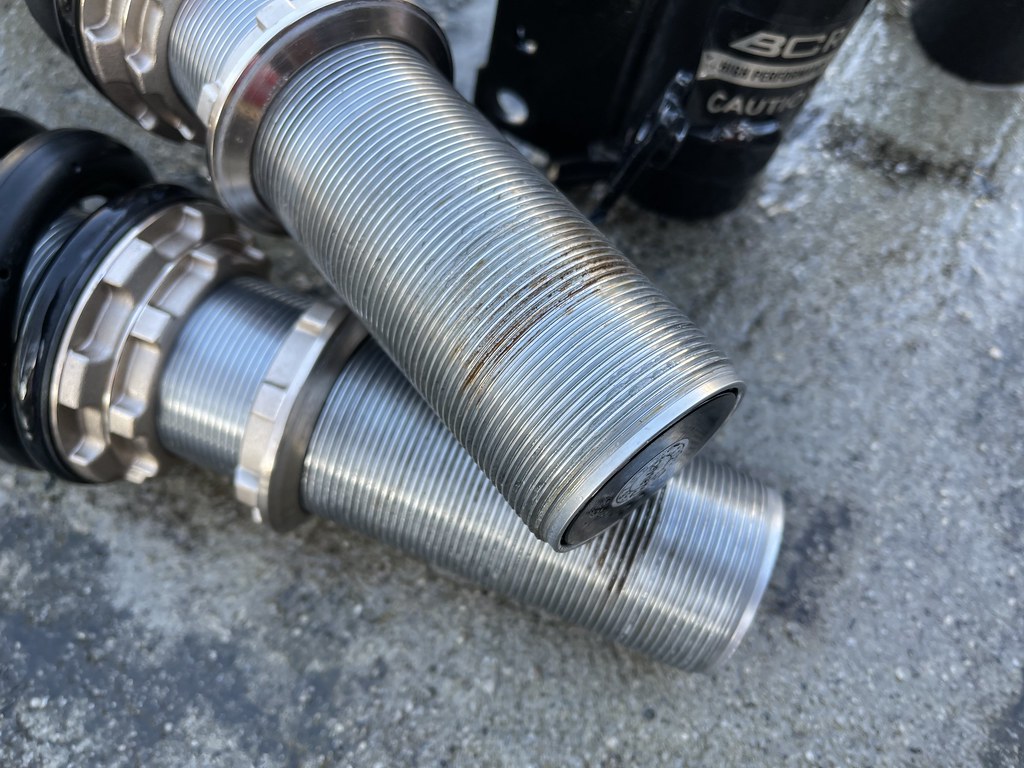
The car doesnt drive much but on track, so they were not too bad, but its always good to check…
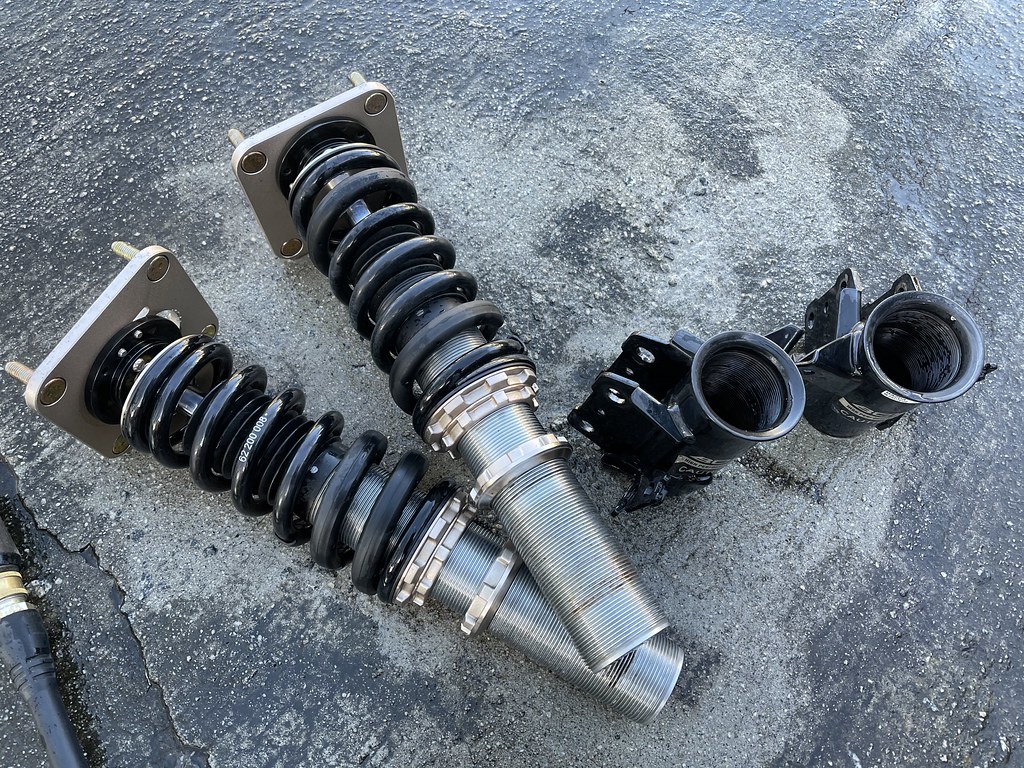
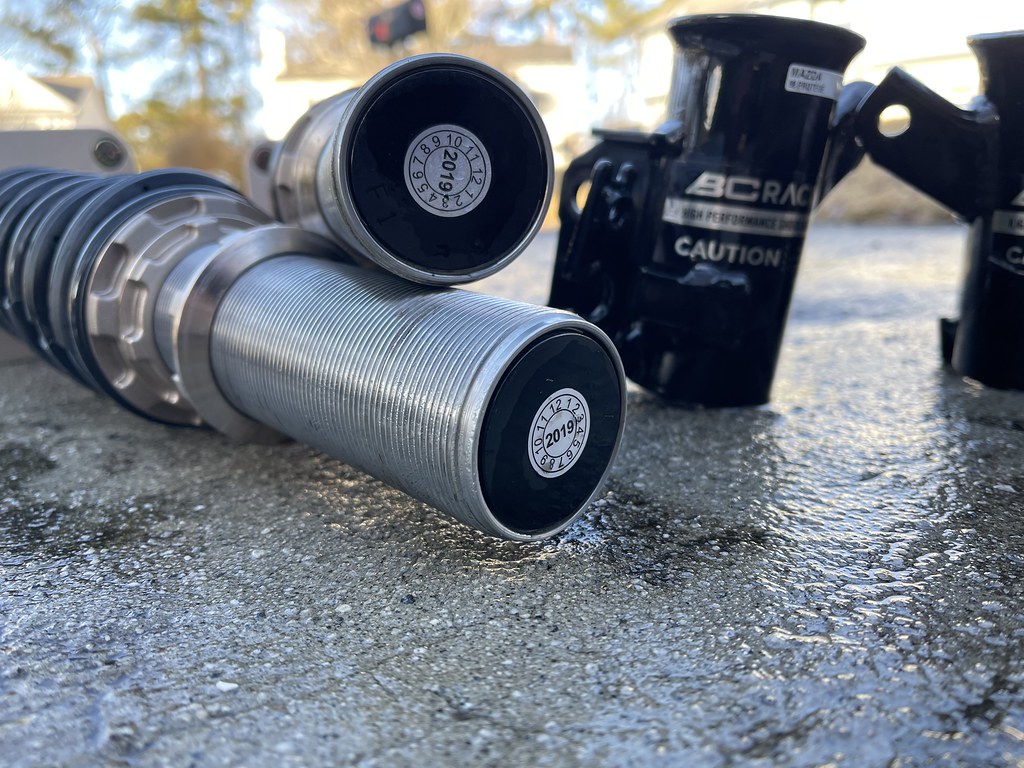
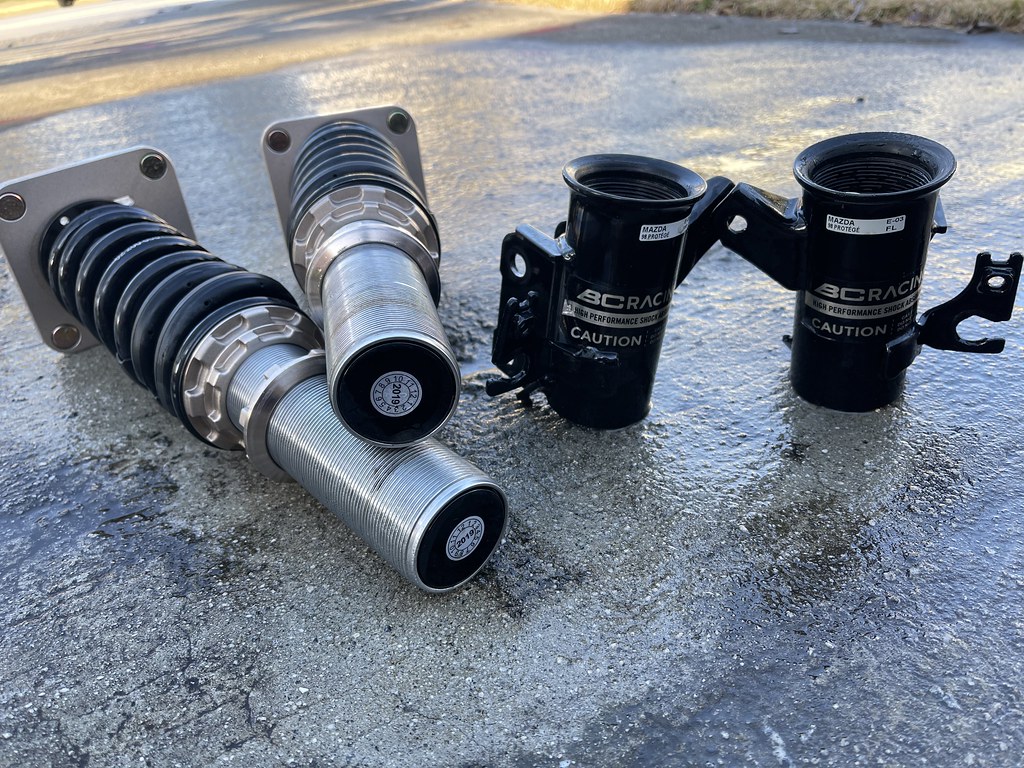
I also took the time to set the preload on them again, and lubed up the threads and re-installed for another year!
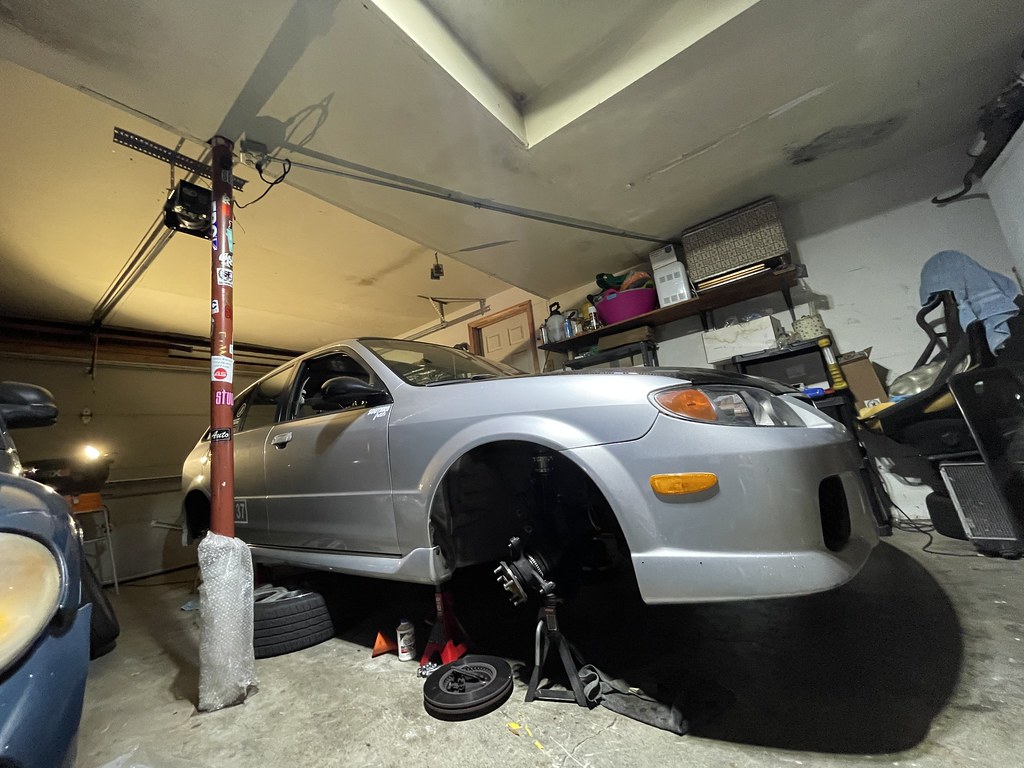
As of now the car sits and waiting for the calipers to be powder coated…